Handmade Ceramic Pottery: A Step-by-Step Guide for Beginners
Welcome to the wonderful world of handmade ceramic pottery! If you've ever gazed at a beautifully crafted mug or a stunning vase and thought, "I wish I could make that," you're in the right place. This guide is designed just for you, the curious beginner ready to dive into this artistic and therapeutic craft. Pottery isn't just about shaping clay; it's a journey of self-expression, creativity, and a bit of science. So, grab your apron, roll up your sleeves, and let's get started on this exciting adventure!
Before we can start molding our masterpieces, it's essential to understand the different types of clay available. Each type has its unique properties, which can significantly influence your pottery-making experience. For instance, earthenware is a popular choice for beginners due to its affordability and ease of use. It fires at a low temperature and is perfect for decorative pieces. On the other hand, stoneware is more durable and can handle higher temperatures, making it suitable for functional items like dishes and mugs. Lastly, porcelain is known for its elegance and translucency but is often more challenging to work with. Choosing the right clay can set the tone for your entire pottery journey, so consider what projects you want to embark on!
Having the right tools is crucial for successful pottery making. As a beginner, you don't need to break the bank on fancy equipment. Here are some essential tools you should consider:
- Clay Cutters: For slicing and shaping your clay.
- Wire Tools: Perfect for cutting and trimming.
- Pottery Wheel: If you plan to try wheel throwing, this is a must-have.
- Rolling Pins: Useful for flattening clay for handbuilding projects.
- Sponges and Rags: For smoothing and cleaning your pieces.
Investing in these fundamental tools will help you establish a solid foundation in pottery making, allowing your creativity to flourish!
If you're intrigued by the idea of wheel throwing, you're in for a treat! Using a pottery wheel can feel like a dance between you and the clay. The first step is to set up your wheel in a comfortable position, ensuring you have enough space to maneuver. When you start, you'll want to center your clay, which can be a bit tricky at first. Think of it like balancing a spinning top—once you get it right, everything else will fall into place. Remember, it's completely normal to face challenges as a beginner, so don't get discouraged. Practice makes perfect!
Selecting the right pottery wheel is a significant decision that can affect your learning experience. Look for features such as:
| Feature | Description |
|---|---|
| Wheel Head Size | Choose a size that suits your projects; larger heads are better for bigger pieces. |
| Motor Power | Consider a wheel with sufficient torque for your clay type. |
| Portability | If you plan to move your wheel, look for lightweight options. |
By keeping these features in mind, you'll be better equipped to find a wheel that fits your needs and budget.
Once you've got your wheel set up, it’s time to dive into some basic wheel throwing techniques. Start with centering your clay, which is crucial for creating symmetrical pieces. After centering, you'll want to open the clay to form the base of your pot. This process is akin to digging a well—you need to create a sturdy foundation before building upwards. Finally, the pulling technique allows you to shape the walls of your pottery. With practice, you'll find your rhythm and develop your unique style!
If wheel throwing isn’t your cup of tea, don’t worry! Handbuilding offers a fantastic alternative. Techniques like pinch pots, coil building, and slab construction allow you to create beautiful pieces without a wheel. Pinch pots are straightforward—simply pinch the clay between your fingers to form a bowl. Coil building involves rolling out long strips of clay and stacking them to create larger forms. Slab construction is all about cutting flat pieces of clay and joining them together. Each method has its charm, so try them all and see which resonates with you!
Firing is where the magic happens! This critical step transforms your soft clay into durable ceramic. There are two main firing processes: bisque firing and glaze firing. Bisque firing hardens the clay, making it easier to handle and prepare for glazing. After bisque firing, you can apply your chosen glaze and then fire it again to achieve that beautiful, glossy finish. Understanding these processes is key to mastering pottery, so don't skip this step!
Kilns are the heart of any pottery studio. These specialized ovens are designed to reach the high temperatures necessary for firing clay. There are various types of kilns available, including electric, gas, and wood-fired options. When choosing a kiln, consider factors like size, fuel type, and temperature range. A well-chosen kiln can make your pottery experience much smoother and more enjoyable.
Safety should always be your top priority when working with clay and kilns. Here are some essential safety precautions to keep in mind:
- Always wear a mask when sanding or working with dry clay to avoid inhaling dust.
- Keep your workspace tidy to prevent accidents.
- Be mindful of kiln temperatures and follow all manufacturer guidelines.
By following these precautions, you can ensure a safe and enjoyable pottery-making experience!
Glazing is what brings your pottery to life! It adds color, texture, and a protective layer to your creations. There are several glazing techniques to explore, including dipping, brushing, and spraying. Each method offers a unique finish, so feel free to experiment! Dipping gives a smooth and even coat, while brushing allows for more control over specific areas. Spraying can create stunning effects, especially when layering different glazes.
When selecting a glaze, consider the desired look for your pottery. There are various types of glazes, including glossy, matte, and transparent. Each type interacts differently with the clay body and firing process, so you might want to test a few before committing to a specific glaze for your project. This experimentation is part of the fun!
Applying glaze is an art in itself. Use clean brushes for brushing, and ensure your piece is free of dust before applying any glaze. For dipping, submerge your piece in the glaze for a few seconds, then gently shake off the excess. Remember, practice makes perfect, so don't be afraid to try different techniques until you find what works best for you!
Q: Do I need a pottery wheel to start?
A: No! Handbuilding techniques are perfect for beginners and require minimal tools.
Q: How long does it take to learn pottery?
A: Learning pottery is a journey. With regular practice, you can start creating basic pieces in a few weeks!
Q: Can I use regular clay from my backyard?
A: It's best to use clay specifically designed for pottery to ensure the best results.
Q: What should I do if my piece cracks during drying?
A: It happens! You can try to repair it with slip (wet clay) or embrace the imperfection as part of your artistic journey.
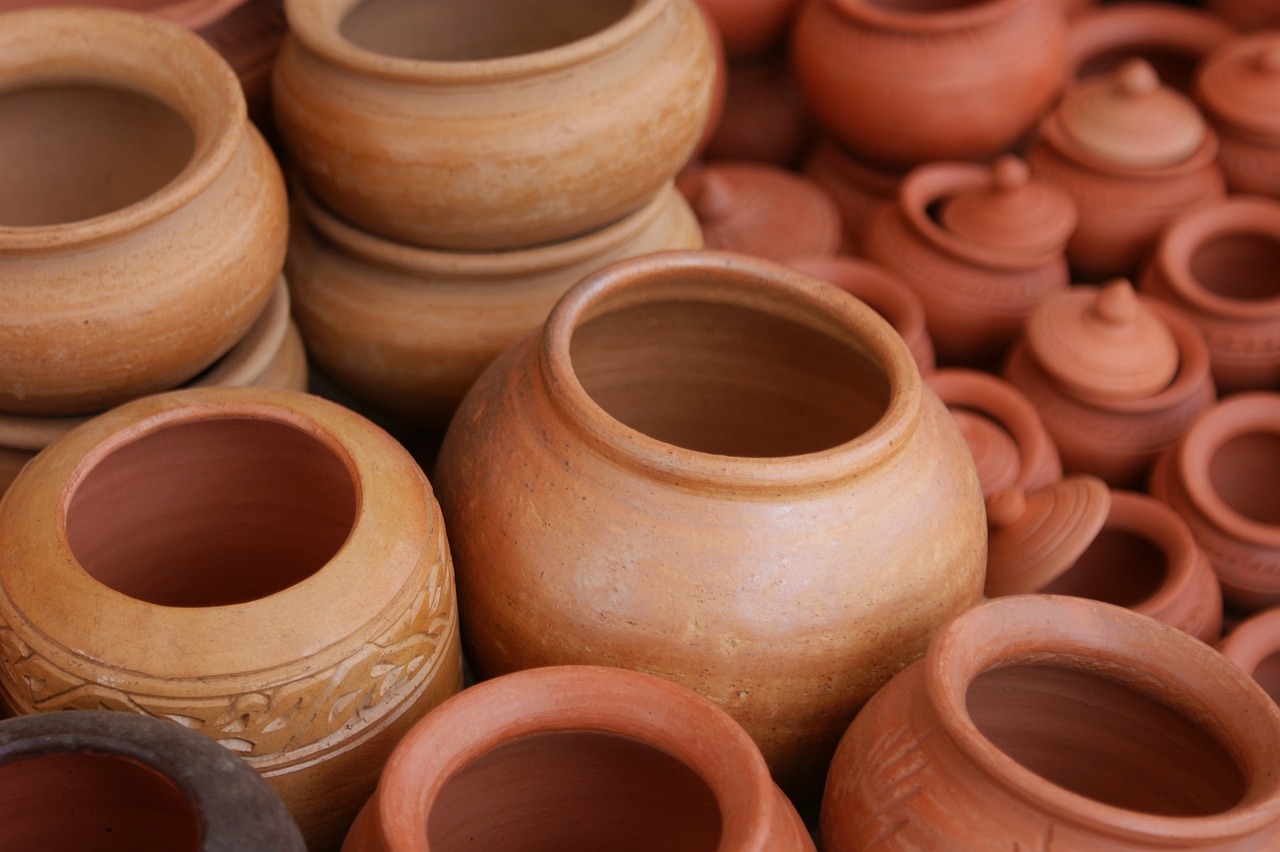
Understanding Clay Types
When it comes to creating stunning handmade ceramic pottery, understanding the different types of clay is fundamental. Each clay type has its own unique properties, which can significantly influence the outcome of your pottery projects. Whether you're crafting a delicate vase or a sturdy bowl, selecting the right clay can make all the difference. So, let’s dive into the world of clay and explore the most common types you'll encounter.
One of the most popular clay types is earthenware. This clay is known for its rich, reddish-brown color and its porous nature. It’s relatively easy to work with, making it an excellent choice for beginners. Earthenware is typically fired at low temperatures, which means it’s not as durable as other types but is perfect for decorative pieces and functional ware that won’t be exposed to moisture. If you’re looking to create something colorful, earthenware is ideal for glazing, allowing your creativity to shine through.
Next up is stoneware, a favorite among many potters. This clay is fired at higher temperatures, resulting in a dense and durable finish. Stoneware is less porous than earthenware, making it suitable for functional items like dinnerware and bakeware. Its natural gray or brown color can also be enhanced with various glazes, giving you plenty of options for personalization. If you want your pottery to last, stoneware is the way to go!
Now, let’s talk about porcelain, often considered the “queen” of clays. This type is known for its fine texture and translucent quality, which can create breathtakingly beautiful pieces. However, porcelain can be a bit tricky to work with, as it requires more skill and precision. It’s fired at very high temperatures, making it incredibly strong and non-porous. If you’re aiming for elegance in your pottery, porcelain is your best bet, but be prepared for a steeper learning curve.
It's also worth mentioning paper clay, a unique blend that incorporates paper fibers into the clay mixture. This type is excellent for handbuilding techniques and is particularly forgiving, as it can be easily repaired if cracked. Paper clay is lightweight and can be used for larger sculptures without the fear of breakage. If you’re feeling adventurous, give this type a try!
When choosing the right clay for your pottery projects, consider the following factors:
- Project Type: Are you making functional ware or decorative pieces?
- Skill Level: Are you a beginner or do you have some experience?
- Firing Temperature: What type of kiln do you have access to?
- Desired Finish: Do you want a glossy glaze or a matte finish?
In summary, understanding the different types of clay is crucial for your pottery journey. Each type brings its own set of characteristics and challenges, but with a little exploration and experimentation, you’ll find the perfect match for your artistic vision. So, roll up your sleeves, grab some clay, and let your creativity flow!
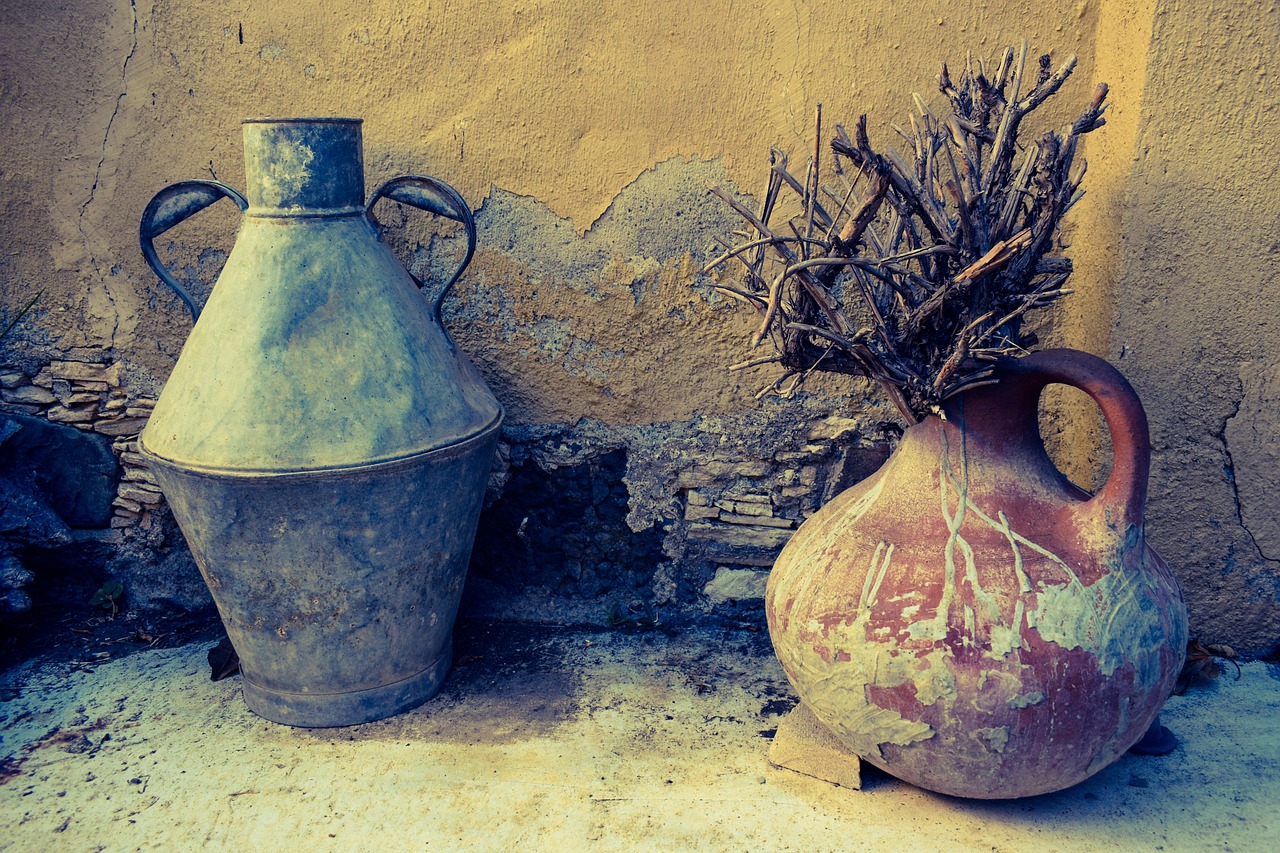
Essential Tools for Pottery
When diving into the world of handmade ceramic pottery, having the right tools is like having the right ingredients in a recipe. You wouldn’t bake a cake without flour, right? Similarly, the tools you choose can significantly impact your pottery-making experience. So, let’s explore the essential tools every beginner should have in their pottery toolkit!
First and foremost, you’ll need a reliable set of clay tools. These tools are specifically designed to help you manipulate and shape clay with ease. A basic set typically includes a wire cutter, a rib, and a sponge. The wire cutter is perfect for slicing through large blocks of clay or cutting your finished pieces off the wheel. A rib helps smooth out surfaces and can be used in various shapes to create different textures. Meanwhile, a sponge is essential for keeping your clay moist and workable, preventing it from drying out too quickly.
Next up is the pottery wheel, which is the centerpiece for many potters. If you’re interested in wheel throwing, investing in a good pottery wheel is crucial. But don’t worry if you’re on a budget; there are plenty of affordable options available that still offer great functionality. When selecting a pottery wheel, consider factors such as speed control, weight, and whether it’s electric or kick-driven. Remember, your wheel should feel comfortable and intuitive to use, as it will be your main tool for creating beautiful pieces.
In addition to the wheel, you’ll want to have a set of sculpting tools. These are specialized tools that allow you to add intricate details to your pottery. Think of them as your paintbrushes for clay! Common sculpting tools include loop tools, which are fantastic for carving and shaping, and needle tools, which are perfect for making precise cuts and adding delicate details. Having a variety of these tools will give you the flexibility to express your creativity.
Don’t overlook the importance of a work surface. A sturdy, flat surface will make your pottery-making process much smoother. Many potters use a wooden board or a dedicated pottery table. It’s also helpful to have a canvas cloth or a piece of plaster to keep your clay from sticking to the surface. This small investment can save you a lot of headaches later on!
Lastly, let’s talk about safety gear. Working with clay can be messy, and it’s essential to protect yourself. A good apron will keep your clothes clean, while gloves can protect your hands from drying out or from any harsh chemicals in glazes. Also, consider wearing a mask when sanding or working with dry clay to avoid inhaling dust particles.
To summarize, here’s a quick overview of the essential tools every beginner potter should consider:
| Tool | Purpose |
|---|---|
| Clay Tools | For shaping and manipulating clay |
| Pottery Wheel | Main tool for wheel throwing |
| Sculpting Tools | Add intricate details to pottery |
| Work Surface | Sturdy area for working with clay |
| Safety Gear | Protects you while working with clay |
With these tools in hand, you’re well on your way to starting your pottery journey. Remember, every potter has their own preferences and styles, so feel free to experiment and find what works best for you. Now, let’s get those hands dirty and start creating!
Q: Do I need a pottery wheel to start making pottery?
A: No, you can start with handbuilding techniques like pinch pots or coil building. A pottery wheel is great for those who want to explore wheel throwing, but it’s not a necessity for beginners.
Q: What type of clay should I use as a beginner?
A: Earthenware is a great option for beginners. It’s easy to work with and fires at lower temperatures, making it ideal for those just starting out.
Q: How can I keep my clay moist while working?
A: Use a sponge to keep your clay damp and cover any unused clay with a plastic bag to prevent it from drying out.
Q: What safety precautions should I take while working with pottery?
A: Always wear an apron, gloves, and a mask when necessary. Keep your workspace clean and be mindful of your surroundings to avoid accidents.

Pottery Wheel Basics
Getting started with a pottery wheel can feel a bit like learning to ride a bike. At first, it might seem intimidating, but with a little practice and patience, you'll find yourself cruising along smoothly. The pottery wheel is a magical tool that allows you to shape clay into beautiful forms, but before you dive in, it's essential to understand the basics. First and foremost, you need to ensure that your wheel is set up correctly. A stable surface is key; you don’t want your wheel wobbling while you’re trying to create your masterpiece!
Once your wheel is set up, it’s time to get familiar with the controls. Most pottery wheels have a foot pedal that controls the speed. Think of it as the gas pedal in your car. Start slow—this will give you better control over the clay as you learn to center it. Centering is the first and most crucial step in wheel throwing. It involves placing a lump of clay on the wheel and using your hands to shape it into a perfect circle. This might take some time to master, but don’t get discouraged! Everyone has their own learning curve.
As you begin to throw, you’ll want to keep your hands steady and apply even pressure. Imagine you’re hugging a big, soft pillow; you want to apply just the right amount of pressure without squishing it. If you feel the clay moving off-center, don’t panic. Simply slow down the wheel and gently guide the clay back to the center using your hands. This is all part of the learning process, and practice will make perfect!
One of the most common challenges beginners face is learning how to open the clay after centering it. This involves creating a depression in the center of the lump of clay to form the base of your piece. Use your fingers to gently push down into the clay while it spins, creating a well. It’s a bit like digging a hole in the sand at the beach—just be careful not to go too deep too quickly!
As you become more comfortable with the wheel, you can start experimenting with different shapes and forms. For instance, you might want to try pulling up the walls of a pot or bowl. This technique involves applying pressure from the inside of the piece while pulling the clay upwards with your outside hand. It’s all about balance and control, so take your time and enjoy the process. Remember, every potter has had their fair share of wobbly and misshapen pieces, so don’t be too hard on yourself.
In summary, mastering the pottery wheel is all about practice and patience. Start slow, focus on centering, and gradually work your way up to more complex forms. With each session, you’ll gain more confidence and skill. And who knows? You might just uncover a hidden talent for pottery that you never knew you had!
- How long does it take to learn to use a pottery wheel? Learning to use a pottery wheel varies from person to person. Some may feel comfortable after a few sessions, while others might take a few weeks to get the hang of it.
- What type of clay should I use for wheel throwing? It's best to start with stoneware or earthenware clay, as they are more forgiving for beginners.
- Can I use a pottery wheel at home? Yes! There are many affordable pottery wheels available for home use, but ensure you have enough space and a sturdy table to set it up.
- What should I do if my clay keeps falling off the wheel? This is a common issue for beginners. Make sure your clay is properly centered and that you’re using enough water to keep it lubricated.
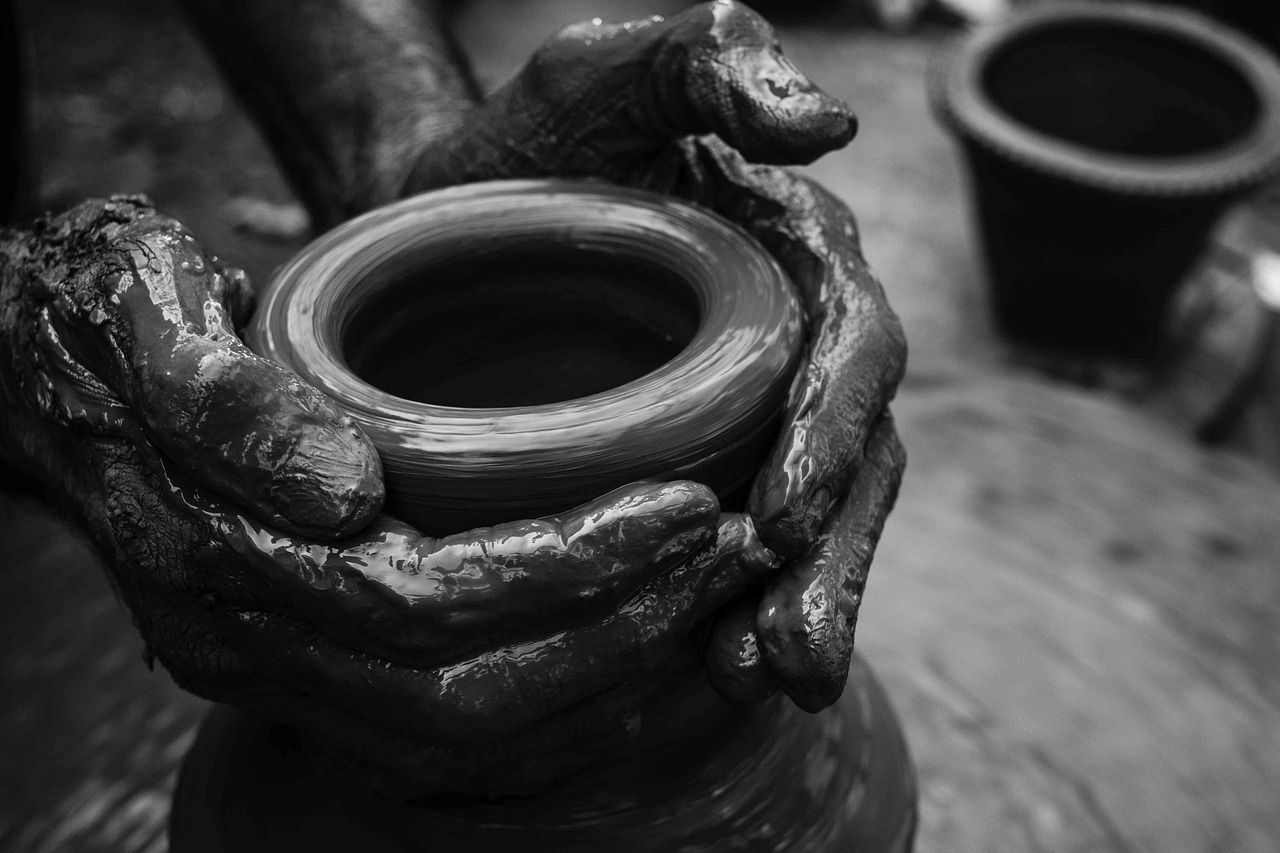
Choosing the Right Wheel
When diving into the world of pottery, one of the most pivotal decisions you'll make is selecting the right pottery wheel. It’s akin to choosing the perfect pair of shoes for a marathon; the right fit can make all the difference in your performance and enjoyment. There are several factors to consider that will help you find a wheel that suits your needs and budget.
First and foremost, think about your budget. Pottery wheels can range from affordable options for beginners to high-end professional models. If you're just starting, you might want to look for a wheel that is both cost-effective and durable. Many brands offer entry-level wheels that are reliable without breaking the bank. However, investing a bit more in a quality wheel can pay off in the long run, as it will likely last longer and perform better.
Next, consider the type of wheel you want. There are two main types: electric and kick wheels. Electric wheels are powered by a motor and are generally easier for beginners to use, as they require less physical effort to maintain speed. On the other hand, kick wheels are manually operated and can provide a more traditional pottery experience. They also tend to be more portable, which is great if you plan on moving your workspace around.
Another important factor is the wheel head size. The wheel head is the flat surface on which you shape your clay. If you plan on making larger pieces, a wheel with a bigger head will give you more space to work. Conversely, if you’re focusing on smaller items, a smaller wheel head may be sufficient. A typical size for beginners is around 12 to 14 inches in diameter, which provides a good balance for various projects.
Additionally, pay attention to the weight of the wheel. Heavier wheels tend to be more stable, which can be particularly beneficial when throwing larger pieces. If you’re working in a studio environment where the wheel will remain stationary, a heavier model might be ideal. However, if you need something that can be easily moved, consider a lighter option that still offers stability.
Finally, don’t forget about the accessories. Some pottery wheels come with built-in features like splash pans or foot pedals, which can enhance your experience. Accessories like these can save you time and effort, making your pottery journey more enjoyable. Also, check if the wheel is compatible with additional tools you might want to use, such as a bat system for easy removal of your work.
In summary, choosing the right pottery wheel involves evaluating your budget, the type of wheel, wheel head size, weight, and available accessories. By taking the time to consider these factors, you can ensure that you select a wheel that not only meets your current needs but also grows with you as you develop your pottery skills.
- What is the best pottery wheel for beginners? Many beginners find electric wheels with a 12-14 inch head to be the most user-friendly.
- How much should I spend on a pottery wheel? A good beginner wheel can range from $200 to $600, depending on the features.
- Can I use a kick wheel as a beginner? Yes, kick wheels can be used, but they require more physical effort and practice to master.
- What additional tools do I need with a pottery wheel? Basic tools include a rib, sponge, needle tool, and trimming tools.
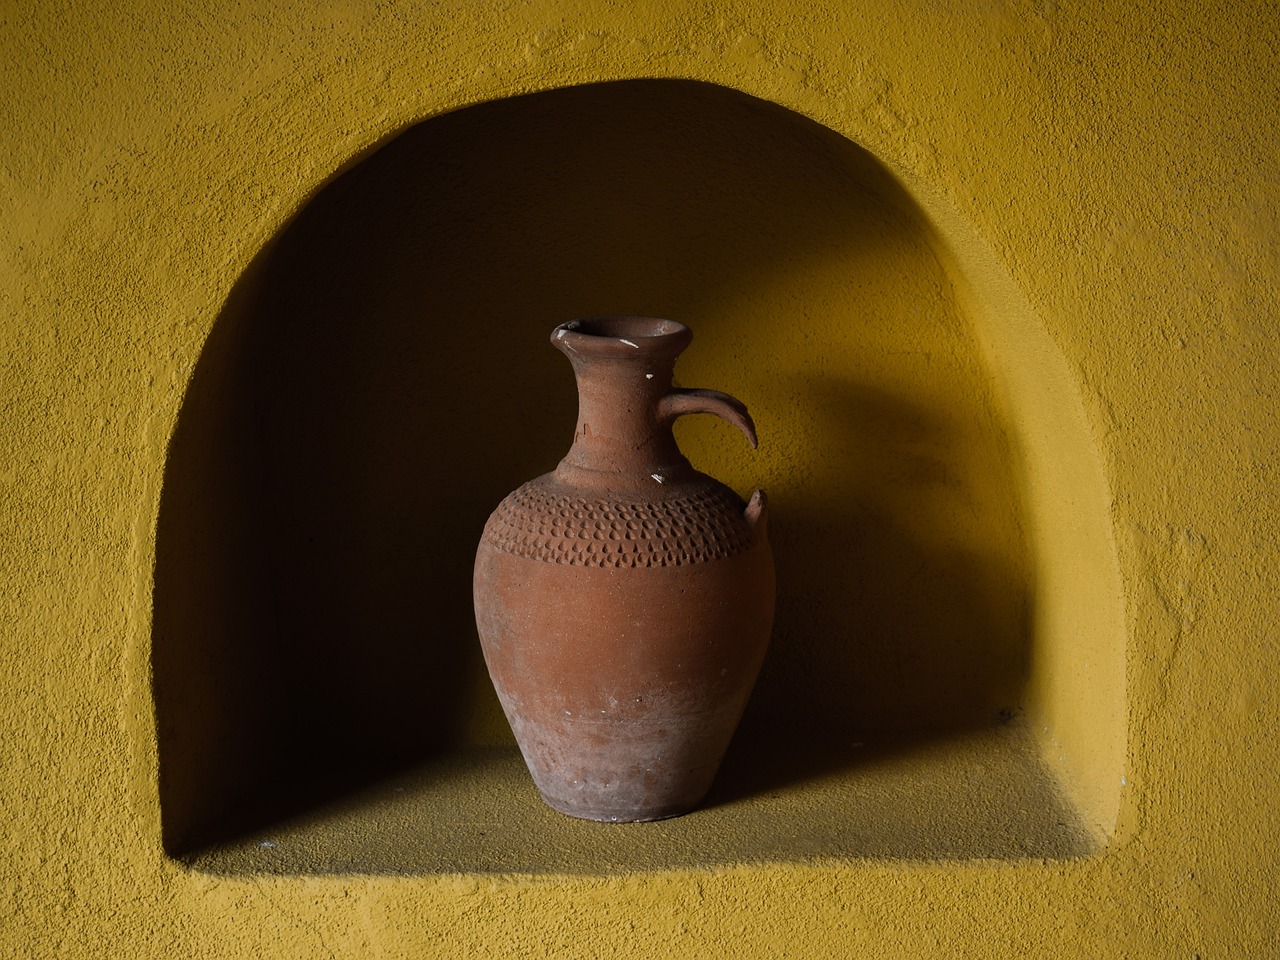
Wheel Throwing Techniques
Wheel throwing is an exciting and rewarding aspect of pottery that allows you to create stunning pieces with just a few essential techniques. If you're new to this craft, don’t worry! With practice and patience, you’ll be able to master the art of throwing clay on a pottery wheel. The key techniques to focus on include centering, opening, and pulling. Each of these steps plays a crucial role in shaping your clay into beautiful forms.
First up is centering. This is arguably the most important step in wheel throwing. To center your clay, you need to throw it onto the wheel head and apply pressure with your hands while the wheel spins. This can feel a bit like a dance, as you’ll need to find the right balance between pressure and speed. The goal is to create a perfectly balanced mound of clay that spins in harmony with the wheel. If done correctly, centering will set the foundation for all the subsequent steps.
Once you’ve mastered centering, it’s time to move on to opening your clay. This technique involves creating a hole in the center of your centered clay. You’ll want to press down gently with your fingers to form a well, gradually widening it as you go. Think of it as creating a small pond in the middle of your clay mound. The depth and width of this opening will determine the final shape of your pottery piece, so take your time and ensure it’s just right.
Next comes the pulling technique, where you shape the walls of your pottery. With one hand inside the piece and the other outside, you will gently pull the clay upwards while applying even pressure. This is where the magic happens! As you pull, your clay will rise and take shape, transforming from a simple lump into a beautiful vessel. Remember, the key here is to be gentle and consistent; too much pressure can lead to wobbly walls or even collapse.
To help visualize these techniques, here’s a quick overview:
| Technique | Description | Tips |
|---|---|---|
| Centering | Creating a balanced mound of clay on the wheel. | Use firm, even pressure; keep your hands steady. |
| Opening | Forming a hole in the center of the clay. | Maintain a consistent depth and width. |
| Pulling | Shaping the walls of the pottery piece. | Apply even pressure and be patient. |
As you practice these techniques, don’t forget to embrace the learning process. It’s perfectly normal to encounter challenges along the way, such as uneven walls or pieces that collapse. Instead of getting discouraged, view each mistake as an opportunity to learn and improve. Over time, you’ll develop a feel for the clay and the wheel, which will make these techniques second nature.
Now that you have a basic understanding of wheel throwing techniques, you’re ready to dive into the world of pottery with confidence. Remember to take it slow, enjoy the process, and most importantly, have fun! Pottery is not just about the final product; it’s about the journey of creativity and self-expression.
- What type of clay is best for wheel throwing?
Stoneware or earthenware clays are commonly used for wheel throwing due to their plasticity and ability to hold shape.
- How long does it take to master wheel throwing?
It varies for everyone, but with regular practice, many beginners start feeling comfortable within a few months.
- Can I use a pottery wheel at home?
Absolutely! Many beginners start with a portable wheel that can fit in small spaces.
Handbuilding Techniques
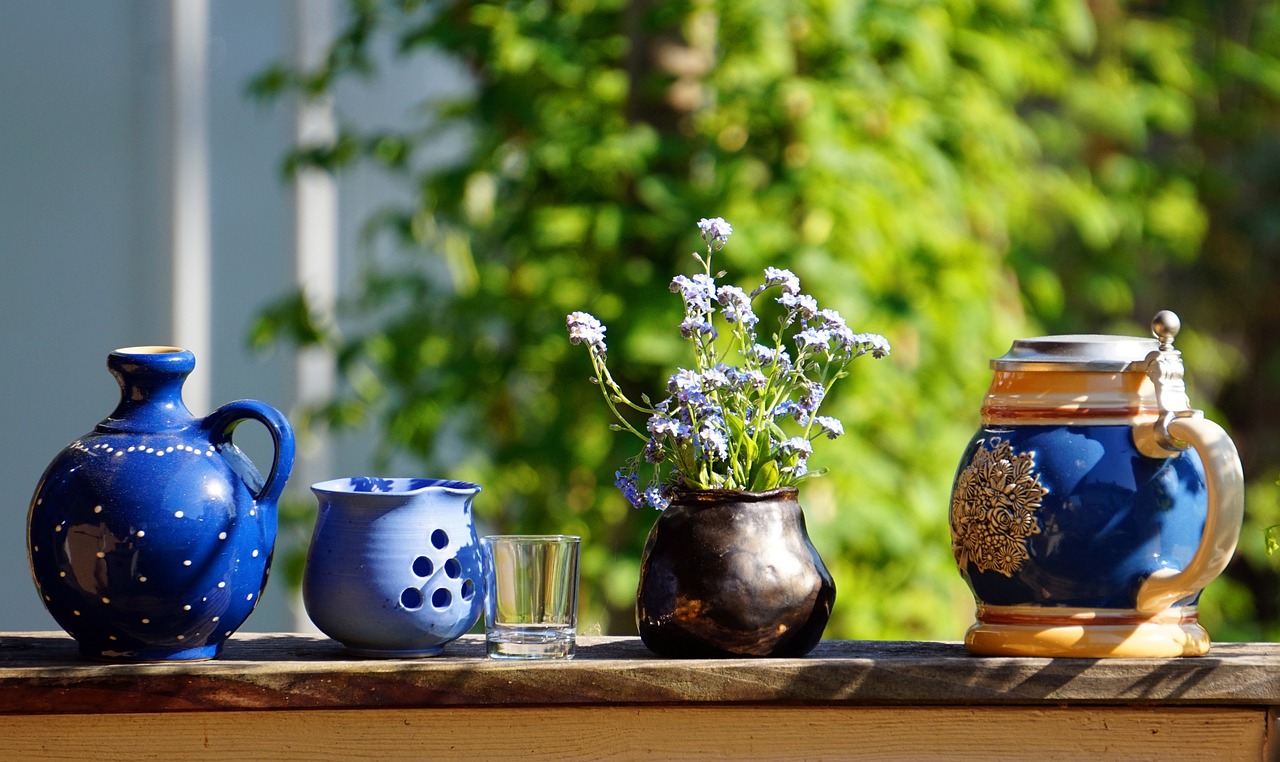
Handbuilding is a fantastic way to dive into the world of pottery, especially for beginners who may feel a bit intimidated by the pottery wheel. Imagine molding clay with your own hands, shaping it into something beautiful and functional without the need for complex machinery. It’s like being a sculptor, but instead of stone, you’re working with a material that’s alive and flexible. In this section, we’ll explore the three main handbuilding techniques: pinch pots, coil building, and slab construction, each offering a unique way to express your creativity.
The first technique, pinch pots, is as simple as it sounds. You start with a ball of clay, and using your fingers, you pinch and shape it into a small bowl or cup. This method is perfect for beginners because it requires minimal tools and allows for a lot of personal expression. You can create different shapes and sizes just by adjusting how you pinch the clay. Plus, pinch pots are a great way to practice your hand-eye coordination and get a feel for the material.
Next up is coil building, a technique that involves rolling out long, snake-like pieces of clay and stacking them to create forms. Think of it as building with clay ropes! This method allows for more complex shapes and is ideal for creating larger pieces. As you stack the coils, you can smooth the seams where they join, adding texture and design elements to your work. Coil building is not only fun but also teaches you about the structural integrity of your pottery, as you’ll need to ensure your creations are sturdy enough to hold their shape.
The third technique we’ll cover is slab construction. This involves rolling out flat sheets of clay and cutting them into shapes that can be joined together. It’s a bit like making a clay puzzle! You can create boxes, plates, or even intricate sculptures using slabs. The beauty of slab construction is that it allows for more geometric designs and can be combined with the other techniques for even more creative possibilities. For example, you can use slabs for the base of a pot and coil for the sides.
Here’s a quick comparison of these handbuilding techniques to help you decide which one might be your favorite:
| Technique | Best For | Tools Needed | Skill Level |
|---|---|---|---|
| Pinch Pots | Simple bowls and cups | Hands only | Beginner |
| Coil Building | Larger, more complex forms | Rolling pin, knife | Beginner to Intermediate |
| Slab Construction | Geometric shapes and boxes | Rolling pin, knife, ruler | Intermediate |
Each technique offers its own set of challenges and rewards, making handbuilding an exciting avenue for creativity. As you experiment with these methods, don’t be afraid to combine them! You might find that a pinch pot base with a coil-built neck creates a stunning vase. The possibilities are endless, and the most important part is to have fun and let your imagination run wild.
Now that you’ve got a handle on the basics of handbuilding, you’re ready to start creating your own pieces! Remember, practice makes perfect, and every piece you create is a step towards honing your skills. So roll up your sleeves, grab some clay, and get ready to unleash your inner artist!
- What type of clay is best for handbuilding? For beginners, earthenware clay is often recommended due to its workability and lower firing temperature.
- Can I use regular kitchen tools for pottery? Absolutely! Many potters use common kitchen items like rolling pins and knives for their projects.
- How do I keep my clay from drying out while I work? Keep a damp cloth over your clay or cover it with plastic to maintain moisture.
- Is it necessary to glaze my handbuilt pottery? While glazing adds color and protects the clay, you can leave your pieces unglazed for a more rustic look.
Firing Your Pottery
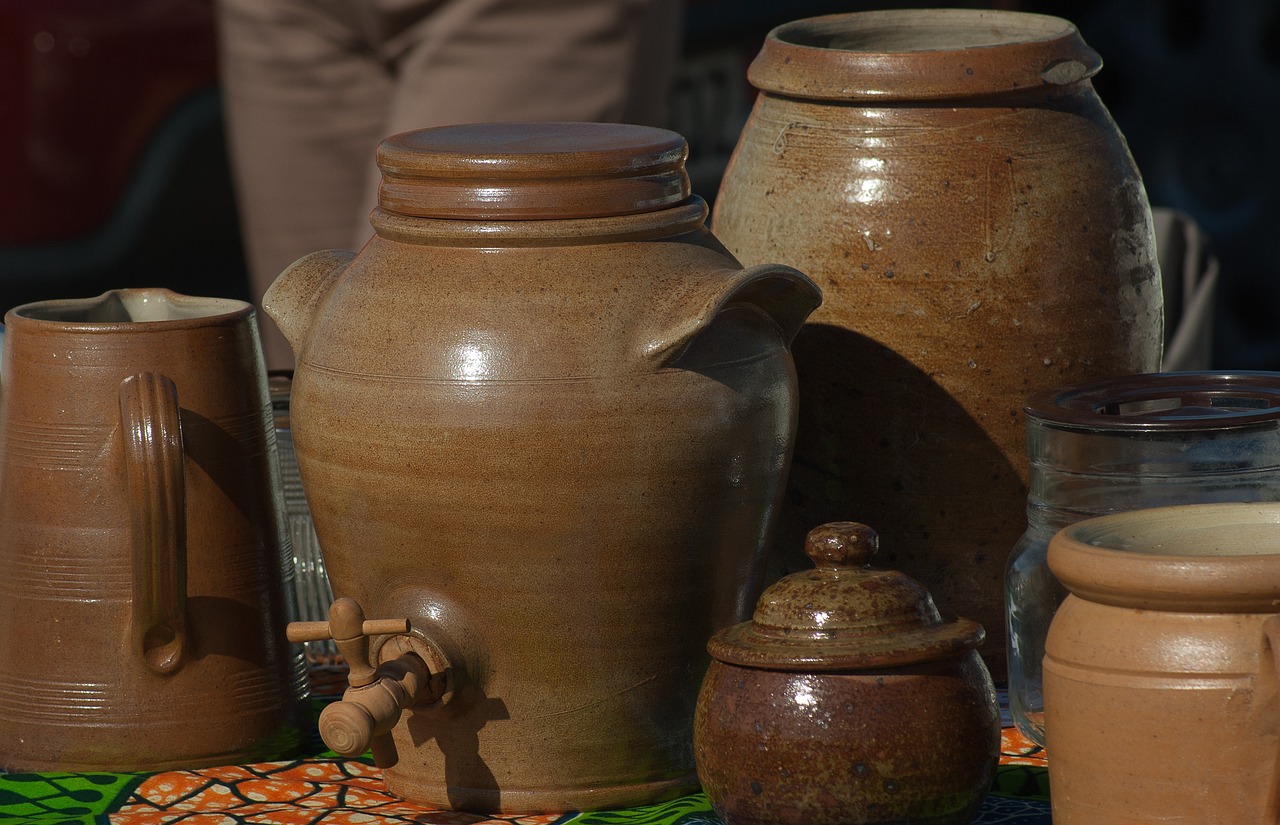
Firing your pottery is where the magic truly happens! It’s the process that transforms your soft, malleable clay into a hard, durable ceramic piece. Without firing, your beautiful creations would remain fragile and easily breakable. So, how does it work? Let’s dive into the different firing methods and processes that every beginner should know.
There are two main stages in the firing process: bisque firing and glaze firing. Each stage serves a unique purpose and requires specific attention. During bisque firing, your pottery is heated to a temperature that removes moisture and organic materials, making it more durable and ready for glazing. This initial firing typically occurs in the range of 1,650°F to 1,830°F (900°C to 1,000°C). After this stage, your pottery is referred to as bisqueware, and it’s porous enough to absorb glaze but still strong enough to handle.
After you’ve applied your glaze, it’s time for the glaze firing. This second firing melts the glaze, creating a beautiful, glass-like surface that enhances the aesthetic quality of your pottery. Glaze firing temperatures can vary significantly depending on the type of glaze used, typically ranging from 1,830°F to 2,380°F (1,000°C to 1,300°C). The right temperature and duration are crucial to achieving the desired finish, so make sure to follow the glaze manufacturer's recommendations.
Now, let’s talk about the different types of firing methods. The most common methods include:
- Electric Kilns: These are widely used by beginners due to their ease of use and precise temperature control. They are perfect for both bisque and glaze firings.
- Gas Kilns: These kilns provide a unique atmosphere that can influence the final appearance of your pottery. They are often used for stoneware and porcelain.
- Wood-Fired Kilns: This traditional method imparts distinct textures and colors to pottery, but it requires a lot of skill and experience.
- Raku Firing: A quick and exciting method that involves removing pottery from the kiln while it’s still glowing hot, creating unique finishes.
When considering your firing options, think about your artistic goals and the type of pottery you want to create. Each method has its unique characteristics and can greatly influence the final product. For instance, if you’re aiming for a rustic, earthy look, wood-firing might be your best bet. On the other hand, if you prefer a smooth and glossy finish, an electric kiln could be your go-to.
It’s also important to understand the safety precautions involved in firing your pottery. Always ensure your kiln is properly ventilated, as harmful gases can be produced during the firing process. Use appropriate protective gear, such as gloves and goggles, and familiarize yourself with the kiln’s operation manual to avoid accidents. Remember, safety first!
In summary, firing your pottery is a crucial step that not only solidifies the clay but also enhances the beauty of your work. Whether you choose electric, gas, wood, or raku firing, understanding the firing process will elevate your pottery-making skills and open up a world of creative possibilities.
Q: How long does it take to fire pottery?
A: The duration of the firing process can vary depending on the kiln type and firing method. Generally, bisque firing can take around 8-12 hours, while glaze firing may take 6-10 hours.
Q: Can I fire my pottery at home?
A: Yes, if you have access to a suitable kiln and follow safety guidelines, you can fire your pottery at home. However, make sure to check local regulations regarding kiln use.
Q: What should I do if my pottery cracks during firing?
A: Cracking can occur due to several factors, including uneven thickness or rapid temperature changes. If it happens, don’t be discouraged! Analyze the cause and adjust your techniques for future projects.
Understanding Kilns
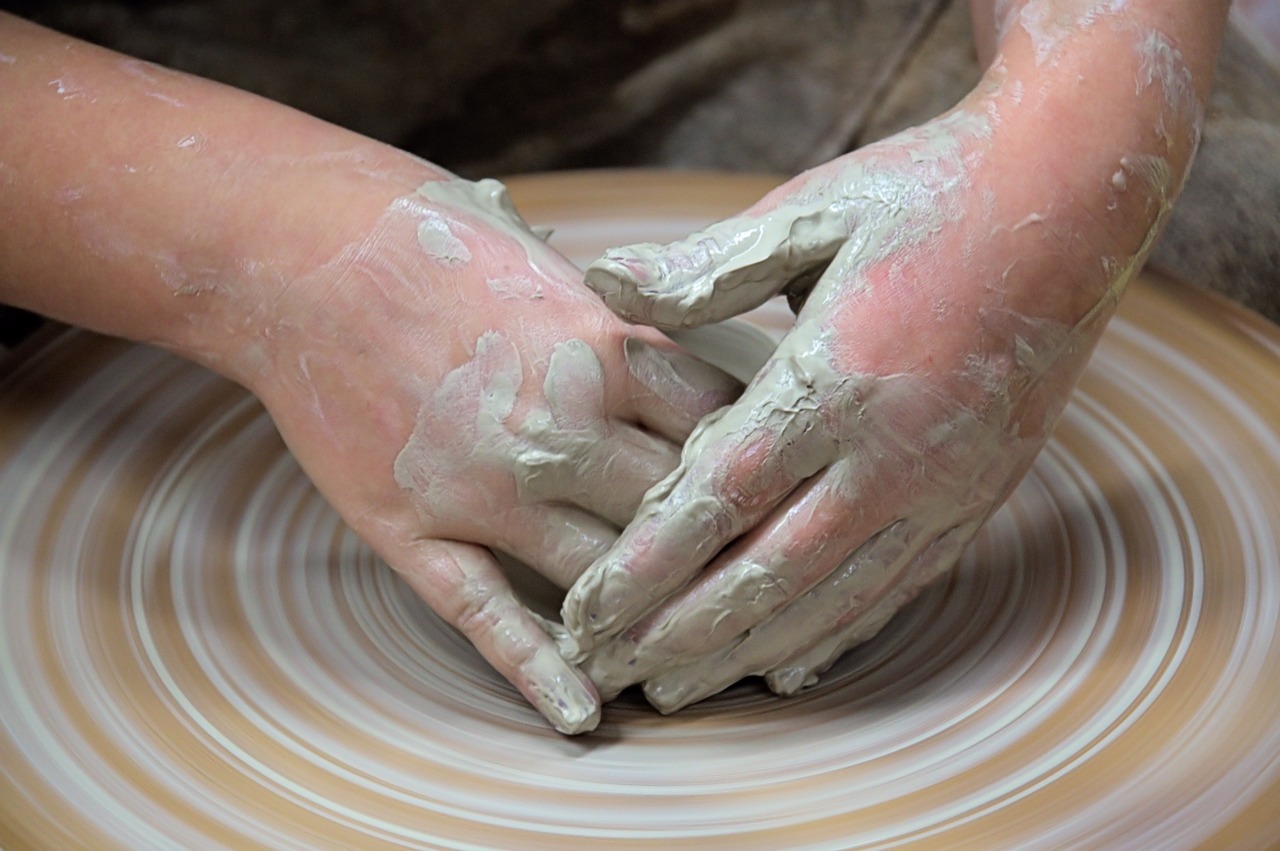
When it comes to pottery, kilns are the unsung heroes of the craft. They are the magical boxes that transform your soft, malleable clay creations into sturdy, beautiful ceramics. Understanding kilns is crucial for any pottery enthusiast, especially beginners eager to embark on their creative journey. So, what exactly is a kiln, and why is it so important? Let’s dive in!
A kiln is essentially a specialized oven designed to reach high temperatures necessary for firing clay. This process not only hardens the clay but also brings out the colors and textures of glazes. There are various types of kilns, each suited for different firing techniques and materials. Here are the most common types:
- Electric Kilns: These are the most popular among beginners due to their ease of use and consistent firing temperatures. They are perfect for small studios and home setups.
- Gas Kilns: Offering more versatility in firing atmospheres, gas kilns can produce unique effects in glazes. However, they require more setup and safety precautions.
- Wood-Fired Kilns: These kilns create beautiful, unpredictable results due to the natural variations in temperature and atmosphere. They are less common for beginners but can be incredibly rewarding.
- Raku Kilns: Specifically designed for Raku firing, these kilns allow for rapid heating and cooling, resulting in distinctive finishes. They are often used for decorative pieces rather than functional ware.
Choosing the right kiln for your pottery studio depends on several factors, including your budget, the type of pottery you plan to create, and the space available. Electric kilns are generally the best starting point for beginners because they are user-friendly and require minimal maintenance. As you grow in your pottery journey, you might explore other types to expand your creative possibilities.
Another important consideration is the size of the kiln. Kilns come in various sizes, from small tabletop models to large, industrial-sized versions. If you’re just starting out, a smaller kiln may be sufficient for your initial projects. However, if you plan on making larger pieces or working in bulk, investing in a larger kiln could save you time and energy in the long run.
Understanding the firing process is equally important. Firing can be broken down into two main stages: bisque firing and glaze firing. During the bisque firing, your clay pieces are heated to a temperature that removes moisture and hardens the clay without vitrifying it. This creates a porous surface that can absorb glaze. The glaze firing follows, where the kiln reaches a higher temperature to melt the glaze and fuse it to the pottery, creating a durable, finished piece.
Finally, safety should always be a top priority when working with kilns. Ensure that your kiln is set up in a well-ventilated area away from flammable materials. Always wear appropriate protective gear, such as gloves and goggles, when handling hot materials or working with glazes. By following proper safety precautions, you can enjoy the process of firing your pottery while minimizing risks.
To help clarify any lingering questions about kilns, here are some frequently asked questions:
- What temperature do kilns reach? Most kilns can reach temperatures between 1,800°F to 2,400°F, depending on the type of clay and glaze used.
- How long does the firing process take? Firing times can vary significantly based on the kiln type and the temperature being reached, but most firings take several hours to complete.
- Can I use my home oven as a kiln? No, home ovens cannot reach the high temperatures required for firing pottery and are not designed for this purpose.
In conclusion, understanding kilns is fundamental for any budding potter. They are not just tools; they are gateways to transforming your creative visions into tangible art. By choosing the right kiln, understanding the firing process, and adhering to safety measures, you’ll be well on your way to creating stunning ceramic pieces that you can be proud of!
Safety Precautions
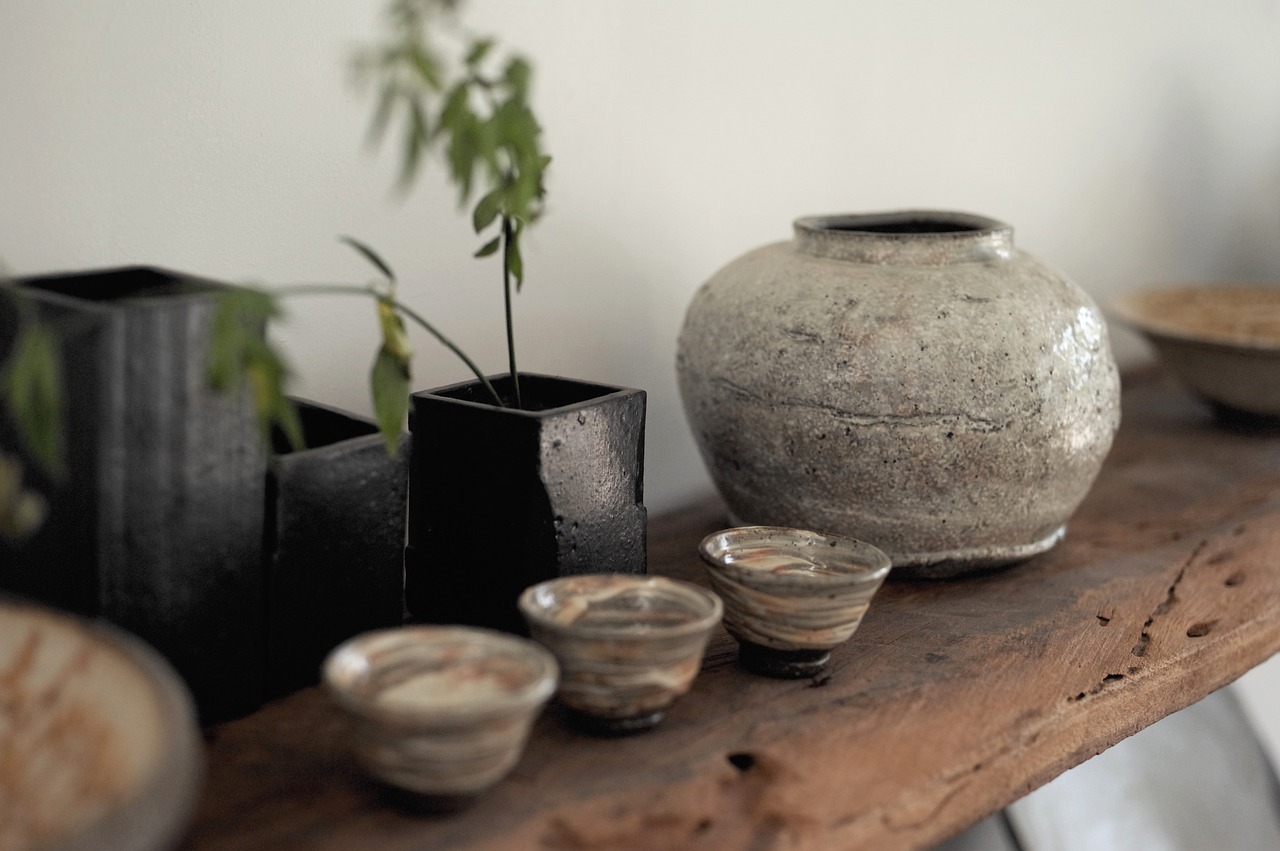
When diving into the captivating world of pottery, safety should always be your top priority. Working with clay, glazes, and kilns can be a rewarding experience, but it also comes with its own set of risks. To ensure that your pottery journey remains enjoyable and accident-free, here are some essential safety precautions you should consider.
First and foremost, wearing appropriate clothing is crucial. Opt for long sleeves and pants made of natural fibers, as these materials are less likely to catch fire. Avoid wearing loose clothing that can easily get caught in machinery or tools. It’s also wise to wear an apron to protect your clothes and skin from clay and glaze splatters.
Next, let’s talk about protective gear. Always wear a pair of safety goggles to shield your eyes from dust and flying debris, especially when mixing dry clay or working with power tools. Additionally, consider using a dust mask or respirator when sanding or grinding pottery, as inhaling fine particles can be harmful to your lungs.
Another important aspect of safety is maintaining a clean and organized workspace. A cluttered studio can lead to accidents, so make it a habit to keep your area tidy. Ensure that all tools are stored properly and that spills are cleaned up immediately to prevent slips and falls.
When it comes to working with glazes, it’s essential to read the labels and understand the materials you’re using. Many glazes contain chemicals that can be hazardous if ingested or inhaled. Always work in a well-ventilated area, and wear gloves to protect your skin. If you’re mixing your own glazes, be sure to follow safety instructions closely and store materials safely away from children and pets.
Finally, let’s not forget about the kiln. Operating a kiln requires careful attention to safety protocols. Always follow the manufacturer’s instructions, and never leave a kiln unattended while it’s in use. Make sure the kiln is placed on a stable surface away from flammable materials, and ensure that it has adequate ventilation. It’s also a good idea to have a fire extinguisher nearby, just in case.
By adhering to these safety precautions, you can enjoy your pottery-making experience with peace of mind. Remember, it’s all about creating beautiful art while keeping yourself and your surroundings safe. So gear up, stay aware, and let your creativity flow!
Here are some common questions that beginners often have regarding safety in pottery making:
- What should I do if I accidentally get glaze on my skin? - Rinse the area with soap and water immediately. If irritation persists, consult a medical professional.
- Is it safe to use a pottery wheel without protective gear? - While it’s not mandatory, wearing goggles and a mask can protect you from dust and debris, making it safer.
- How can I ensure my kiln is safe to use? - Regularly inspect your kiln for any damage, ensure proper ventilation, and always follow the manufacturer's instructions.
- Are there any specific materials I should avoid when glazing? - Yes, avoid glazes that contain lead or other toxic materials, especially if you plan to use your pottery for food.
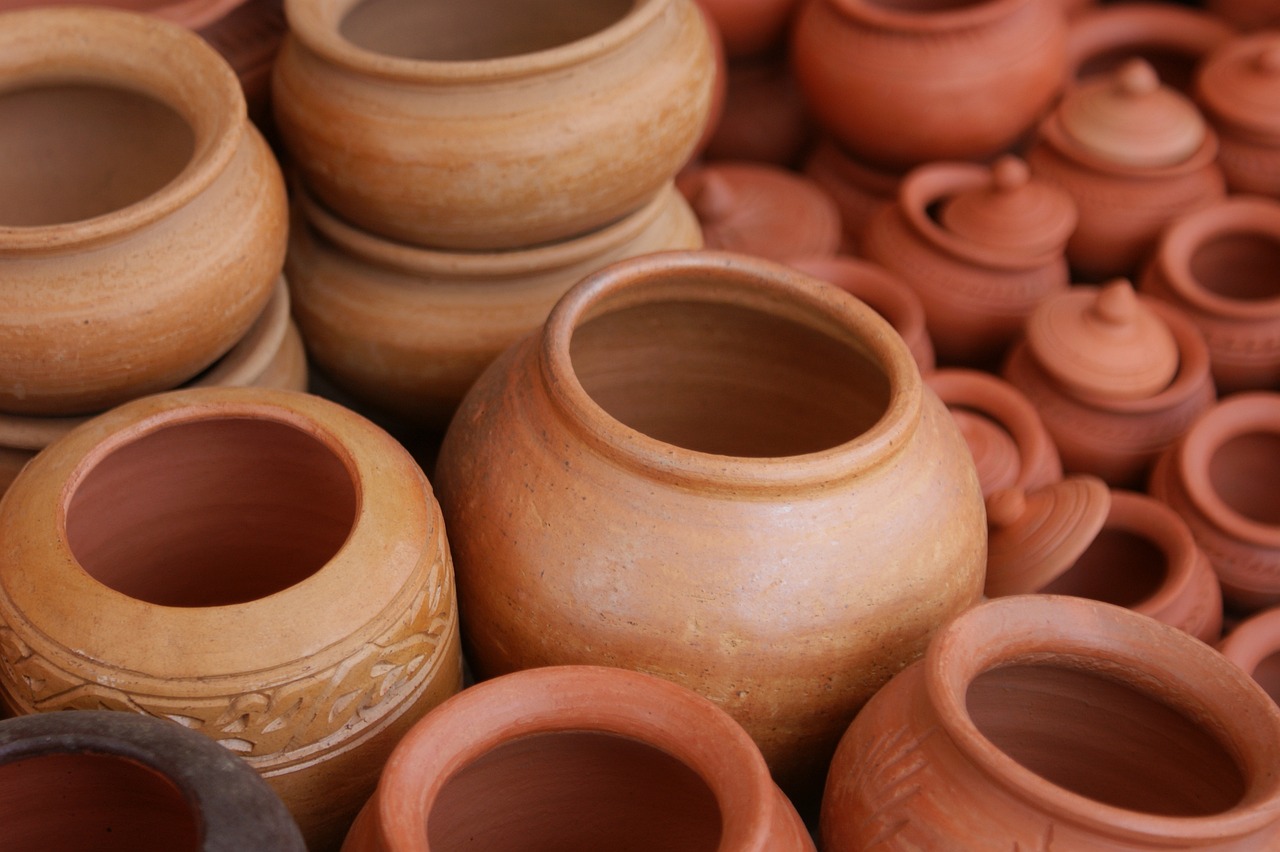
Glazing Techniques
Glazing is where the magic happens in pottery! It’s like the cherry on top of your favorite dessert, transforming your creations into stunning pieces of art. Whether you're aiming for a glossy finish that reflects light beautifully or a matte texture that feels organic to the touch, mastering glazing techniques is essential for any potter. So, let’s dive into the world of glaze and discover how to make your pottery shine!
First off, let’s talk about the different types of glazing techniques you can use. Each technique brings out unique characteristics in your pottery, allowing you to express your creativity in various ways. Here are some popular glazing techniques:
- Dipping: This method involves immersing your pottery piece into a bucket of glaze. It’s quick and can produce a beautiful, even coat. Just be sure to allow excess glaze to drip off before firing!
- Brushing: If you want to add detail or create patterns, brushing on glaze is your best bet. This technique allows for precision and control, letting you layer colors for stunning effects.
- Spraying: For those who want a more uniform finish, spraying glaze can be a game changer. It creates a smooth layer and is fantastic for larger pieces, but requires a bit of practice to master.
Choosing the right glazing technique depends on the look you’re going for and the piece you’re creating. For instance, if you’re working on a delicate vase, brushing might give you the finesse you need, while dipping could be perfect for a rustic bowl. It’s all about experimenting and finding what works best for you!
When it comes to applying glaze, preparation is key. Make sure your pottery is clean and free of dust or oils. Any residue can affect how the glaze adheres and can lead to uneven finishes. Additionally, consider the type of glaze you are using. Some glazes require multiple coats for the desired effect, while others may be opaque with just one application. It’s always a good idea to test your glaze on a small piece of clay before applying it to your final work.
One of the most exciting aspects of glazing is the way colors interact during firing. Different glazes can react with each other, creating unexpected and beautiful results. This is particularly true when layering glazes. For example, a transparent glaze over a colored base can create depth and vibrancy that’s hard to achieve with a single layer. Just remember, what you see before firing may look quite different after it comes out of the kiln, so embrace the surprises!
Lastly, let’s not forget about safety when working with glazes. Many commercial glazes contain materials that can be harmful if inhaled or ingested. Always wear a mask when mixing or spraying glazes, and ensure your workspace is well-ventilated. It's also crucial to keep your tools and workspace clean to avoid contamination.
In summary, glazing is an art form in itself, and with practice, you’ll develop your own style and techniques. So grab your brushes, dip your pots, and get ready to unleash your creativity! Now that you’re familiar with glazing techniques, you’re one step closer to creating pottery that not only functions beautifully but also captivates the eye.
1. Can I mix different glazes together?
Yes, mixing glazes can create unique colors and effects, but it’s essential to test them first to see how they interact when fired.
2. How do I fix a glaze that didn’t turn out right?
If your glaze didn’t come out as expected, you can often sand it down and reapply a new layer of glaze before firing again.
3. Is it safe to use any glaze on food-safe pottery?
Not all glazes are food-safe. Always check the label or consult your supplier to ensure that the glaze you’re using is suitable for food contact.
4. How can I achieve a matte finish?
To achieve a matte finish, look for specific matte glazes or apply a glossy glaze followed by a matte topcoat, ensuring that it’s compatible.
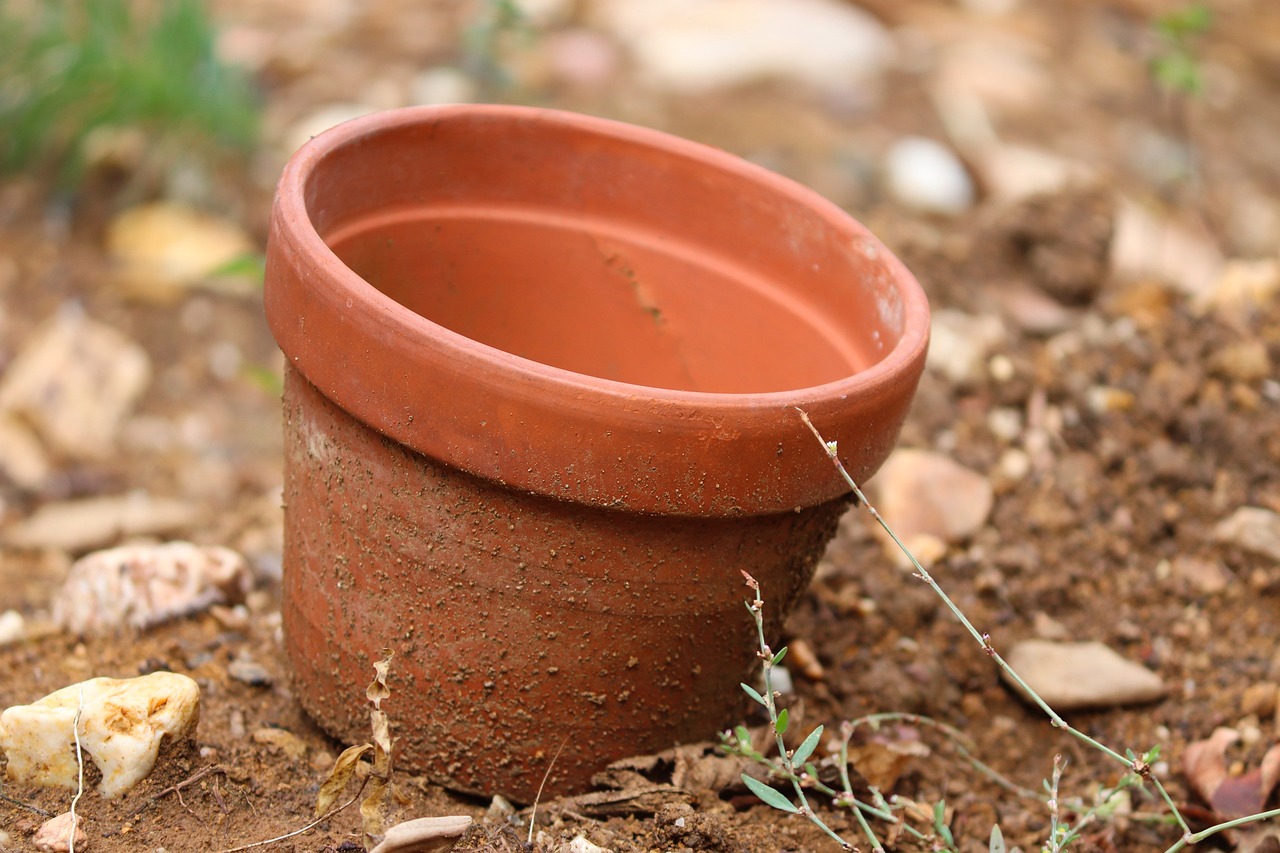
Choosing the Right Glaze
When it comes to pottery, glazing is where the magic truly happens. It’s not just about making your piece look pretty; the right glaze can enhance the texture, color, and overall aesthetic of your work. But with so many options out there, how do you choose the right one? Think of glaze selection like picking an outfit for a special occasion. You want something that complements your style, fits the mood, and, of course, looks fabulous!
The first step in choosing the right glaze is understanding the different types of glazes available. Here are a few common categories:
- Transparent Glazes: These allow the clay body and any underglaze decoration to show through.
- Opaque Glazes: These completely cover the clay body, making them ideal for hiding imperfections.
- Textured Glazes: These glazes create interesting surfaces and can add depth to your work.
- Specialty Glazes: Think of these as the wild cards! They might change color in the kiln or react with other glazes.
Next, consider the firing temperature of your pottery. Different glazes are formulated for specific firing ranges, usually categorized as low-fire (cone 06-04), mid-fire (cone 4-6), or high-fire (cone 8-10). If you’re using a particular clay body, check its firing temperature, as this will guide your glaze selection. Using a glaze that’s not compatible with your clay can lead to disastrous results, like crazing or shivering!
Another crucial factor is the finish you desire. Do you want a glossy, satin, or matte finish? Glossy glazes are great for vibrant colors and easy cleaning, while matte finishes give a more organic look, often enhancing textures. Think about the final look you want to achieve and how it complements your design.
Once you have an idea of the type of glaze you want, it's time to experiment! Don’t be afraid to mix and match. Many potters enjoy creating their own unique glazes by combining commercial ones or even experimenting with raw materials. Just remember to keep notes on your experiments, so you can replicate your successes—or avoid the failures!
Finally, always test your glazes on small samples before committing to a larger piece. This will help you see how the glaze interacts with your clay body and the firing process. Testing can save you from potential heartbreak when you pull that beautiful piece out of the kiln, only to find the glaze didn’t turn out as you envisioned.
In summary, choosing the right glaze is a blend of knowledge, experimentation, and a bit of artistic flair. With the right approach, you can elevate your pottery to stunning new heights. So grab your brushes, mix those glazes, and let your creativity flow!
Q: Can I use any glaze on any clay body?
A: Not really! Each glaze is formulated for specific firing temperatures and clay types. Always check compatibility.
Q: How do I know if a glaze is food safe?
A: Look for labels or descriptions that specify "food safe." If in doubt, consult the manufacturer.
Q: Can I layer glazes?
A: Yes, layering glazes can create unique effects, but be sure to test first, as some combinations can react unpredictably.
Q: What should I do if my glaze comes out uneven?
A: Uneven glazing can be caused by application techniques or kiln issues. Experiment with different application methods and ensure your kiln is functioning correctly.
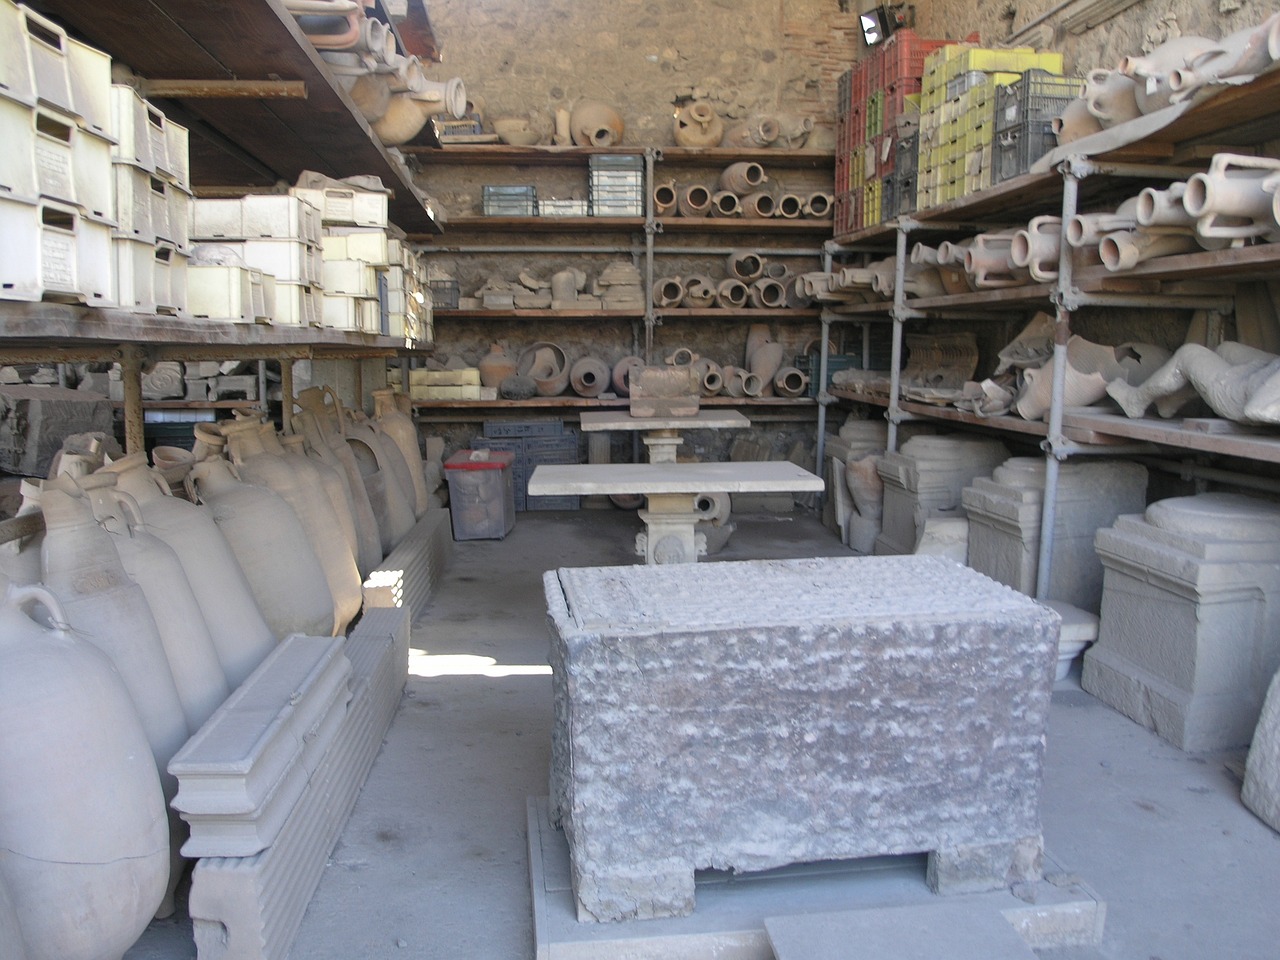
Application Methods
Applying glaze to your handmade pottery is like adding the final touch to a masterpiece. It's where your creativity truly shines! There are several methods for applying glaze, each offering unique results and textures. The most common techniques include dipping, brushing, and spraying. Each method has its own charm and can drastically change the look of your pottery. So, let’s dive into the details!
First up, the dipping method. This technique is straightforward and efficient, especially for pieces that are small to medium in size. To dip your pottery, you simply submerge it into a container filled with glaze, allowing the glaze to coat the surface evenly. This method is fantastic for achieving a uniform finish, but you must be careful not to leave any glaze on the bottom of your piece, as it can stick to the kiln during firing. A good rule of thumb is to lift the piece out slowly and let any excess glaze drip off before setting it down on a drying rack.
Next, we have the brushing technique. This method allows for more control and creativity, making it perfect for intricate designs or patterns. Using a brush, you can apply glaze directly onto your pottery, layering it to create depth and texture. The key here is to use a quality brush and to apply the glaze in thin, even coats. You might need to experiment a bit to find the right amount of glaze to use—too much can lead to drips, while too little might not provide the coverage you desire. Additionally, brushing can create beautiful brushstroke textures, which can add a unique flair to your pieces.
Lastly, there’s the spraying method. This technique is often used for larger pieces or when you want to achieve a more uniform and smooth finish. Using a spray gun, you can apply glaze in a fine mist, which allows for an even coat without the brush strokes that can sometimes occur with brushing. However, it does require some practice to master the spray technique and ensure that you’re applying the glaze evenly. Be sure to wear a mask and work in a well-ventilated area, as the fine particles can be harmful if inhaled.
Regardless of the method you choose, it’s important to remember a few best practices when applying glaze:
- Always test your glaze on a small piece before applying it to your final project to see how it reacts during firing.
- Ensure your pottery is clean and free of dust or oils before applying glaze.
- Consider the firing temperature and how it will affect the glaze finish.
In conclusion, the method you choose for applying glaze can significantly influence the final appearance of your pottery. Whether you prefer the simplicity of dipping, the control of brushing, or the smooth finish of spraying, each technique offers something special. So, grab your tools, experiment with these methods, and let your creativity flow!
Q: Can I mix different glazes together?
A: Yes, mixing glazes can lead to unique colors and effects! Just make sure to test the mixture on a small piece first.
Q: How do I know if my glaze is applied correctly?
A: A well-applied glaze should have an even coat without drips or bare spots. It's always a good idea to inspect your work before firing.
Q: What should I do if my glaze runs during firing?
A: If your glaze runs, it may be due to applying too thickly or using a glaze that is prone to running. Consider adjusting your application technique or choosing a different glaze next time.
Frequently Asked Questions
- What type of clay should I start with as a beginner?
As a beginner, it's best to start with earthenware clay. It's easy to work with, forgiving, and fires at lower temperatures, making it perfect for those just starting their pottery journey.
- Do I need a pottery wheel to make ceramics?
No, you don't need a pottery wheel! You can create beautiful pieces using handbuilding techniques like pinch pots, coil building, or slab construction. These methods are great for beginners and allow for more creativity.
- How do I choose the right pottery wheel?
When choosing a pottery wheel, consider factors like speed control, weight capacity, and whether it’s portable. It's essential to select one that fits your needs and budget to enhance your learning experience.
- What is the difference between bisque firing and glaze firing?
Bisque firing is the first firing that turns clay into a hard, porous form, while glaze firing is the second firing that melts the glaze to create a glassy finish. Both steps are crucial in the pottery process.
- Are there safety precautions I should take while working with clay?
Absolutely! Always wear a mask when working with dry clay to avoid inhaling dust, and ensure your workspace is well-ventilated. Also, be cautious around kilns and follow all safety guidelines to keep your pottery experience enjoyable.
- What glazing techniques can I try as a beginner?
As a beginner, you can experiment with dipping, brushing, and spraying techniques. Each method offers unique results, so don't hesitate to try them all to see which one you prefer!
- How do I know which glaze to use for my project?
Choosing the right glaze depends on the desired color and finish of your pottery. Research different glaze types and test a few on sample pieces to find the perfect match for your artistic vision.


