Garden-Themed Craft Ideas for A Rainy Day
When the rain starts pouring and the skies turn gray, it can be easy to feel a bit down. But what if I told you that you could bring the beauty of a garden right into your home? That's right! With some simple materials and a sprinkle of creativity, you can embark on a journey of crafting that not only brightens your day but also connects you with nature. Garden-themed crafts are not just a way to pass the time; they are a wonderful opportunity to express your artistic side while enjoying the therapeutic effects of working with your hands. So, grab your supplies, put on your favorite tunes, and let’s dive into a world of color and creativity that will transform your rainy day into a blooming paradise!
Creating paper flower bouquets is a delightful way to bring the beauty of a garden indoors. Imagine vibrant petals in every color of the rainbow, all crafted by your own hands! These colorful creations can brighten up any space and make for lovely gifts. You can use various types of paper, from tissue to cardstock, and the best part? You can customize them to match any decor or occasion. Just think of how a handmade bouquet could bring a smile to someone’s face, or even your own! Plus, they’re long-lasting—unlike real flowers, these beauties won’t wilt. Gather your scissors, glue, and some colorful paper, and let’s get started on this fun and fulfilling project!
Seed bombs are a fun and eco-friendly craft that allows you to plant wildflowers anywhere. This hands-on activity is perfect for all ages and helps promote biodiversity. Imagine tossing these little balls of joy into your garden or a neglected patch of land, and watching as they burst into life with colorful blooms. Not only are you creating art, but you're also making a positive impact on the environment. The process of making seed bombs is simple and enjoyable, and it’s a great way to teach kids about nature and gardening. So, let’s roll up our sleeves and get our hands dirty!
Gathering the right materials is crucial for making seed bombs. Here’s what you’ll need:
- Clay: This acts as a binding agent.
- Compost: Provides nutrients for the seeds.
- Native seeds: Ensure that the flowers will thrive in your local environment.
Using native seeds is especially important because it helps support local ecosystems. By choosing plants that are already adapted to your area, you’re more likely to see successful growth and attract local pollinators. It's like giving nature a helping hand!
Now, let’s talk about selecting the right seeds. Choosing native plants that thrive in your area and attract local pollinators can significantly impact the success of your seed bombs. Not only will you be beautifying your surroundings, but you’ll also be contributing to the health of the ecosystem. Some great options include:
- Sunflowers
- Wildflowers
- Butterfly-friendly plants
Make sure to do a little research on what grows best in your region. This way, you’ll ensure your seed bombs are effective and environmentally friendly!
The process of making seed bombs is simple and enjoyable. Start by mixing equal parts of clay, compost, and seeds in a bowl. Once combined, add a little water until the mixture holds together but isn’t too wet. Then, roll the mixture into small balls, about the size of a marble. Lay them out on a tray to dry for a few hours. Once they’re dry, they’re ready to be tossed into your garden or any bare patch of land that could use a little color! Just think of the surprise when you see wildflowers springing up where there was once only dirt!
Transforming ordinary plant pots into decorative masterpieces is a fantastic way to express creativity. You can use paint, decoupage, or natural materials to personalize your pots. What’s more, this craft allows you to showcase your personality and style! Imagine walking into your living room and seeing a beautifully painted pot that you created. It’s not just a plant holder; it’s a piece of art that tells your story. Plus, it’s a great way to make your houseplants feel even more at home!
Creating wall art inspired by gardens can enhance your living space. From canvas paintings to pressed flower frames, there are numerous ways to showcase your love for nature. This is where you can really let your imagination run wild! You can create a vibrant canvas painting of your favorite flowers or even frame dried flowers for a more rustic look. Each piece of art can serve as a reminder of the beauty of nature, even when the weather outside isn’t cooperating.
Pressed flower art is a timeless craft that captures the beauty of nature. This technique involves drying flowers and arranging them into stunning designs for display. You can press flowers between heavy books or use a flower press for a more professional finish. Once dried, you can arrange them in a frame or on a canvas to create a unique piece of art that celebrates the beauty of the garden. It’s a lovely way to preserve memories from your garden or a special occasion!
Creating nature-inspired paintings allows for endless creativity. Use various painting techniques to depict flowers, landscapes, or garden scenes, making each piece unique and personal. Whether you’re a beginner or an experienced artist, the sky's the limit! You can experiment with watercolors, acrylics, or even mixed media to bring your vision to life. Just remember, there are no rules—let your creativity flow like a gentle stream through a lush garden!
Q: What materials do I need for paper flower bouquets?
A: You’ll need colorful paper, scissors, glue, and optionally, some green paper for leaves.
Q: Can I use any seeds for seed bombs?
A: It's best to use native seeds that are suited to your local environment to ensure growth and support local wildlife.
Q: How long do seed bombs take to grow?
A: This depends on the type of seeds used, but generally, you can expect to see sprouts within a few weeks after planting.
Q: What can I use to decorate plant pots?
A: You can use paint, fabric, decoupage materials, or even natural items like twine or bark to personalize your pots.
Paper Flower Bouquets
Creating is a delightful way to bring the beauty of a garden indoors, especially on a rainy day when the outside world seems dreary. Imagine the vibrant colors and intricate designs that you can craft with just a few simple materials! Not only do these colorful creations add a splash of joy to your home, but they also serve as a wonderful gift for friends and family. Plus, the best part is that you can customize them to match any decor or occasion!
To get started, you'll need some basic supplies. Think of it as gathering your gardening tools, but instead, you’re collecting items for your creative project. Here’s a quick list of what you might need:
- Colorful paper (crepe paper, construction paper, or even old magazines)
- Scissors
- Glue or tape
- Floral wire or sticks
- Greenery (like leaves or ferns) for added texture
Once you have gathered your materials, the real fun begins! Start by selecting the type of flowers you wish to create. You can choose from classic roses, cheerful daisies, or even exotic orchids! The process involves cutting your paper into petal shapes and assembling them into a flower. Each petal can be shaped and layered to give it a more realistic look. Just like a real garden, the key is to experiment with colors and shapes until you find a combination that you adore.
As you assemble your bouquet, don’t hesitate to mix and match different flower types and colors. Think of your bouquet as a garden in full bloom, where every flower complements the others. You can also add some decorative touches, such as glitter or beads, to make your bouquet truly unique. Once your flowers are ready, use floral wire or sticks to create stems, and arrange them in a vase or jar. Voila! You now have a stunning paper flower bouquet that can brighten up any room.
In addition to being a fun activity, making paper flower bouquets can also be a great way to spend time with loved ones. Gather your friends or family around the table, and turn it into a crafting party! Share ideas, help each other with techniques, and enjoy the creative process together. Just like a garden thrives with care and attention, so too will your relationships flourish when you engage in joyful activities with those you cherish.
So, the next time the rain is pouring outside, don’t let it dampen your spirits. Instead, grab some colorful paper, unleash your creativity, and create a beautiful bouquet that will remind you of the vibrant gardens waiting for you outside. Who knows? You might just discover a new favorite hobby in the process!
Seed Bombs
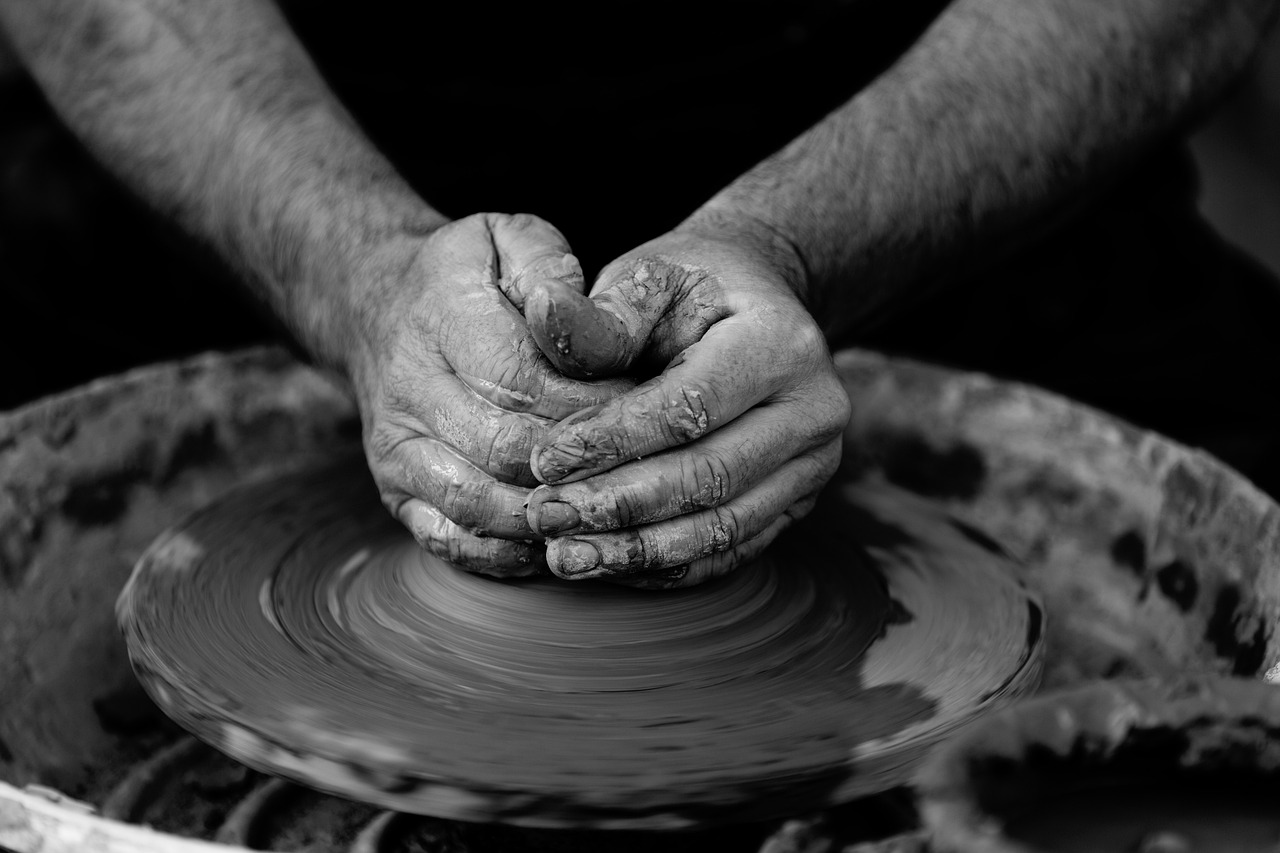
Seed bombs are not just a fun craft; they are a wonderful way to reconnect with nature while also giving back to the environment. Imagine being able to toss a small ball of soil and seeds into a barren patch of land and watching it transform into a vibrant wildflower garden! This hands-on activity is perfect for people of all ages, making it a great family project on a rainy day. Plus, it promotes biodiversity by encouraging the growth of native plants, which are essential for local ecosystems.
Before diving into the world of seed bombs, it’s essential to gather the right materials. Here’s what you’ll need:
- Clay: This acts as a binding agent, holding everything together.
- Compost: Provides the nutrients needed for the seeds to germinate.
- Seeds: Choose native seeds that will thrive in your area.
- Water: To moisten the mixture for easy handling.
Having these materials on hand will ensure your seed bombs are effective and environmentally friendly. The best part is that you can often find most of these items around your home or at a local garden store!
When it comes to selecting seeds for your bombs, think local! Native plants are not only adapted to your local climate but also support local wildlife, including bees and butterflies. By choosing the right seeds, you’re ensuring that your efforts contribute positively to your surroundings. Some popular native plants include:
- Black-eyed Susans
- Wildflowers such as cornflowers and poppies
- Herbs like lavender and thyme
Researching which plants thrive in your area will help you make the best choices. It’s like planting a little piece of your hometown wherever you go!
Now, let’s get to the fun part! Making seed bombs is simple and enjoyable. Start by mixing together equal parts of clay, compost, and seeds in a bowl. You want to create a mixture that holds together but is not too wet. Once you have your mixture, take small amounts and roll them into balls about the size of a marble. The key here is to make sure the seeds are evenly distributed throughout the ball. After you’ve formed your seed bombs, place them on a tray and let them dry for at least 24 hours. Once they’re dry, they’re ready to be tossed into your garden or any bare spot that could use a splash of color!
In conclusion, seed bombs are not just a great way to spend a rainy day, but they also serve a greater purpose of enhancing our environment. So grab your materials, get creative, and start tossing those seed bombs out into the world!
| Question | Answer |
|---|---|
| What are seed bombs? | Seed bombs are small balls made of clay, compost, and seeds that can be thrown into the soil to grow plants. |
| Can I use any seeds? | It's best to use native seeds that are adapted to your local environment for the best results. |
| How long do seed bombs take to germinate? | Germination time can vary depending on the seeds used and environmental conditions, but generally, you can expect to see growth within a few weeks. |
| Can I make seed bombs indoors? | Yes! You can easily make seed bombs indoors, just ensure they dry properly before tossing them outside. |
Materials Needed
Explore creative and fun garden-themed craft ideas that can brighten up any rainy day, allowing you to connect with nature indoors while nurturing your artistic side.
Creating paper flower bouquets is a delightful way to bring the beauty of a garden indoors. These colorful creations can brighten up any space and make for lovely gifts.
Seed bombs are a fun and eco-friendly craft that allows you to plant wildflowers anywhere. This hands-on activity is perfect for all ages and helps promote biodiversity.
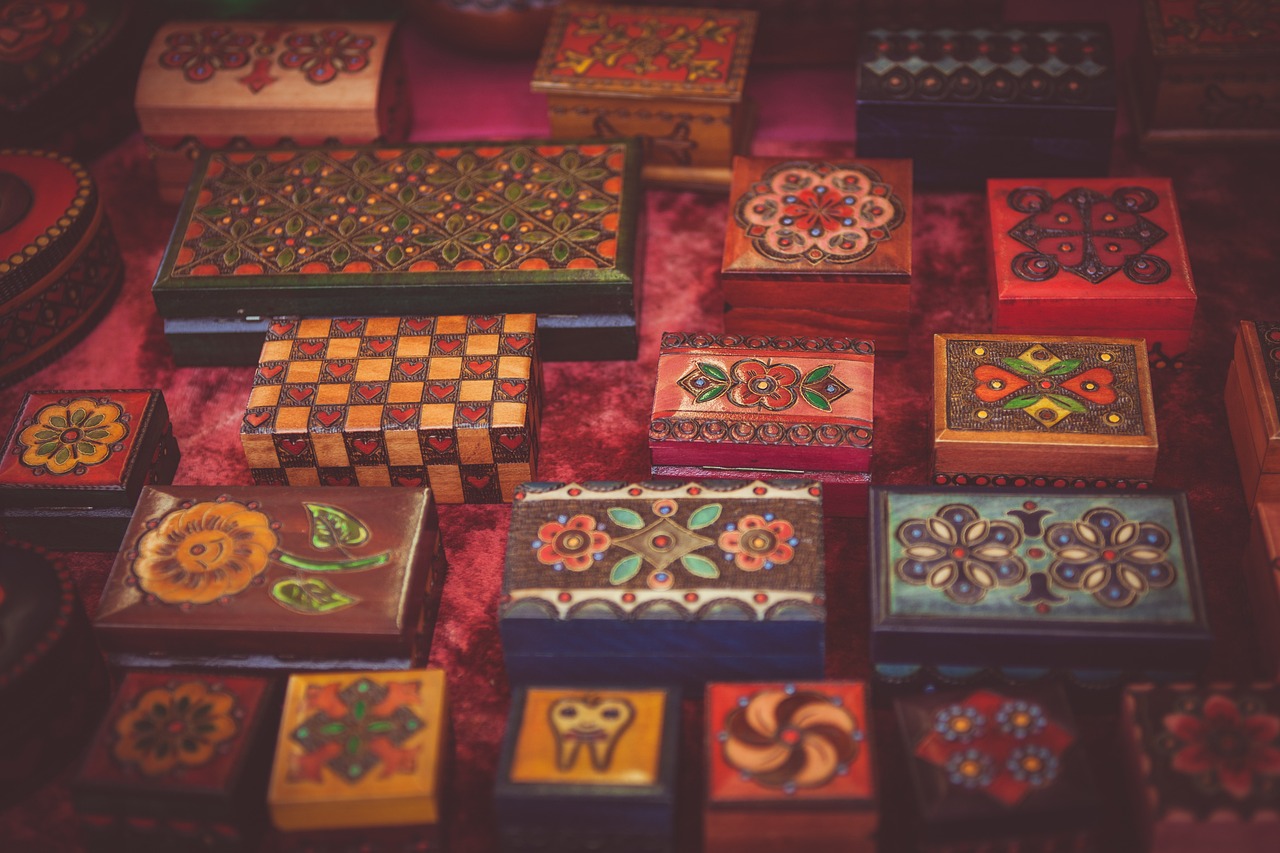
Gathering the right materials is crucial for making seed bombs. You'll want to ensure that you have everything you need before diving into this creative project. Here’s a quick rundown of what you'll need:
- Clay: This acts as the binding agent, helping to hold your seed bomb together.
- Compost: Rich in nutrients, compost will provide the seeds with the essential elements they need to sprout and grow.
- Native Seeds: Choosing seeds that are native to your area is vital, as they are more likely to thrive and attract local pollinators.
- Water: Just a little bit to moisten your mixture; too much can make it soggy!
With these materials in hand, you’re ready to create your own little balls of nature that can be tossed anywhere you want to see a burst of color. This not only adds beauty but also contributes to the local ecosystem. Remember, the magic of seed bombs lies in their simplicity and the joy they bring when they bloom!
Selecting the right seeds can impact the success of your seed bombs. Focus on native plants that thrive in your area and attract local pollinators. When choosing seeds, consider factors such as:
- Climate Compatibility: Make sure the seeds you choose can withstand the local weather conditions.
- Soil Type: Different plants thrive in different soil types, so know what your garden offers.
- Seasonal Blooming: Opt for seeds that will bloom at various times throughout the year for continuous beauty.
The process of making seed bombs is simple and enjoyable. Start by mixing the clay, compost, and seeds in a bowl. Add a little water to bind the mixture, but be careful not to make it too wet. Once you have a consistent mix, take small portions and roll them into balls about the size of a marble. Lay them out on a tray to dry completely before tossing them into your garden or any bare patch of land. Watching these little creations grow into beautiful flowers will give you a sense of accomplishment and a deeper connection to nature.
Transforming ordinary plant pots into decorative masterpieces is a fantastic way to express creativity. Use paint, decoupage, or natural materials to personalize your pots.
Creating wall art inspired by gardens can enhance your living space. From canvas paintings to pressed flower frames, there are numerous ways to showcase your love for nature.
Pressed flower art is a timeless craft that captures the beauty of nature. This technique involves drying flowers and arranging them into stunning designs for display.
Creating nature-inspired paintings allows for endless creativity. Use various painting techniques to depict flowers, landscapes, or garden scenes, making each piece unique and personal.
Q1: What types of seeds are best for seed bombs?
A1: Native wildflower seeds are ideal as they are suited to local conditions and support local wildlife.
Q2: How long do seed bombs take to germinate?
A2: Germination time can vary, but typically, you can expect to see sprouts within a few weeks, depending on the seed type and environmental conditions.
Q3: Can I use any type of pot for decorative plant pots?
A3: Yes! You can use terracotta, plastic, or even upcycled containers. Just make sure they have drainage holes.
Q4: How do I preserve flowers for pressed flower art?
A4: You can press flowers using a flower press or by placing them between heavy books. Make sure to leave them for a couple of weeks to dry completely.
Choosing the Right Seeds
When it comes to making seed bombs, the seeds you choose can make all the difference in creating a thriving mini-garden. Think of seeds as the heart of your seed bomb; without the right ones, your efforts might not bloom as beautifully as you envision. Start by considering the climate and soil conditions in your area. Native plants are often your best bet because they are already adapted to local conditions and provide essential support to local wildlife, like bees and butterflies.
As you embark on this seed selection journey, here are a few key points to keep in mind:
- Native vs. Non-Native: Always opt for native seeds, as they require less water and care once established. They also promote biodiversity, supporting the ecosystem.
- Blooming Seasons: Choose a mix of seeds that bloom at different times of the year. This ensures that your garden will have something beautiful to offer throughout the seasons.
- Size and Growth Habit: Consider the size of the plants when they mature. If you're limited on space, opt for smaller varieties that won’t overshadow each other.
To make your selection process easier, you can refer to a simple table that outlines the characteristics of some popular native plants:
| Plant Name | Bloom Time | Height | Pollinator Friendly |
|---|---|---|---|
| Black-eyed Susan | Summer | 2-3 feet | Yes |
| Butterfly Weed | Summer | 1-2 feet | Yes |
| Wild Bergamot | Summer | 2-4 feet | Yes |
By selecting seeds that are not only beautiful but also beneficial to the environment, you’re ensuring that your seed bombs will have a positive impact. Imagine watching your little seed bombs sprout into vibrant flowers that attract pollinators and bring joy to your garden. It's like planting a piece of happiness, one seed at a time!
Making the Seed Bombs
Creating seed bombs is not only a fun and engaging activity, but it also connects you with the earth in a meaningful way. To start, you'll want to gather your materials. The essential components include clay, compost, and native seeds. Each ingredient plays a vital role: the clay binds everything together, the compost provides nutrients for the seeds, and the seeds are, of course, the stars of the show!
Once you have your materials ready, it's time to get your hands a little dirty. Begin by mixing the clay and compost in a bowl. You want to achieve a consistency that is moldable but not too wet—think of it like making cookie dough! If you find it too dry, add a splash of water, but be cautious; too much moisture can hinder the drying process.
After achieving the right consistency, it's time to add the seeds. You can choose a variety of seeds, but I recommend focusing on native plants that are well-suited to your local environment. Not only will they thrive, but they will also attract local pollinators, adding even more life to your garden. Gently fold the seeds into the mixture, ensuring they are evenly distributed.
Now comes the fun part! Take small portions of the mixture and roll them into balls about the size of a marble. You can make them larger or smaller depending on your preference, but keep in mind that smaller bombs are easier to toss around. Once you've formed all your seed bombs, place them on a tray or a piece of parchment paper to dry. Allow them to sit for at least 24 hours, turning them occasionally to ensure they dry evenly. This step is crucial because it helps the seed bombs maintain their shape when you toss them into your garden or a nearby green space.
When your seed bombs are completely dry, they are ready to be used! You can toss them into your garden, a bare patch of earth, or even give them as gifts to friends and family who share your love for nature. Just remember, the best time to throw your seed bombs is during the rainy season or just before a rain shower. This way, the rain will help break down the clay and compost, allowing the seeds to germinate and grow into beautiful wildflowers.
- What types of seeds should I use for my seed bombs? It's best to use native wildflower seeds that are suited to your local climate. This ensures that the plants will thrive and support local wildlife.
- Can I make seed bombs with my kids? Absolutely! Making seed bombs is a fantastic family activity that combines creativity with environmental stewardship.
- How long do seed bombs last before they need to be used? If stored in a cool, dry place, seed bombs can last for several months. However, it's best to use them within a season for optimal germination.
Decorative Plant Pots
Transforming ordinary plant pots into decorative masterpieces is not just a fun activity; it's an opportunity to express your creativity and personality! Imagine your home filled with vibrant, personalized pots that reflect your unique style. Whether you're a seasoned artist or a complete beginner, decorating plant pots can be a rewarding and therapeutic experience. Plus, it’s a fantastic way to bring a touch of the garden indoors, especially on those dreary, rainy days.
To get started, gather a few basic materials. You can use acrylic paints, markers, or even decoupage materials like patterned paper or fabric. If you want to take a more natural approach, consider using twine, stones, or moss to embellish your pots. The beauty of this craft is that the possibilities are virtually endless! You can create themes based on seasons, colors, or even your favorite plants. For instance, a pot decorated with bright yellows and greens might evoke the feeling of a sunny summer day, while earthy tones can bring a sense of calm and tranquility.
One popular technique is decoupage. This method involves gluing decorative paper onto the surface of the pot and sealing it with a clear varnish. Not only does it enhance the aesthetic appeal, but it also protects the pot from the elements. For those who prefer a more hands-on approach, painting directly onto the pot can allow for more intricate designs. You can create everything from simple polka dots to detailed landscapes. Just think of each pot as a blank canvas waiting for your artistic touch!
Once your pots are decorated, you can fill them with your favorite plants. Consider using herbs like basil or mint for a kitchen garden, or colorful flowers to brighten up your living space. Not only will these decorative pots serve as beautiful home decor, but they will also enhance your indoor air quality and bring a sense of nature into your home. You can even create a small indoor garden by grouping several decorated pots together, making for a stunning visual display.
In conclusion, decorating plant pots is a delightful way to unleash your creativity while nurturing your plants. So, gather your materials, let your imagination run wild, and watch as your ordinary pots transform into extraordinary pieces of art!
- What materials do I need to decorate plant pots?
You will need pots, paints or markers, decoupage materials, and optional embellishments like twine or stones. - Can I use any type of paint on plant pots?
Acrylic paint is recommended for its durability, but make sure to seal it with a varnish to protect it from moisture. - What plants work best in decorated pots?
Herbs, succulents, and flowering plants are great choices as they thrive in pots and add to the visual appeal. - How can I make my decorated pots last longer?
Sealing your designs with a clear varnish will protect them from wear and tear, especially if they are placed outdoors.

Garden-Themed Wall Art
Creating wall art inspired by gardens can truly enhance your living space, transforming dull walls into vibrant displays of nature's beauty. Imagine walking into a room and being greeted by the soft hues of blooming flowers or the serene greens of lush foliage. Garden-themed wall art not only brightens up a space but also allows you to express your love for nature in a personal and creative way. Whether you're a seasoned artist or just starting out, there are countless ways to showcase your artistic flair while staying connected to the great outdoors.
One of the most delightful forms of garden-themed wall art is pressed flower art. This timeless craft captures the essence of nature by preserving flowers in a flat form, allowing you to create stunning designs that can be framed and hung on your walls. The process is simple and rewarding; all you need are some fresh flowers, a heavy book, and patience. After pressing the flowers for a few weeks, you can arrange them in a beautiful pattern, perhaps forming a heart or a whimsical garden scene, and then frame your masterpiece. The result is a unique piece of art that not only looks beautiful but also tells a story of your time spent in nature.
Another fantastic option for garden-themed wall art is nature-inspired paintings. This avenue of creativity allows you to unleash your imagination and experiment with colors and techniques. You might choose to paint a serene landscape, a close-up of a flower, or even an abstract representation of a garden. The beauty of painting is that there are no rules; you can use watercolors for a soft, dreamy effect or acrylics for bold, vibrant colors. You could even incorporate mixed media elements, such as using real leaves as stencils or adding texture with sand or fabric. Each piece becomes a reflection of your personality and artistic style.
If you're looking for a more interactive experience, consider organizing a garden-themed art night with friends or family. Gather supplies like canvases, paints, and brushes, and let everyone create their own interpretation of a garden scene. Not only will this foster creativity, but it will also create lasting memories as you laugh and share stories while you paint. At the end of the night, you can display your collective artwork in a special corner of your home, reminding you of the joy of creating together.
For those who prefer a more hands-on approach, creating a living wall art piece can be an exciting project. This involves using small planters or pots to create a vertical garden on your wall. You can arrange succulents, herbs, or even small flowering plants in a visually appealing layout. This not only serves as a beautiful decoration but also brings the freshness of live plants into your home. Plus, taking care of your living wall can be a fulfilling hobby, providing you with a sense of accomplishment as you watch your plants thrive.
In conclusion, garden-themed wall art is a wonderful way to bring the beauty of the outdoors inside. Whether you choose to create pressed flower art, nature-inspired paintings, or even a living wall, the possibilities are endless. These projects not only enhance your home decor but also allow you to connect with nature, express your creativity, and perhaps even share a piece of yourself with others. So, the next time a rainy day keeps you indoors, grab your art supplies and let your imagination bloom!
- What materials do I need for pressed flower art? You will need fresh flowers, a heavy book, parchment paper, and a frame to display your art.
- Can I use any type of flower for pressed flower art? Yes, most flowers can be pressed, but it's best to choose flat, delicate flowers like daisies, pansies, or violets for the best results.
- How do I care for a living wall art piece? Ensure your plants receive adequate sunlight and water them according to their specific needs. Regular maintenance will keep your living wall vibrant and healthy.
- Is painting difficult for beginners? Not at all! Painting is all about practice and having fun. Start with simple designs and gradually challenge yourself as you gain confidence.

Pressed Flower Art
Pressed flower art is a timeless craft that beautifully captures the essence of nature right in your home. Imagine the joy of taking a stroll through your garden, picking vibrant flowers, and then preserving their beauty for years to come. This art form not only allows you to express your creativity but also serves as a wonderful reminder of the natural world, even on the rainiest of days. The process is simple, yet the results are stunning, making it an ideal project for both beginners and seasoned crafters alike.
To get started with pressed flower art, you’ll need a few essential materials. First and foremost, gather your favorite flowers. Think about colors, shapes, and sizes that will create a visually appealing composition. Some popular choices include daisies, pansies, and ferns. Once you’ve selected your flowers, you’ll also need a heavy book or a flower press, parchment paper, and some creativity! The beauty of pressed flower art lies in its versatility; you can create cards, framed art, bookmarks, or even decorative coasters.
The process of pressing flowers is quite straightforward. Begin by laying your flowers flat between sheets of parchment paper. Then, place them inside a heavy book or a dedicated flower press. The key here is to apply consistent pressure, which will help to flatten the flowers and preserve their colors. Leave them for about two to four weeks, depending on the moisture content of the flowers. Once they’re fully dried, you can start arranging them into your desired design.
When it comes to displaying your pressed flowers, the possibilities are endless. You can create a stunning wall art piece by framing your arrangements in a shadow box or a traditional frame. Alternatively, consider using a canvas to create a more artistic presentation. For a personal touch, you might even want to add a handwritten quote or a little note about the flowers you used. This not only enhances the visual appeal but also adds a layer of sentimentality to your work.
For those looking to take their pressed flower art to the next level, consider combining different techniques. You could incorporate watercolors in the background or use mixed media by adding beads or glitter for a touch of sparkle. The beauty of this craft is that it allows you to reflect your personality and style, making each piece uniquely yours.
As you embark on your pressed flower journey, remember that practice makes perfect. Don’t be discouraged if your first attempts don’t turn out exactly as you envisioned. Each flower has its own charm, and sometimes, the imperfections can lead to the most beautiful creations. So, gather your materials, unleash your creativity, and let the beauty of nature inspire you!
- How long do I need to press flowers? It typically takes about 2 to 4 weeks for flowers to fully dry and be ready for crafting.
- Can I press any type of flower? While most flowers can be pressed, some work better than others. Look for flowers that are relatively flat and have low moisture content.
- What can I make with pressed flowers? You can create a variety of items including wall art, bookmarks, greeting cards, and even coasters.
- How do I preserve the color of the flowers? Using a flower press instead of air drying often helps retain the vibrant colors of the flowers.
Nature-Inspired Paintings
Explore creative and fun garden-themed craft ideas that can brighten up any rainy day, allowing you to connect with nature indoors while nurturing your artistic side.
Creating paper flower bouquets is a delightful way to bring the beauty of a garden indoors. These colorful creations can brighten up any space and make for lovely gifts.
Seed bombs are a fun and eco-friendly craft that allows you to plant wildflowers anywhere. This hands-on activity is perfect for all ages and helps promote biodiversity.
Gathering the right materials is crucial for making seed bombs. Common items include clay, compost, and native seeds, ensuring your bombs are effective and environmentally friendly.
Selecting the right seeds can impact the success of your seed bombs. Focus on native plants that thrive in your area and attract local pollinators.
The process of making seed bombs is simple and enjoyable. Mix the ingredients, form small balls, and let them dry before tossing them into your garden.
Transforming ordinary plant pots into decorative masterpieces is a fantastic way to express creativity. Use paint, decoupage, or natural materials to personalize your pots.
Creating wall art inspired by gardens can enhance your living space. From canvas paintings to pressed flower frames, there are numerous ways to showcase your love for nature.
Pressed flower art is a timeless craft that captures the beauty of nature. This technique involves drying flowers and arranging them into stunning designs for display.
Creating nature-inspired paintings allows for endless creativity. Imagine being able to capture the vibrant colors of blooming flowers or the serene landscapes of your favorite garden; it’s like bringing a piece of the outdoors inside! You don’t need to be a professional artist to enjoy this rewarding activity. Just grab some paints, a canvas, and let your imagination run wild.
When you sit down to paint, consider the following tips to elevate your artwork:
- Choose Your Subject: Whether it’s a single flower, a sprawling garden scene, or a tranquil landscape, pick something that resonates with you.
- Experiment with Techniques: Try out different painting styles such as watercolor, acrylic, or even mixed media. Each method can create unique effects that capture the essence of nature.
- Play with Color: Nature is vibrant! Don’t shy away from bold colors that reflect the beauty of your garden. Use shades that evoke emotions and create a mood.
Additionally, you can take inspiration from famous artists who have captured the beauty of nature in their works. Think of Vincent van Gogh’s swirling skies and radiant sunflowers or Claude Monet’s dreamy water lilies. By studying their techniques, you can develop your own style and add a personal touch to your creations.
As you paint, remember to relax and enjoy the process. It’s not about perfection; it’s about expressing your love for nature and letting your creativity flow. Once completed, these paintings can be displayed in your home, reminding you of the beauty of your garden even on the rainiest of days.
Q: What materials do I need for nature-inspired paintings?
A: You will need paints (watercolor, acrylic, etc.), brushes, a canvas or paper, and possibly a palette for mixing colors.
Q: Can I use real flowers in my paintings?
A: Yes! You can use real flowers for inspiration, or even as stamps to create unique patterns and textures on your canvas.
Q: Is there a specific technique I should follow?
A: There is no one-size-fits-all technique. Experiment with different styles and find what works best for you!
Frequently Asked Questions
- What materials do I need to create paper flower bouquets?
To make beautiful paper flower bouquets, you'll need colored paper, scissors, glue, and floral wire or tape. You can also use embellishments like ribbons or beads to add a personal touch. It's a fun way to unleash your creativity while crafting something that brightens up your space!
- How do I make seed bombs?
Making seed bombs is super easy! You'll need clay, compost, and native seeds. Mix these ingredients in a bowl, form small balls, and let them dry. Once they're ready, you can toss them into your garden or any bare patch of land. It's an exciting way to help nature while having fun!
- What types of seeds should I use for my seed bombs?
Choosing the right seeds is crucial for the success of your seed bombs. Opt for native plants that are well-suited to your local environment. They not only thrive better but also attract local pollinators, making your garden a vibrant ecosystem!
- Can I use any type of paint for decorative plant pots?
Absolutely! You can use acrylic paint, spray paint, or even outdoor paint for your decorative plant pots. Just make sure to seal your artwork with a waterproof sealant if you plan to use them outdoors. This way, your designs will stay vibrant and intact!
- How can I preserve flowers for pressed flower art?
To preserve flowers for your art, simply place them between the pages of a heavy book or use a flower press. Leave them for a week or two until they are completely dried. Once ready, you can arrange them in frames or on canvases to create stunning wall art!
- What painting techniques can I use for nature-inspired paintings?
There are countless painting techniques you can explore! Watercolor, acrylic pouring, and palette knife painting are just a few. Each method allows you to express your love for nature in unique ways, whether it's capturing the delicate petals of flowers or the vastness of a garden scene.


