DIY Herbal Soaps from Your Garden
Creating your own herbal soaps is not just a fun and fulfilling project; it’s also a fantastic way to harness the natural benefits of herbs straight from your garden. Imagine stepping into your bathroom and being greeted by the invigorating scent of freshly picked lavender or the soothing aroma of chamomile. This article explores the delightful process of creating herbal soaps using fresh ingredients from your garden. Discover the benefits, recipes, and techniques to craft personalized soaps that nourish your skin and elevate your self-care routine.
Herbal soaps offer numerous advantages that go beyond mere cleanliness. First and foremost, they are made from natural ingredients, which means they are gentle on the skin and free from harsh chemicals. This is particularly important for those with sensitive skin or allergies. Additionally, the unique scents of herbal soaps can transform your bathing experience into a sensory delight. Think of how a whiff of rosemary can awaken your senses, while lavender can transport you to a tranquil spa. But that’s not all—many herbs come packed with therapeutic properties that can promote overall skin health. For example, chamomile is known for its anti-inflammatory qualities, making it a perfect choice for soothing irritated skin. In essence, using herbal soaps can be a simple yet effective way to enhance your daily self-care routine.
When it comes to making effective herbal soaps, selecting the right herbs is crucial. Not all herbs are created equal, and each one brings its own unique benefits to the table. For instance, if you have oily skin, you might want to consider herbs like sage or peppermint, which can help balance oil production. On the other hand, if you have dry or sensitive skin, herbs like calendula or chamomile might be more suitable. Here’s a quick rundown of some popular herbs and their skin-friendly properties:
- Lavender: Calming and soothing, perfect for relaxation.
- Chamomile: Anti-inflammatory and great for sensitive skin.
- Rosemary: Invigorating and excellent for circulation.
- Mint: Refreshing and cooling, ideal for hot summer days.
By understanding your skin type and preferences, you can choose the herbs that will work best for you, making your soap-making journey even more rewarding.
Let’s dive a little deeper into some of the most popular herbs used in soap making. Each herb not only contributes its own unique fragrance but also enhances the effectiveness of your soaps. Here are a few favorites:
Lavender is renowned for its calming properties and delightful scent. Incorporating lavender into your soap recipes can create a soothing bathing experience that promotes relaxation and stress relief. Imagine unwinding in a warm bath, surrounded by the gentle aroma of lavender—it's like a mini-vacation right in your own home!
Chamomile is celebrated for its anti-inflammatory and soothing qualities. It’s particularly beneficial for sensitive skin, making it a fantastic addition to your herbal soaps. By using chamomile in your recipes, you can create gentle cleansers that not only cleanse but also pamper your skin.
Infusing herbs into oils is a key technique in herbal soap making. This process allows you to extract the beneficial properties of the herbs, enhancing your soap's effectiveness. There are several infusion methods you can explore, such as cold infusion, where you let the herbs steep in oil for a few weeks, or hot infusion, which speeds up the process by gently heating the mixture. Each method has its own unique benefits, so feel free to experiment and find what works best for you!
Understanding the basic soap making process is essential for beginners. It’s not as daunting as it sounds! The process generally involves gathering your ingredients—such as oils, lye, and herbs—and preparing your workspace. Once you have everything ready, you’ll mix the lye with water (always remember to add lye to water, never the other way around for safety!), and then combine it with your oils. After that, it’s all about adding your herbs and essential oils before pouring the mixture into molds. In just a few hours, you’ll have your very own herbal soaps!
The cold process method is a popular technique for making herbal soaps. It allows for greater customization and often results in a harder, longer-lasting bar. Safety precautions are essential here, especially when handling lye. Always wear gloves and goggles, and ensure you’re working in a well-ventilated area. Once you get the hang of it, you’ll find it’s a rewarding and creative outlet!
If you're looking for a simpler approach, the melt and pour method is your best friend. This technique allows for quick soap creation by using pre-made soap bases. You can easily customize these bases with your choice of herbs and fragrances, making it a fantastic option for those who want to dive into soap making without the fuss of measuring lye.
Now that you’re familiar with the basics, let’s explore some creative soap recipes that incorporate different herbs and essential oils. These recipes will inspire you to experiment and personalize your herbal soap creations, making every bar uniquely yours!
This recipe combines soothing lavender with gentle oatmeal, making it perfect for sensitive skin. The oatmeal acts as a natural exfoliant, while the lavender provides a calming scent. It’s a wonderful way to pamper your skin while also indulging in a little self-care.
Experience the invigorating scent of rosemary and mint in this refreshing soap recipe. The blend of these herbs creates a revitalizing bathing experience that awakens the senses. Perfect for those groggy mornings when you need a little extra boost!
Q: Can I use dried herbs instead of fresh ones?
A: Yes, dried herbs can be used, but fresh herbs often provide more vibrant scents and benefits.
Q: How long do homemade herbal soaps last?
A: Typically, homemade soaps can last anywhere from 6 months to a year if stored properly.
Q: Is soap making safe for beginners?
A: Absolutely! Just be sure to follow safety guidelines, especially when handling lye.
Q: Can I customize my soap recipes?
A: Yes! Feel free to experiment with different herbs, oils, and scents to create your perfect bar.

The Benefits of Herbal Soaps
Herbal soaps are not just a trend; they are a delightful fusion of nature and personal care that can transform your bathing experience. Imagine stepping into your shower, surrounded by the gentle scent of fresh herbs, while your skin is pampered with the natural goodness of botanical ingredients. This is the magic of herbal soaps! They offer a plethora of benefits that go beyond mere cleanliness. First and foremost, natural ingredients mean that you are treating your skin to gentle, nourishing elements without the harsh chemicals often found in commercial soaps.
One of the standout advantages of herbal soaps is their unique scents. Each herb carries its own aromatic profile, which can uplift your mood or calm your senses. For instance, the soothing scent of lavender can help you unwind after a long day, while the invigorating aroma of rosemary might just be what you need to kickstart your morning. It's like having a mini aromatherapy session right in your bathroom!
Moreover, many herbs are known for their therapeutic properties. For example, chamomile is celebrated for its anti-inflammatory benefits, making it a fantastic choice for those with sensitive skin. By incorporating these herbs into your soap, you are not only cleansing your skin but also providing it with added nourishment. This dual-action makes herbal soaps a smart choice for anyone looking to enhance their skincare routine.
Let’s break down some of the key benefits of using herbal soaps:
- Gentle on the Skin: Natural ingredients are less likely to irritate, making them suitable for all skin types.
- Unique Aromas: Each herb contributes its own scent, allowing for a personalized bathing experience.
- Therapeutic Effects: Many herbs have properties that can soothe, heal, or rejuvenate the skin.
- Eco-Friendly: Making your own soap helps reduce waste and supports a sustainable lifestyle.
In essence, herbal soaps are a wonderful way to indulge in self-care while also being mindful of what you put on your skin. They provide a sensory experience that not only cleanses but also nourishes and rejuvenates. So, why not elevate your bathing ritual with these delightful and beneficial creations? With herbal soaps, you can turn an everyday activity into a luxurious pampering session!
Q: Are herbal soaps suitable for sensitive skin?
A: Yes! Many herbal soaps are made with gentle, natural ingredients that are less likely to irritate sensitive skin. Always check the ingredients to ensure they are suitable for your specific needs.
Q: How do I store homemade herbal soaps?
A: Store your herbal soaps in a cool, dry place away from direct sunlight. Wrapping them in paper or placing them in a breathable container can help maintain their freshness.
Q: Can I customize my herbal soap recipes?
A: Absolutely! One of the joys of making herbal soaps is the ability to experiment with different herbs and essential oils to create scents and benefits that suit your personal preferences.
Choosing the Right Herbs
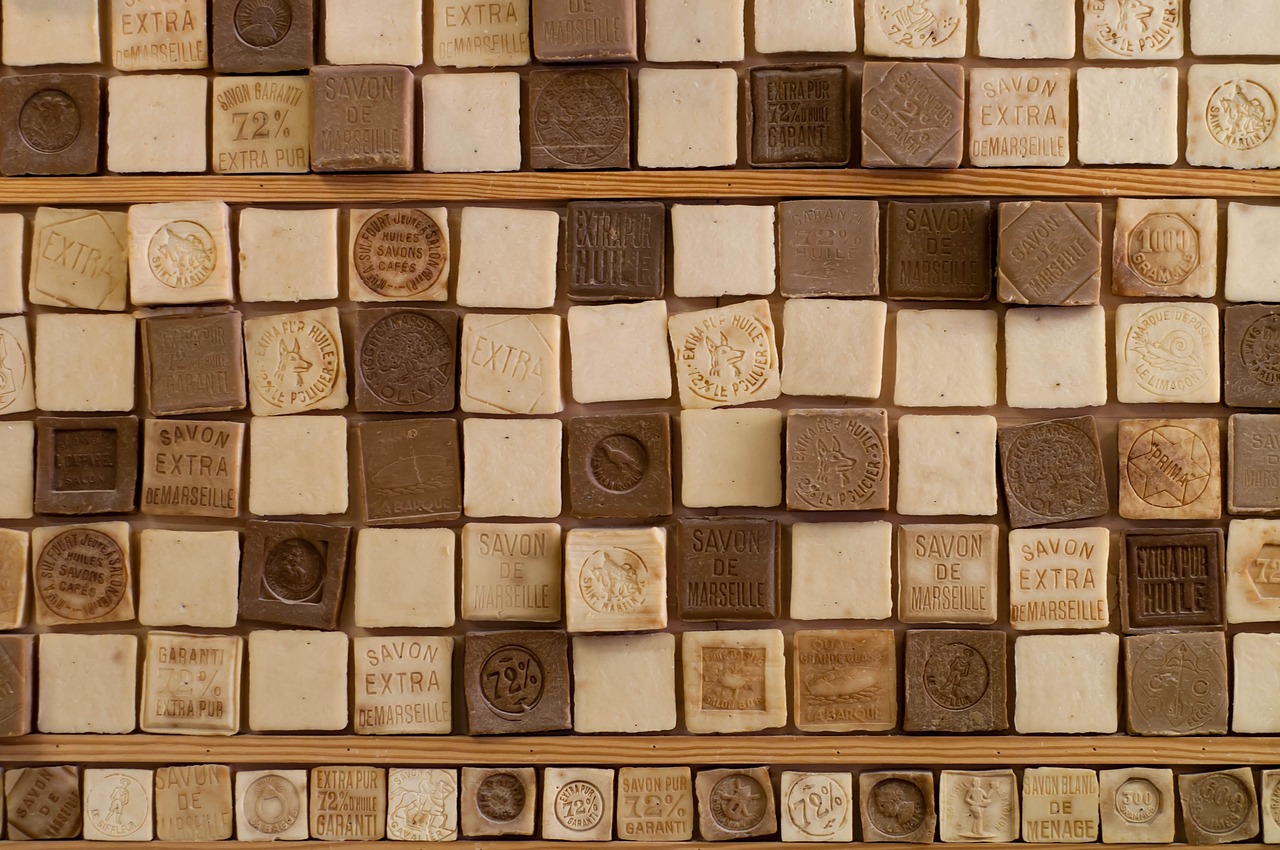
When it comes to crafting your own herbal soaps, the first step is selecting the right herbs. This choice is not just about aesthetics or fragrance; it significantly impacts the effectiveness and benefits of your soap. Think of herbs as the secret ingredients in your potion, each bringing its unique powers to the mix. Whether you're aiming for soothing properties, exfoliation, or just a lovely scent, the right herb can transform your soap-making experience.
Consider your skin type and what you want to achieve with your soap. For example, if you have dry skin, you might want to look for herbs that are known for their moisturizing properties. On the other hand, if you have oily skin, herbs that help balance oil production would be more suitable. Here are some key considerations to keep in mind:
- Skin Type: Identify your skin type (dry, oily, sensitive, or combination) and choose herbs that cater to its specific needs.
- Desired Benefits: Think about the benefits you want from your soap. Are you looking for relaxation, rejuvenation, or perhaps antibacterial properties?
- Fragrance Preferences: Choose herbs that appeal to your sense of smell, as the aroma can enhance your bathing experience.
To help you navigate this herbal landscape, here’s a quick overview of some popular herbs and their skin benefits:
| Herb | Benefits | Best For |
|---|---|---|
| Lavender | Calming, anti-inflammatory | All skin types, especially sensitive |
| Chamomile | Soothing, anti-inflammatory | Sensitive skin |
| Rosemary | Antioxidant, stimulating | Oily skin |
| Calendula | Healing, anti-inflammatory | Dry or irritated skin |
Each herb has its unique personality, and understanding these traits can help you create a soap that not only looks good but also feels great on your skin. For instance, if you want to whip up a soap that helps you unwind after a long day, lavender is your go-to herb. It’s like wrapping yourself in a cozy blanket of relaxation! On the flip side, if you’re looking for a refreshing pick-me-up in the morning, rosemary paired with mint can awaken your senses and energize your spirit.
In conclusion, the journey of choosing the right herbs for your soap-making adventure is both exciting and essential. Take the time to explore various options, consider your skin's needs, and don't hesitate to experiment with combinations. After all, the beauty of DIY herbal soap lies in its customization. Let your creativity flow, and soon you’ll have a collection of personalized soaps that not only nourish your skin but also elevate your self-care routine.
Common Herbs for Soap Making
When it comes to crafting your own herbal soaps, the choice of herbs can make all the difference. Not only do they add delightful fragrances, but they also infuse your soaps with beneficial properties that can enhance your skin's health. Imagine stepping into the shower and being enveloped in the soothing aroma of lavender or the refreshing scent of mint—it's like having a spa experience right in your own home!
Here are some popular herbs that are commonly used in soap making, each bringing its unique charm and benefits:
- Lavender: Renowned for its calming properties, lavender is a staple in herbal soap making. Its sweet, floral scent not only relaxes the mind but also has antiseptic properties that can help soothe minor skin irritations.
- Chamomile: This gentle herb is celebrated for its anti-inflammatory and soothing qualities. Chamomile-infused soap is perfect for sensitive skin, providing a calming effect while cleansing.
- Rosemary: With its invigorating aroma, rosemary is often used for its stimulating properties. It can help improve circulation and has antimicrobial benefits, making it a fantastic addition to your soap recipes.
- Mint: Whether it's peppermint or spearmint, mint herbs add a refreshing touch to your soaps. They not only invigorate your senses but also provide a cooling sensation on the skin.
Each of these herbs can be used alone or combined to create unique blends that cater to your personal preferences. For instance, pairing lavender with chamomile can amplify relaxation, while mixing rosemary with mint can offer an energizing experience. The versatility of these herbs allows you to experiment and find the perfect combination that resonates with you.
To get the most out of your chosen herbs, consider their properties when selecting them for your soap. For instance, if you have dry skin, you might want to lean towards chamomile or lavender. On the other hand, if you're looking for a refreshing pick-me-up, rosemary and mint could be your go-to options. The beauty of making your own herbal soaps is that you can tailor them to meet your specific needs and preferences, creating a truly personalized bathing experience.
As you embark on this delightful journey of soap making, don't hesitate to explore and experiment with various herbs. The world of herbal soaps is vast and vibrant, filled with opportunities to create something uniquely yours. So gather your herbs, roll up your sleeves, and let your creativity flow!
Q: Can I use dried herbs for soap making?
A: Absolutely! Dried herbs can be used in soap making, but they may not impart as much fragrance or color as fresh herbs. However, they still offer beneficial properties and can add texture to your soaps.
Q: How do I know which herbs are suitable for my skin type?
A: It's essential to research the properties of each herb. For sensitive skin, opt for gentle herbs like chamomile or lavender. For oily or acne-prone skin, consider using tea tree or rosemary.
Q: Can I mix different herbs in one soap recipe?
A: Yes! Mixing herbs can create unique scents and benefits. Just ensure that the combined properties complement each other and suit your skin's needs.
Lavender
Lavender is not just a pretty flower; it's a powerhouse of benefits for your skin and senses! With its calming properties and enchanting aroma, lavender has been cherished for centuries. Imagine stepping into a warm bath infused with the soothing scent of lavender, instantly melting away your stress and tension. That's the magic of incorporating lavender into your herbal soaps!
When you create lavender soap, you're not just making a cleansing bar; you're crafting an experience. The essential oils extracted from lavender flowers are known for their anti-inflammatory and antiseptic properties, making them ideal for soothing irritated skin. Whether you suffer from conditions like eczema or simply want to pamper your skin, lavender can be your go-to ingredient. Plus, its natural fragrance can elevate your mood, making your bathing ritual feel like a mini spa day.
To harness the full benefits of lavender in your soap, consider using dried lavender buds along with lavender essential oil. The buds add a lovely texture and a gentle exfoliating effect while the essential oil enhances the fragrance and therapeutic properties. Here’s a simple breakdown of how to include lavender in your soap:
- Gather Ingredients: You'll need a soap base (like glycerin or shea butter), dried lavender buds, and lavender essential oil.
- Infusion: For an extra boost, infuse your soap base with dried lavender by heating it gently.
- Mix: Combine the infused base with a few drops of lavender essential oil and stir in the dried buds.
- Mold: Pour the mixture into molds and let it cool until solid.
This simple process not only enhances your soap's effectiveness but also allows you to enjoy the delightful aroma of lavender every time you wash your hands or take a shower. The result? A beautiful, fragrant soap that nourishes your skin while providing a moment of tranquility in your busy day.
So, why not bring the essence of a lavender field into your home? It's a fun and rewarding project that not only beautifies your bathroom but also supports your self-care routine. Plus, you can proudly say that you made it yourself from the herbs in your garden! The next time you feel overwhelmed, just remember: a lavender soap bar is just a few steps away.
Q: Can I use fresh lavender instead of dried?
A: Yes, you can use fresh lavender, but be aware that it may alter the texture of your soap and can lead to a shorter shelf life. Dried lavender is preferred for its longevity and ease of use.
Q: How long does lavender soap last?
A: Typically, homemade lavender soap can last for several months when stored properly in a cool, dry place. Just make sure to keep it away from excessive moisture.
Q: Is lavender soap suitable for all skin types?
A: Lavender soap is generally gentle and suitable for most skin types, including sensitive skin. However, if you have allergies or specific skin conditions, it's always best to do a patch test first.

Chamomile
Chamomile, often referred to as nature's calming flower, is not just a delightful tea but also a fantastic ingredient for herbal soaps. Known for its anti-inflammatory and soothing qualities, chamomile is a perfect choice for anyone looking to create gentle cleansers that cater to sensitive skin. Imagine stepping into a warm bath, the air filled with the sweet, floral aroma of chamomile, instantly melting away the stresses of your day. Sounds inviting, right?
When you incorporate chamomile into your soap recipes, you're not just adding a lovely scent; you're also infusing your soap with properties that can help reduce redness and irritation. This makes chamomile soap a wonderful option for those with conditions like eczema or rosacea. The natural antioxidants present in chamomile can also promote skin health, leaving your skin feeling soft and rejuvenated.
To make the most of chamomile in your soap making, consider using chamomile tea or infused oil. You can easily create chamomile-infused oil at home by following these steps:
- Gather your materials: You'll need dried chamomile flowers, a carrier oil (like olive or coconut oil), and a glass jar.
- Combine: Fill the jar with dried chamomile flowers and pour the carrier oil over them until completely submerged.
- Infuse: Seal the jar and place it in a warm, sunny spot for about 1-2 weeks, shaking it gently every few days to mix the contents.
- Strain: After the infusion period, strain the oil through a fine mesh sieve or cheesecloth to remove the flowers.
This chamomile-infused oil can then be used in both the cold process and melt-and-pour soap methods, enhancing your soap's soothing qualities. The beauty of using chamomile in your soaps lies not just in the benefits it brings but also in the personal touch it adds to your self-care routine. It’s like wrapping yourself in a warm, cozy blanket after a long day!
So, why not give chamomile a try in your next soap-making adventure? Your skin will thank you for it, and you might just find that your bathing experience transforms into a mini spa retreat. Remember, the key to great herbal soap lies in the quality of your ingredients, and chamomile is a star player that brings both fragrance and function to your creations.
1. Can I use fresh chamomile flowers instead of dried ones?
Yes, you can use fresh chamomile flowers, but be aware that they may contain more moisture, which could affect the infusion process. It's often recommended to use dried flowers for better results.
2. How long does chamomile soap last?
Homemade chamomile soap can last anywhere from 6 months to a year if stored properly in a cool, dry place away from direct sunlight.
3. Can I use chamomile soap on my face?
Absolutely! Chamomile soap is gentle and soothing, making it suitable for facial use, especially for those with sensitive or irritated skin.
4. Is chamomile soap suitable for all skin types?
While chamomile soap is generally gentle and beneficial for most skin types, it's always a good idea to do a patch test first, especially if you have very sensitive skin or allergies.
Herb Infusion Techniques
Infusing herbs into oils is a crucial step in creating herbal soaps, as it allows you to capture the essence and beneficial properties of the plants you love. This process not only enhances the effectiveness of your soap but also adds a unique touch that reflects your personal style. There are several methods for infusing herbs, and each has its own advantages. Let's dive into some popular techniques that will help you create the perfect infusion.
One of the most common methods is the cold infusion technique, which involves combining dried herbs with carrier oils and letting them steep over time. This method is gentle and preserves the delicate qualities of the herbs. Simply fill a glass jar with your chosen dried herbs, then pour in your preferred carrier oil, such as olive or coconut oil. Seal the jar tightly and place it in a warm, sunny spot for about two to six weeks, shaking it occasionally. The longer you allow the infusion to steep, the more potent the herbal properties will become. Once ready, strain the mixture through a cheesecloth or fine mesh strainer to remove the herbs, leaving you with a beautifully infused oil.
Another technique is the hot infusion method, which accelerates the process by gently heating the herbs and oil together. This method is faster and can yield immediate results, but it requires a bit more care to avoid damaging the herbs. To do this, combine your dried herbs and carrier oil in a double boiler or a heat-safe container placed in a pot of simmering water. Keep the heat low and allow the mixture to warm for about 1-2 hours, stirring occasionally. Once the oil has taken on the color and aroma of the herbs, strain it as you would with the cold infusion method.
For those who are more adventurous, the alcohol extraction technique can also be employed. This method uses high-proof alcohol, such as vodka, to extract the active components of the herbs. To create an herbal tincture, simply fill a jar with your chosen herbs and cover them completely with alcohol. Seal the jar and store it in a cool, dark place for about four to six weeks, shaking it gently every few days. After the infusion period, strain the mixture and use the resulting tincture in your soap recipes for a powerful herbal boost.
Regardless of the method you choose, it's essential to remember that the quality of your herbs will significantly impact the final product. Always opt for organic and fresh herbs whenever possible, as they will provide the best aroma and benefits for your skin. Additionally, consider experimenting with different combinations of herbs to discover unique blends that resonate with your personal preferences.
Incorporating infused oils into your soap-making process not only enhances the therapeutic properties of your bars but also allows for creativity and personalization. So, roll up your sleeves and get ready to craft some delightful herbal soaps that will leave your skin feeling nourished and pampered!
- What types of herbs are best for infusion?
Herbs like lavender, chamomile, and rosemary are excellent choices due to their skin-friendly properties and pleasant scents.
- How long should I infuse the herbs?
The infusion time can vary; cold infusions typically take 2-6 weeks, while hot infusions only need 1-2 hours.
- Can I use fresh herbs for infusion?
While fresh herbs can be used, dried herbs are recommended as they have a more concentrated flavor and aroma.
- What should I do with the leftover herbs after infusion?
You can compost the leftover herbs or use them in homemade scrubs or potpourri.
Basic Soap Making Process
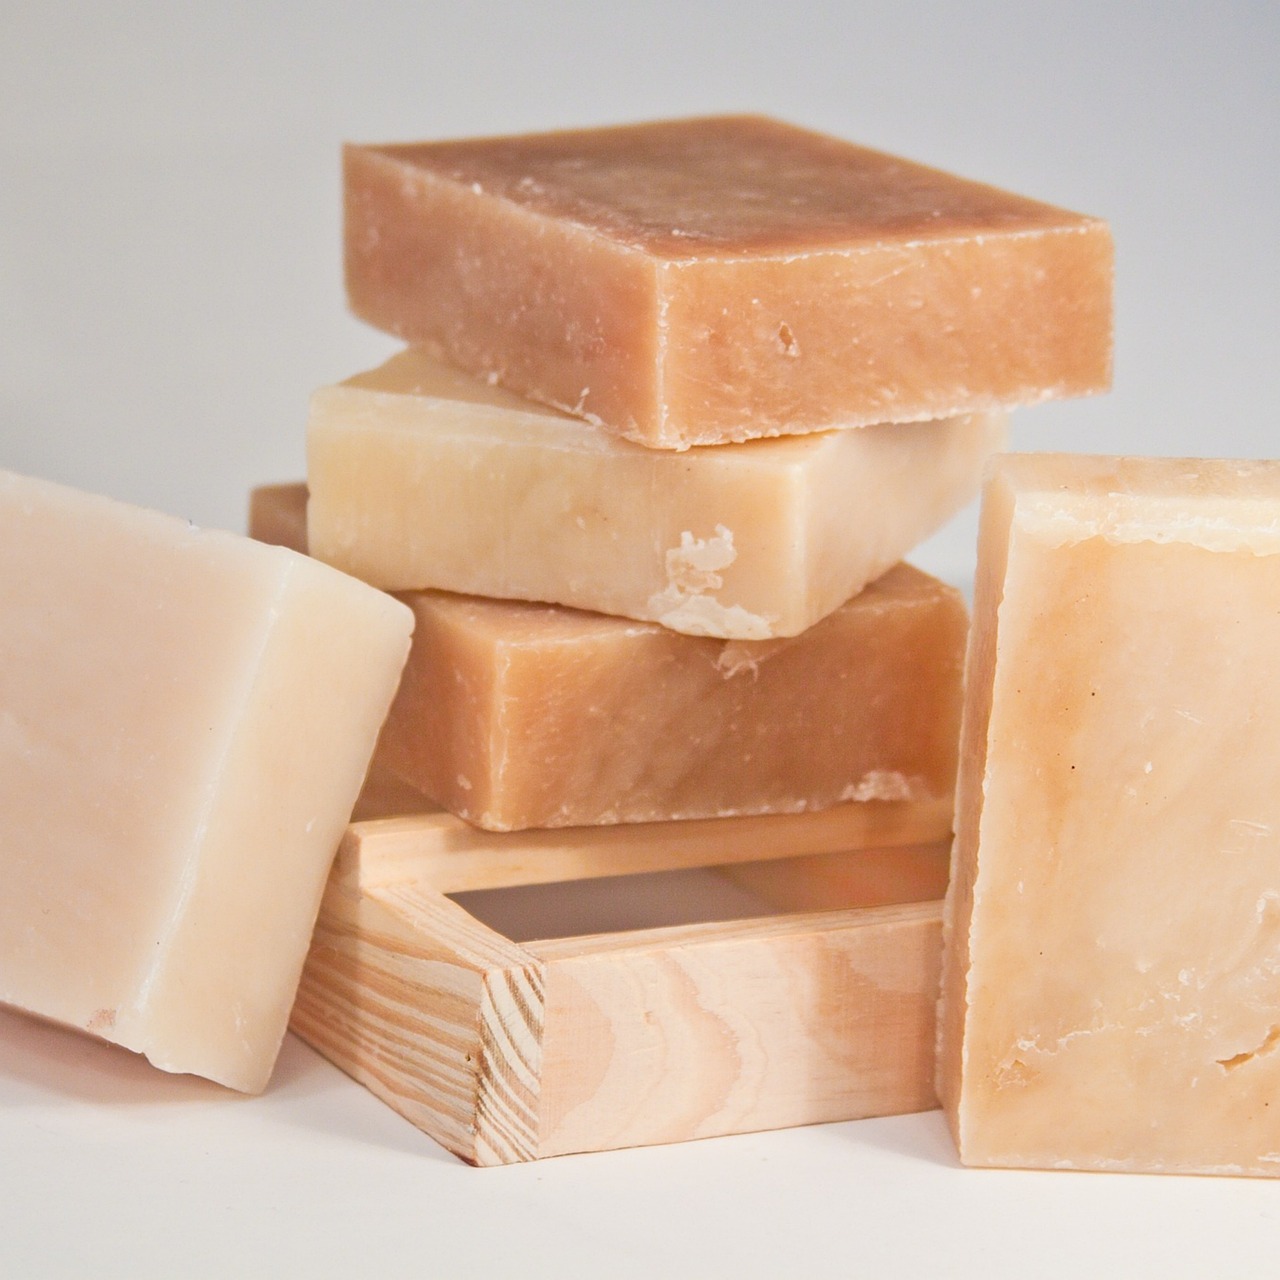
Creating your own herbal soaps can be an incredibly rewarding experience, allowing you to harness the natural benefits of herbs while indulging in a bit of creativity. The basic soap making process can seem daunting at first, but with a little guidance, you’ll find it’s easier than you might think. Whether you're a complete novice or have dabbled in soap making before, understanding the essential steps involved will help you craft beautiful, nourishing soaps that are tailored to your preferences.
First things first, you'll need to gather your ingredients and tools. The essential components for soap making include:
- Base Oils: These are the foundation of your soap. Common choices include olive oil, coconut oil, and palm oil.
- Lye: This is a critical ingredient for traditional soap making, as it reacts with the oils to create soap. Safety precautions are vital when handling lye.
- Herbs and Essential Oils: Choose your favorite herbs and essential oils to infuse into your soap for added benefits and fragrance.
- Soap Molds: You can use silicone molds, plastic molds, or even repurposed containers to shape your soap.
Once you have your ingredients ready, the next step is to prepare your workspace. Make sure you have a clean, well-ventilated area to work in, and always wear protective gear, such as gloves and goggles, especially when handling lye. Safety should always be your top priority!
Now, let’s break down the process into manageable steps:
- Measure Ingredients: Begin by accurately measuring your oils and lye. Using a digital scale can help ensure precision, which is crucial for the chemical reaction that occurs during soap making.
- Mix the Lye Solution: Carefully combine the lye with distilled water in a well-ventilated area. Always add lye to water, never the other way around, to prevent dangerous reactions. Allow it to cool.
- Heat the Oils: Gently heat your oils until they melt and combine. This ensures a smooth mixture when you add the lye solution.
- Combine Lye and Oils: Once both the lye solution and oils are at a similar temperature, slowly pour the lye into the oils while stirring continuously. This mixture will begin to thicken, a stage known as "trace."
- Add Herbs and Essential Oils: At trace, you can add your chosen herbs and essential oils to the mixture. Stir well to ensure even distribution.
- Pour into Molds: Carefully pour your soap mixture into the molds. Tap them gently on the counter to remove any air bubbles.
- Cure the Soap: Cover the molds with a towel and let them sit for 24 to 48 hours. Once solid, remove the soap from the molds and allow it to cure in a cool, dry place for about 4 to 6 weeks before using.
And there you have it! The basic soap making process is straightforward and can be tailored to your personal preferences. With practice, you'll find your rhythm, and soon enough, you’ll be experimenting with different herbs, scents, and techniques, creating unique soaps that reflect your style.
Q: Can I use any type of oil for soap making?
A: While you can use various oils, it's best to choose oils known for their skin benefits, such as olive oil, coconut oil, and shea butter. Each oil contributes different properties to the final product.
Q: Is soap making safe?
A: Yes, soap making can be safe if you follow proper safety precautions, especially when handling lye. Always wear gloves and goggles, work in a well-ventilated area, and keep children and pets away from your workspace.
Q: How do I know when my soap is ready to use?
A: Soap needs to cure for about 4 to 6 weeks to ensure the saponification process is complete. This allows excess lye to neutralize and the soap to harden, resulting in a gentle and effective product.
Cold Process Method
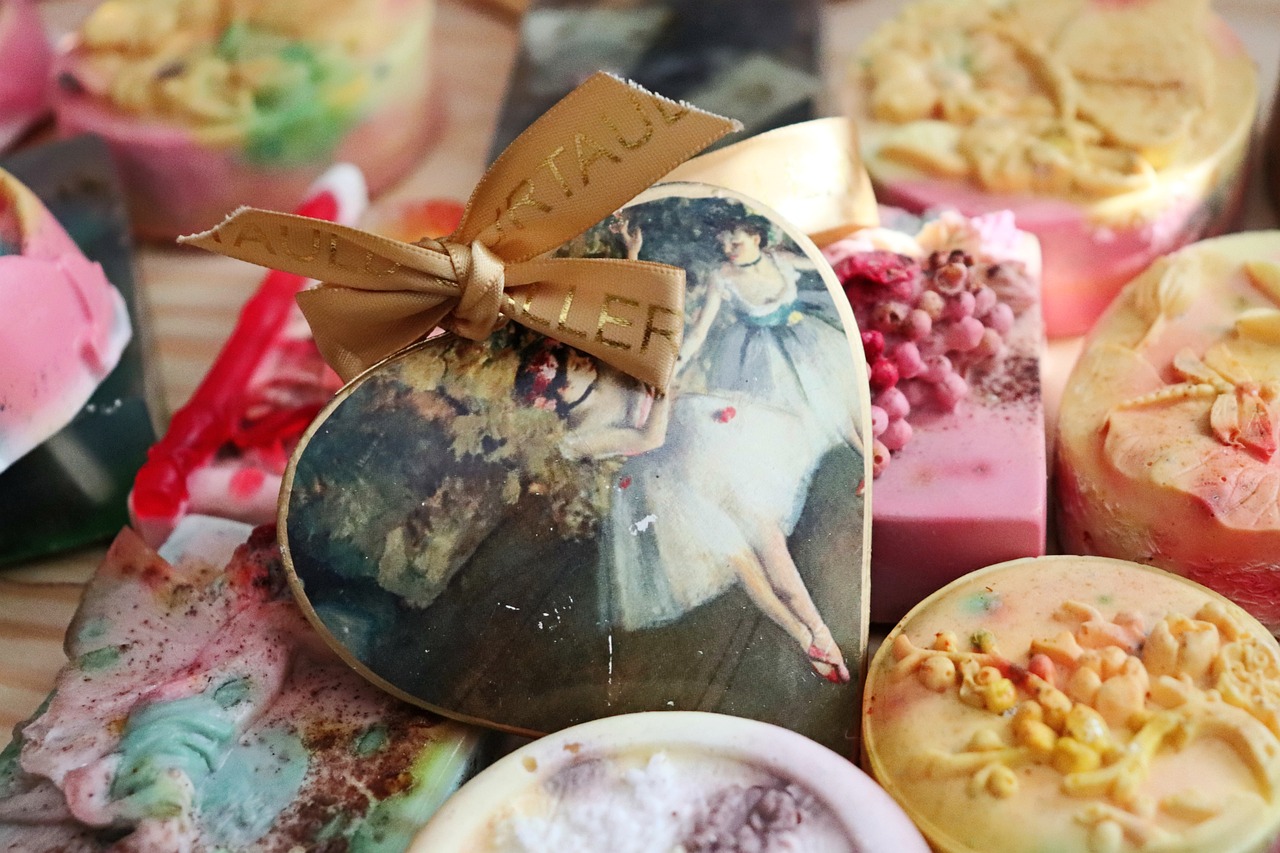
The of soap making is a fascinating and rewarding technique that allows you to create herbal soaps that are not only beautiful but also packed with nourishing ingredients. This method involves mixing oils and lye (sodium hydroxide) at room temperature, which means you can maintain the integrity of the herbs and essential oils you incorporate. One of the most exciting aspects of the cold process is that it allows for a greater degree of customization, enabling you to craft soaps that cater to your personal skin needs and preferences.
Before diving into the process, it's essential to prioritize safety. Always wear protective gear, including gloves and goggles, as lye is a caustic substance that can cause burns. Make sure to work in a well-ventilated area to avoid inhaling any fumes. Now, let’s break down the steps involved in this method:
- Gather Your Ingredients: You will need oils (like olive or coconut), lye, distilled water, and your chosen herbs or essential oils.
- Prepare the Lye Solution: Carefully mix the lye with distilled water, allowing it to cool. Remember, always add lye to water, never the other way around!
- Mix Oils: In a separate container, measure and heat your oils until they reach about 100-110°F.
- Combine Lye and Oils: Once both mixtures are at the desired temperature, slowly pour the lye solution into the oils while stirring gently.
- Blend: Use an immersion blender to mix until you reach "trace," which is when the mixture thickens and leaves a trail on the surface.
- Add Herbs and Essential Oils: At this stage, you can add your herbal infusion or essential oils to enhance the benefits of your soap.
- Pour into Molds: Carefully pour the soap mixture into your molds and tap them gently to remove air bubbles.
- Cure the Soap: Allow the soap to sit in the molds for 24-48 hours, then remove and let it cure in a cool, dry place for about 4-6 weeks.
Throughout this process, the chemical reaction between the lye and oils creates soap while glycerin forms, which is a natural moisturizer. This means your herbal soaps will not only cleanse but also nourish your skin. Plus, since you control the ingredients, you can avoid any harsh chemicals that might irritate sensitive skin.
In summary, the cold process method is a fantastic way to engage with your creativity while producing high-quality herbal soaps. The satisfaction of using a product made by your own hands is unparalleled, and the benefits for your skin are just the cherry on top. Ready to give it a try? Gather your ingredients and let the soap-making adventure begin!
Here are some common questions that might arise as you embark on your soap-making journey:
- Can I use any type of oil? Yes, but different oils have varying properties. Coconut oil creates a hard bar, while olive oil is moisturizing.
- Is lye dangerous? Lye can be hazardous if not handled properly. Always wear protective gear and follow safety guidelines.
- How long does the curing process take? Typically, soap needs to cure for 4-6 weeks to ensure it is safe and effective for use.
Melt and Pour Method
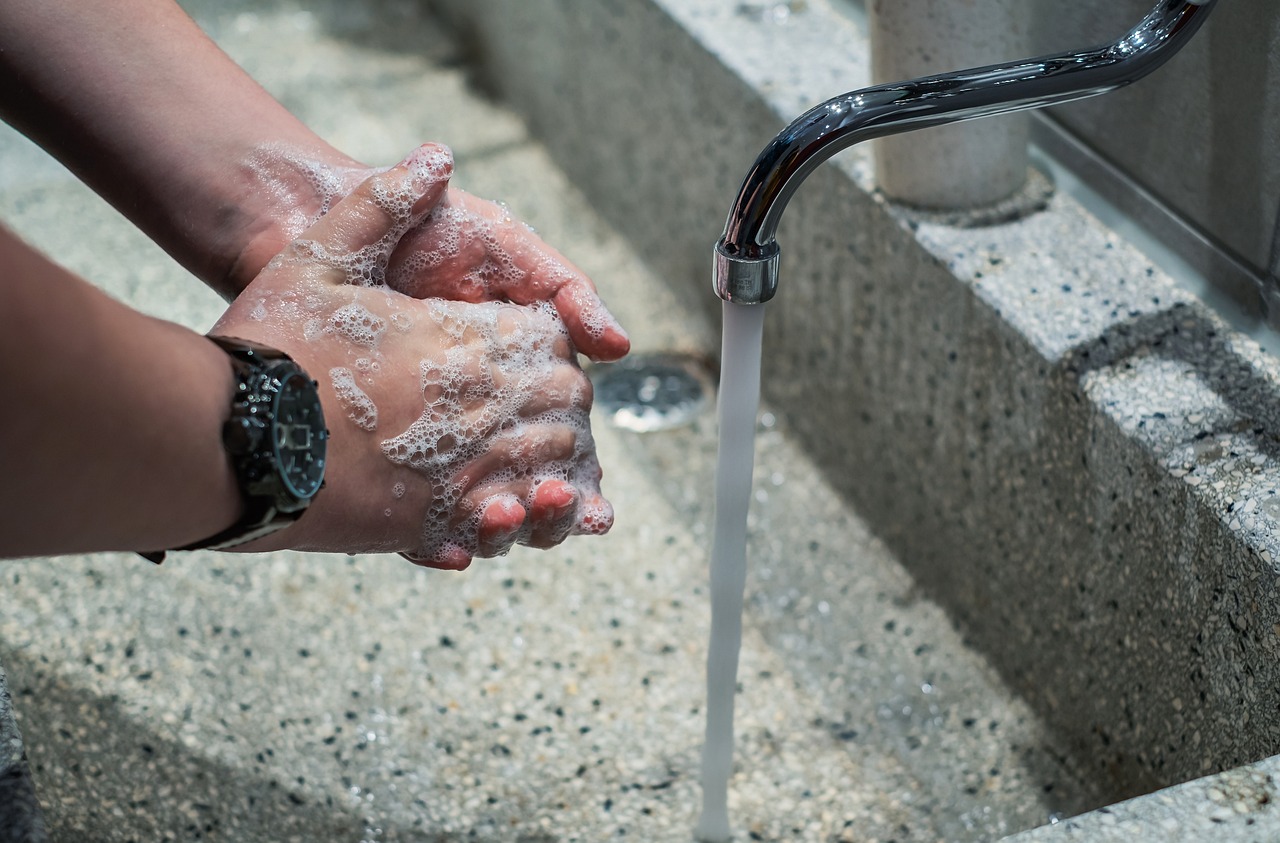
The is a fantastic way to dive into the world of soap making, especially if you’re a beginner or just looking for a quicker, less complicated process. Imagine this: instead of starting from scratch with lye and oils, you get to work with a pre-made soap base that’s ready to melt and transform into your unique creation. This method is like having a blank canvas where you can paint your own masterpiece without the fear of making a mess. It’s perfect for those who want to enjoy the fun of soap making without the complicated chemistry involved in traditional methods.
To begin, you’ll need a few essential supplies. Here’s a quick rundown of what you’ll need:
- Soap Base: Choose from glycerin, shea butter, or goat's milk bases, depending on your skin type and preference.
- Herbs and Essential Oils: This is where you can get creative! Incorporate your favorite herbs like lavender or rosemary, and add essential oils for fragrance.
- Molds: Silicone molds work best as they allow for easy removal of your finished soap.
- Colorants (optional): Natural colorants can add a beautiful touch to your soap.
Once you have your supplies, the process is straightforward and enjoyable. Start by cutting your soap base into small cubes to ensure even melting. You can melt the soap in a microwave-safe bowl or a double boiler, stirring occasionally until it’s completely liquefied. It’s crucial to keep an eye on it to avoid overheating, which can cause the soap to bubble and lose its clarity.
After your soap base has melted, it’s time to add your chosen herbs and essential oils. This is where the magic happens! For instance, if you’re making a lavender soap, you might add a few drops of lavender essential oil along with some dried lavender buds for texture and visual appeal. Stir gently to distribute the ingredients evenly, but be careful not to create too many bubbles.
Next, pour the mixture into your molds. This is the moment where you can really let your creativity shine! You can layer different colors or even create swirls by pouring the soap in a specific way. If you’re feeling adventurous, consider adding exfoliants like oatmeal or poppy seeds to give your soap an extra touch of luxury.
Once poured, let your soap cool and harden. This usually takes a few hours, but you can speed up the process by placing the molds in the refrigerator. Once fully set, gently pop the soaps out of the molds, and voila! You have beautifully crafted herbal soaps ready for use or gifting.
One of the best aspects of the melt and pour method is its versatility. You can experiment with different combinations of herbs, oils, and colorants to create a range of soaps tailored to your personal taste or skin needs. Plus, it’s a fantastic activity to share with friends or family, making it a fun DIY project for all ages.
In summary, the melt and pour method is an accessible, enjoyable way to create personalized herbal soaps at home. With just a few ingredients and a little creativity, you can craft beautiful, fragrant soaps that not only look good but also nourish your skin. So why not give it a try? You might just discover a new hobby that brings joy and relaxation into your life!
Q: Can I use any type of herbs in my melt and pour soap?
A: While you can experiment with various herbs, it’s best to choose those known for their skin-friendly properties, such as lavender or chamomile.
Q: How long does the soap take to harden?
A: Typically, it takes a few hours for the soap to harden completely, but placing it in the refrigerator can speed up the process.
Q: Is the melt and pour method safe for beginners?
A: Absolutely! This method is one of the safest ways to make soap, as it eliminates the need for handling lye.

Creative Soap Recipes
Creating your own herbal soaps is not just a fun and creative process; it’s also a way to personalize your skincare routine with unique scents and beneficial properties. In this section, we’ll dive into some delightful soap recipes that incorporate various herbs and essential oils, allowing you to experiment and find your perfect blend. Whether you’re a seasoned soap maker or a curious beginner, these recipes will inspire you to unleash your creativity and craft something truly special.
One of the most popular combinations is the Lavender and Oatmeal Soap. This recipe is particularly great for those with sensitive skin, as it combines the soothing properties of lavender with the gentle exfoliation of oatmeal. To make this soap, you will need:
- 1 cup of olive oil
- 1 cup of coconut oil
- 1 cup of palm oil
- 4 oz. of lye
- 10 oz. of distilled water
- 2 tablespoons of dried lavender flowers
- 1 cup of finely ground oatmeal
- Essential lavender oil (to your scent preference)
Start by carefully mixing the lye with distilled water in a well-ventilated area, allowing it to cool. Next, melt the oils together in a separate pot until fully combined. Once both mixtures are at a similar temperature, slowly combine them, stirring until you reach a light trace. At this point, add the lavender flowers, ground oatmeal, and lavender essential oil, mixing thoroughly. Pour the mixture into soap molds and let it cure for 4-6 weeks. The result? A beautifully calming soap that exfoliates and hydrates your skin.
Another invigorating recipe to try is the Rosemary Mint Soap. This soap not only smells amazing but also offers a refreshing experience that can awaken your senses during your morning shower. For this recipe, gather the following ingredients:
- 1 cup of shea butter
- 1 cup of olive oil
- 4 oz. of lye
- 10 oz. of distilled water
- 2 tablespoons of dried rosemary
- 1 cup of fresh mint leaves
- Essential rosemary and peppermint oils (to your scent preference)
Similar to the lavender soap, begin by mixing the lye with water in a safe area. Melt the shea butter and olive oil together. Once cooled and combined, mix them together until you achieve a light trace. Add the dried rosemary and finely chopped mint leaves, along with the essential oils, and stir well. Pour the mixture into molds and allow it to set for several weeks. This soap will leave you feeling refreshed and invigorated, perfect for a quick pick-me-up!
As you experiment with these recipes, don’t hesitate to modify the ingredients to suit your preferences. You can adjust the amount of essential oils for a stronger or lighter scent, or even incorporate other herbs that you love. The beauty of making your own herbal soap is that you can tailor each batch to your liking, making every bar a unique creation.
Q: Can I use fresh herbs instead of dried herbs in my soap?
A: Yes, you can use fresh herbs, but keep in mind that they may introduce more moisture into your soap, which can affect the curing process. It’s often recommended to dry the herbs first for more consistent results.
Q: How long does it take for homemade soap to cure?
A: Typically, homemade soap needs to cure for about 4-6 weeks. This allows the lye to fully saponify and the soap to harden, ensuring that it’s safe and gentle for your skin.
Q: Can I customize the colors of my soap?
A: Absolutely! You can use natural colorants such as turmeric for yellow, spirulina for green, or beetroot powder for pink. Just remember to test small amounts first to achieve your desired shade.
Lavender and Oatmeal Soap
Imagine stepping into your bathroom and being greeted by the soothing aroma of lavender, a scent that instantly transports you to a serene lavender field under a clear blue sky. Now, pair that with the gentle exfoliating properties of oatmeal, and you have a soap that not only cleanses but also nourishes your skin. This delightful combination is perfect for those with sensitive skin or anyone looking to indulge in a calming bathing experience.
Creating your own is surprisingly simple and requires just a few ingredients. You'll need:
- 1 pound of melt-and-pour soap base (preferably shea butter or glycerin)
- 2 tablespoons of dried lavender flowers
- 1 tablespoon of oatmeal (finely ground for a smoother texture)
- 10-15 drops of lavender essential oil
- A few drops of purple soap colorant (optional)
To start, chop the soap base into small cubes and melt it in a double boiler or microwave. Be careful not to overheat it, as this can cause the soap to lose its beneficial properties. Once melted, stir in the lavender flowers, ground oatmeal, and lavender essential oil. If you're feeling a bit adventurous, add a drop or two of purple colorant to give your soap a lovely hue. Pour the mixture into your soap molds and let it cool completely. In just a few hours, you'll have beautifully crafted lavender and oatmeal soaps ready to elevate your self-care routine!
Not only does this soap smell heavenly, but it also brings several benefits to your skin. The lavender helps to calm irritation and reduce redness, while the oatmeal acts as a gentle exfoliant, removing dead skin cells and leaving your skin feeling soft and rejuvenated. Plus, the combination of these ingredients makes for a fantastic gift for friends and family, showcasing your creativity and thoughtfulness.
So, why not treat yourself to this delightful DIY project? Not only will you enjoy the process of making your own soap, but you'll also reap the wonderful benefits of lavender and oatmeal every time you wash your hands or take a shower. It's like a mini spa experience right in your own home!
Q: Can I use fresh lavender instead of dried?
A: While fresh lavender can be used, dried lavender is recommended for soap making as it prevents moisture from affecting the soap's texture and longevity. Dried herbs also retain their fragrance better.
Q: How long will the soap last?
A: Homemade soaps can last for several months if stored properly in a cool, dry place. However, for the best scent and effectiveness, it's recommended to use them within 6 months.
Q: Can I customize this recipe with other herbs?
A: Absolutely! Feel free to experiment with other skin-friendly herbs such as chamomile, rosemary, or even peppermint to create unique blends that suit your preferences.

Rosemary Mint Soap
Imagine stepping into your shower and being greeted by the invigorating aroma of rosemary and mint. This delightful combination not only awakens your senses but also provides a refreshing start to your day. Making at home is a fantastic way to bring that experience to your daily routine. The best part? It’s quite simple to create, even for beginners!
To begin with, rosemary is known for its stimulating properties, promoting mental clarity and focus. When combined with the cooling effect of mint, you have a soap that not only cleanses but also revitalizes your skin and spirit. The process of crafting this soap allows you to embrace your creativity while enjoying the natural benefits of these herbs. Plus, the vibrant colors and textures will make your soap as pleasing to the eye as it is to the nose!
Here’s a quick overview of what you’ll need for this aromatic soap:
| Ingredients | Benefits |
|---|---|
| Olive Oil | Moisturizes and nourishes the skin |
| Coconut Oil | Provides lather and cleansing properties |
| Rosemary Essential Oil | Stimulates and invigorates |
| Mint Essential Oil | Refreshes and cools the skin |
| Herbal Infusion of Rosemary and Mint | Enhances the soap with natural properties |
| Lye (Sodium Hydroxide) | Essential for the saponification process |
Now, let's dive into the steps to create your very own Rosemary Mint Soap. First, you'll want to prepare your herbal infusion. Steep fresh or dried rosemary and mint in a carrier oil, like olive oil, for a few hours or overnight. This process extracts the natural oils and benefits of the herbs, giving your soap a powerful boost.
Once your infusion is ready, gather your other ingredients and tools. Safety is key when working with lye, so make sure to wear gloves and goggles. Mix the lye with water in a well-ventilated area, and allow it to cool. In a separate bowl, combine your infused oil with the lye mixture, blending them until they reach a light trace. This is the point where the mixture thickens, and you can add your essential oils for that aromatic burst.
After incorporating the rosemary and mint essential oils, pour the mixture into soap molds and let it sit for 24 to 48 hours to harden. Once your soap is fully cured, you can slice it into bars and enjoy the fruits of your labor. Each bar will not only cleanse your skin but also provide a refreshing and uplifting experience every time you use it.
As you experiment with this recipe, feel free to adjust the amount of essential oils to suit your personal preference. You might even consider adding natural colorants or exfoliants like ground oatmeal for an extra touch. The beauty of making your own soap is that you can tailor it to your liking!
- Can I use dried herbs instead of fresh ones? Yes, dried herbs work well, but fresh herbs often provide a more vibrant scent and color.
- How long does the soap need to cure? Typically, soap needs to cure for about 4-6 weeks to ensure it is safe and gentle on the skin.
- Can I use other oils in this recipe? Absolutely! Feel free to experiment with different carrier oils, such as almond or jojoba oil, for varied benefits.
Crafting your own Rosemary Mint Soap is not just about cleanliness; it's a delightful journey into the world of herbal remedies that can transform your bathing ritual into a luxurious spa experience. So why not give it a try? Your skin will thank you!
Frequently Asked Questions
- What are the main benefits of using herbal soaps?
Herbal soaps are packed with natural ingredients that are gentle on your skin, making them ideal for all skin types. They often come with unique scents that can uplift your mood and may even have therapeutic properties. By using herbal soaps, you're not just cleansing your skin; you're also nourishing it with the goodness of nature!
- Which herbs are best for making herbal soaps?
When it comes to herbal soap making, some of the most popular herbs include lavender, chamomile, and rosemary. Lavender is fantastic for its calming scent, chamomile is perfect for soothing sensitive skin, and rosemary offers an invigorating fragrance. Choosing the right herbs can elevate your soap-making game and cater to your specific skin needs!
- What is the difference between the cold process and melt and pour methods?
The cold process method involves mixing oils and lye to create soap from scratch, allowing for more customization and control over the ingredients. On the other hand, the melt and pour method is more beginner-friendly, where you simply melt a pre-made soap base and add your chosen herbs and fragrances. Both methods have their charm, so it really depends on your comfort level and creativity!
- Can I use dried herbs in my soap recipes?
Absolutely! Dried herbs can add texture and a lovely visual element to your soaps. However, keep in mind that they may not infuse as much fragrance or therapeutic properties as fresh herbs. If you're looking for a vibrant scent and maximum benefits, fresh herbs are your best bet!
- How do I know which herbs are suitable for my skin type?
Understanding your skin type is key. For instance, if you have sensitive skin, chamomile and calendula are excellent choices due to their soothing properties. If you have oily skin, herbs like tea tree or rosemary can help balance oil production. Always do a patch test with new ingredients to ensure your skin reacts well!
- How long does it take for homemade soap to cure?
Typically, homemade soap needs to cure for about 4 to 6 weeks, especially if you're using the cold process method. This time allows the soap to harden and the lye to fully saponify, making it safe and gentle for your skin. Patience is key in soap making!
- Can I customize my soap with essential oils?
Yes, you can! Adding essential oils not only enhances the fragrance of your soap but also provides additional skin benefits. Just be sure to use them in moderation, as essential oils are potent. A few drops can go a long way in creating a beautifully scented bar!
- Is it safe to make soap at home?
Yes, making soap at home can be safe if you follow proper safety precautions, especially when dealing with lye in the cold process method. Always wear gloves and goggles, work in a well-ventilated area, and keep your ingredients out of reach of children and pets. With the right precautions, you can enjoy this creative hobby safely!


