Growing Your Own Medicine: A Guide to Medicinal Plants
In a world where natural remedies are gaining popularity, cultivating your own medicinal plants at home can be a transformative experience. Not only does it provide you with a sense of accomplishment, but it also empowers you to take charge of your health and wellness. Imagine stepping into your garden and plucking fresh herbs that can soothe your ailments or enhance your well-being. Sounds magical, right? Well, it’s entirely possible, and this guide will walk you through the essential steps to get started.
Growing your own medicinal plants is like having a pharmacy at your fingertips, but one that is entirely natural and free from synthetic chemicals. Whether you're interested in the calming effects of chamomile, the healing properties of aloe vera, or the immune-boosting benefits of echinacea, there’s a world of possibilities waiting for you. The journey begins with understanding which plants are best suited for your garden, how to care for them, and how to use them effectively. So, let’s dive in!
When it comes to selecting the right medicinal plants for your garden, it’s essential to consider a few factors, such as your climate, soil conditions, and personal health needs. Some popular options include:
- Aloe Vera: Known for its soothing properties, especially for skin irritations.
- Lavender: Famous for its calming aroma, it’s perfect for reducing anxiety and promoting sleep.
- Echinacea: A powerful immune booster that can help fend off colds and flu.
- Peppermint: Great for digestive issues and adds a refreshing flavor to teas.
Understanding the medicinal properties of these plants is crucial. For instance, did you know that lavender not only smells divine but can also help alleviate headaches? By choosing plants that resonate with your health goals, you’ll create a garden that not only looks beautiful but also serves a purpose.
Now that you’ve chosen your plants, it’s time to focus on how to cultivate them successfully. The key to thriving medicinal plants lies in proper care. This includes understanding soil preparation, watering routines, and sunlight needs. Let’s break these down further.
The foundation of healthy plants is quality soil. Think of soil as the bedrock of your garden. It’s where your plants will draw their nutrients, so it needs to be rich and well-balanced. Here are some essential tips:
- Choose the Right Soil Type: A mix of loamy soil with good drainage is ideal for most medicinal plants.
- Test Soil pH: Most plants thrive in a pH range of 6.0 to 7.0. Testing kits are available at garden centers.
- Enrich with Organic Matter: Compost or well-rotted manure can significantly boost soil fertility.
Composting is a fantastic way to create nutrient-rich soil. By recycling kitchen scraps, yard waste, and other organic materials, you can produce a rich compost that your plants will love. Here’s how to get started:
1. Choose a compost bin or pile.
2. Add green materials (nitrogen-rich) like vegetable scraps.
3. Add brown materials (carbon-rich) like dried leaves.
4. Keep the pile moist and turn it regularly to aerate.
Soil pH affects nutrient availability. If your soil is too acidic or too alkaline, your plants may struggle to absorb the nutrients they need. Testing your soil pH is simple, and amending it can be done with lime (to raise pH) or sulfur (to lower pH).
Watering and sunlight are vital for plant health. Different plants have varying needs, so it’s essential to research each type you’re growing. As a rule of thumb, most medicinal plants prefer well-drained soil and consistent moisture. However, be careful not to overwater, as this can lead to root rot. Pay attention to the sunlight requirements; some plants thrive in full sun, while others prefer partial shade.
Harvesting at the right time is crucial for maximizing the potency of your medicinal plants. Knowing when to pick your herbs can make all the difference in their effectiveness. Typically, the best time to harvest is just before the plants bloom, as this is when their essential oils and medicinal compounds are at their peak.
Timing is key when harvesting. Look for these signs to determine the best moment:
- Leaves should be vibrant and healthy.
- Flowers should be fully open but not wilting.
- Roots should be firm and not overly large.
Proper drying and storage methods are essential for maintaining the potency of your herbs. After harvesting, hang your herbs in a cool, dark place with good air circulation. Once dried, store them in airtight containers away from light to preserve their medicinal properties for long-term use.
Q: How long does it take for medicinal plants to grow?
A: The growth time varies by plant, but many herbs can be harvested within a few months.
Q: Can I grow medicinal plants indoors?
A: Absolutely! Many medicinal plants thrive indoors, provided they receive enough light.
Q: Are there any safety concerns with using medicinal plants?
A: Yes, it's important to research each plant's potential side effects and interactions with medications.
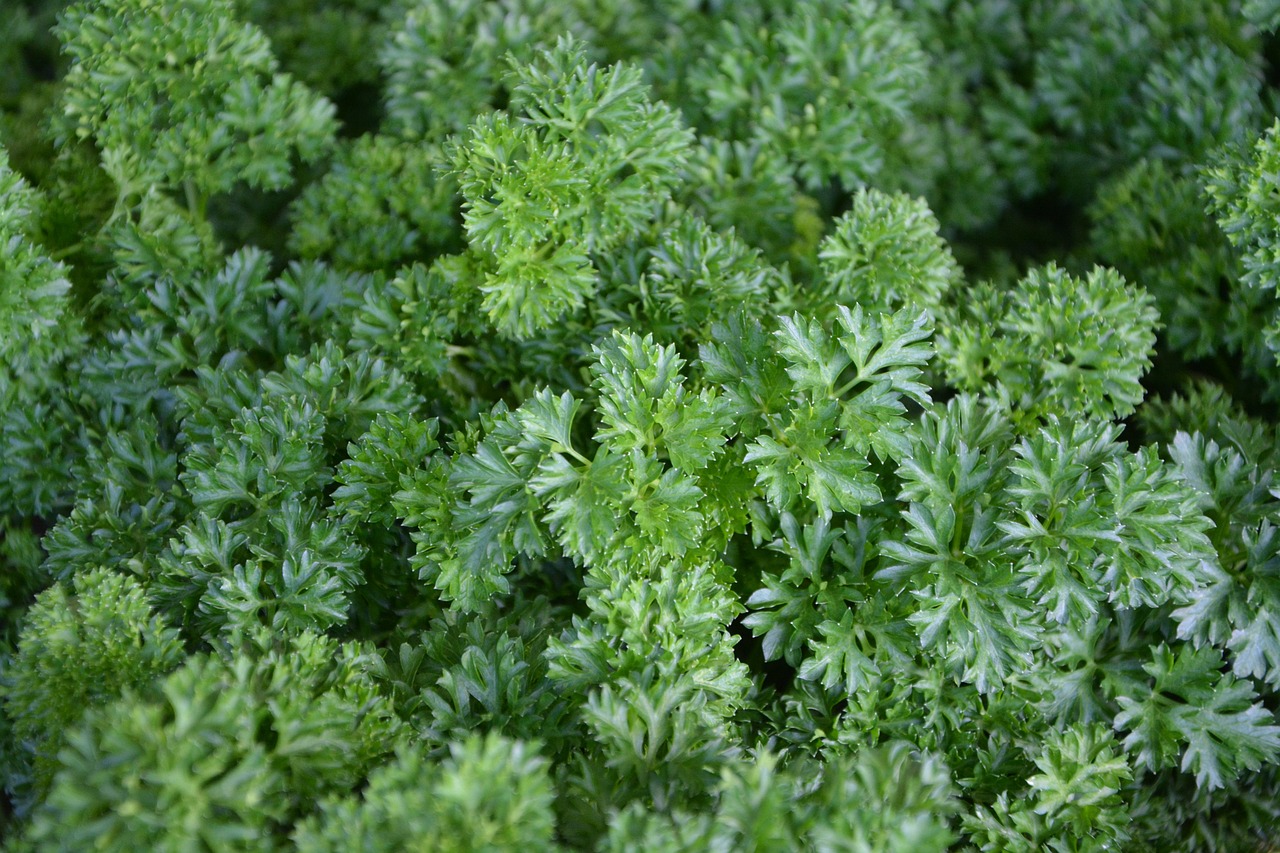
Choosing the Right Medicinal Plants
When it comes to cultivating your own medicinal plants, the first step is to choose the right ones for your garden. This decision is crucial because not all plants will thrive in every environment, and some may not suit your specific health needs. Imagine walking into a garden filled with vibrant greens and fragrant herbs—each plant not only adding beauty but also serving a purpose in your wellness journey. So, how do you select the best candidates for your personal apothecary?
Firstly, consider your local climate and soil conditions. Different plants have varying requirements, and understanding your environment will help you make informed choices. For instance, if you live in a warmer region, you might want to opt for sun-loving herbs like rosemary and lavender, while cooler areas might be more suitable for chamomile and peppermint. Additionally, the type of soil you have—whether sandy, clay, or loamy—can significantly impact plant growth. Conducting a simple soil test can provide insights into its pH and nutrient levels, allowing you to amend it accordingly.
Next, think about the medicinal properties you wish to harness. Are you looking for plants that can help with digestion, like ginger and peppermint, or perhaps ones that can boost your immune system, such as echinacea and elderberry? Here’s a quick overview of some popular medicinal plants and their primary uses:
| Plant | Primary Use |
|---|---|
| Ginger | Digestive aid, anti-inflammatory |
| Peppermint | Relief from headaches and digestive issues |
| Echinacea | Immune system booster |
| Lavender | Stress relief, sleep aid |
| Chamomile | Calming effects, aids sleep |
Finally, consider the level of care each plant requires. Some medicinal plants, like aloe vera, are relatively low-maintenance and can thrive with minimal attention, while others, such as ginseng, might require more specific conditions to grow successfully. By understanding the care requirements, you can ensure that your garden remains a source of healing rather than a source of stress.
In summary, choosing the right medicinal plants is a blend of art and science. By considering your climate, soil conditions, desired medicinal properties, and maintenance levels, you can create a thriving garden that not only beautifies your space but also enhances your health. So, roll up your sleeves, dig in, and start cultivating your very own garden of healing!
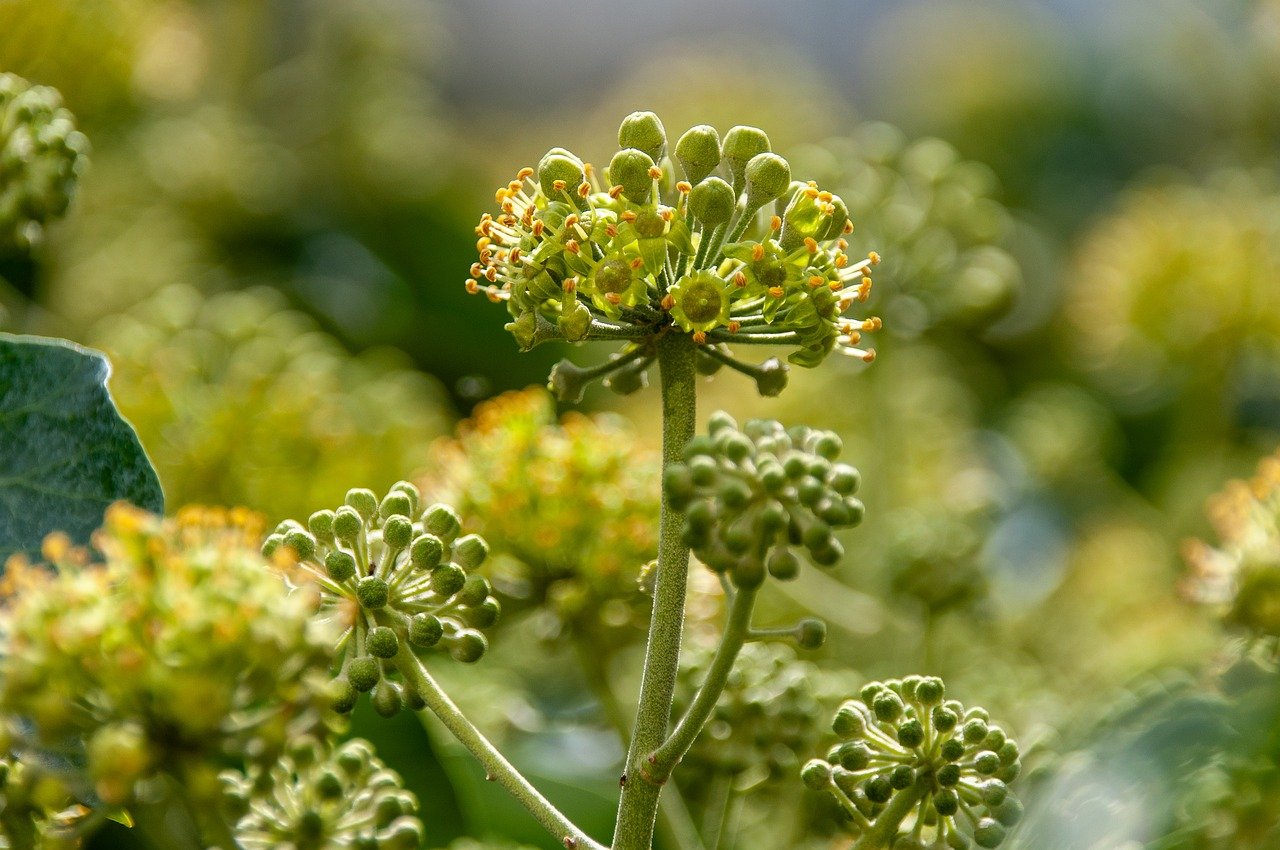
Essential Growing Techniques
When it comes to cultivating medicinal plants, understanding the can make all the difference between a thriving garden and a struggling patch of greens. Just like a chef needs to know the right ingredients and cooking methods to whip up a delicious meal, you need to master the basics of plant care to ensure your medicinal plants reach their full potential. From soil preparation to watering schedules, every step is crucial in nurturing these natural healers.
First and foremost, let's talk about soil preparation. Think of soil as the bed where your plants will rest and grow. If the bed is uncomfortable, the plants won't thrive. You want to start with nutrient-rich soil that has the right texture and composition. This means understanding your soil type—whether it's sandy, clay, or loamy—and making necessary amendments. Adding organic matter, such as compost, can significantly improve soil health, providing essential nutrients that your plants will absorb as they grow.
To create the perfect environment for your plants, you should also pay attention to the pH levels of your soil. The pH scale ranges from 0 to 14, with 7 being neutral. Most medicinal plants prefer a slightly acidic to neutral pH (around 6 to 7). You can easily test your soil using a pH test kit available at garden centers. If your soil is too acidic, you can add lime to raise the pH; if it’s too alkaline, sulfur can help lower it. This simple adjustment can dramatically impact nutrient availability, ensuring your plants absorb all the goodness they need.
Speaking of organic matter, composting is one of the best practices you can adopt. It’s like giving your plants a superfood boost! Composting involves collecting kitchen scraps, yard waste, and other organic materials and allowing them to decompose into a rich, dark soil amendment. Here are some quick tips for successful composting:
- Use a mix of green materials (like vegetable scraps) and brown materials (like dried leaves).
- Turn your compost pile regularly to aerate it and speed up decomposition.
- Keep the pile moist but not soggy—think of a damp sponge.
Once your compost is ready, it can be mixed into your garden soil to enhance its fertility and structure. This not only benefits your medicinal plants but also promotes a healthy ecosystem in your garden.
Now that your soil is prepped and primed, let’s dive into watering and sunlight needs. Just like you wouldn’t want to drown a friend in a pool, overwatering can be detrimental to your plants. Most medicinal herbs prefer well-drained soil that stays consistently moist but not waterlogged. A good rule of thumb is to water when the top inch of soil feels dry. Early morning is the best time to water, as it allows plants to soak up moisture before the heat of the day.
Sunlight is equally important. Different plants have varying light requirements, with some thriving in full sun while others prefer partial shade. For instance, chamomile and lavender love the sun, while ginger prefers a shadier spot. Make sure to research the specific needs of each plant you intend to grow, as this knowledge will help you create the perfect microclimate for your medicinal garden.
In summary, mastering these essential growing techniques will set you on the path to cultivating a successful medicinal garden. With a little bit of patience and practice, you’ll be well on your way to harvesting your own natural remedies right from your backyard!
Q: How often should I water my medicinal plants?
A: Watering frequency depends on the plant type and weather conditions. Generally, water when the top inch of soil feels dry.
Q: Can I grow medicinal plants indoors?
A: Yes! Many medicinal plants can thrive indoors with adequate sunlight, such as on a windowsill or under grow lights.
Q: What are some easy medicinal plants for beginners?
A: Some great options include peppermint, chamomile, and aloe vera, as they are relatively easy to grow and maintain.
Q: How do I know when to harvest my medicinal plants?
A: Harvesting times vary by plant. Generally, it's best to harvest in the morning after the dew has dried for maximum potency.
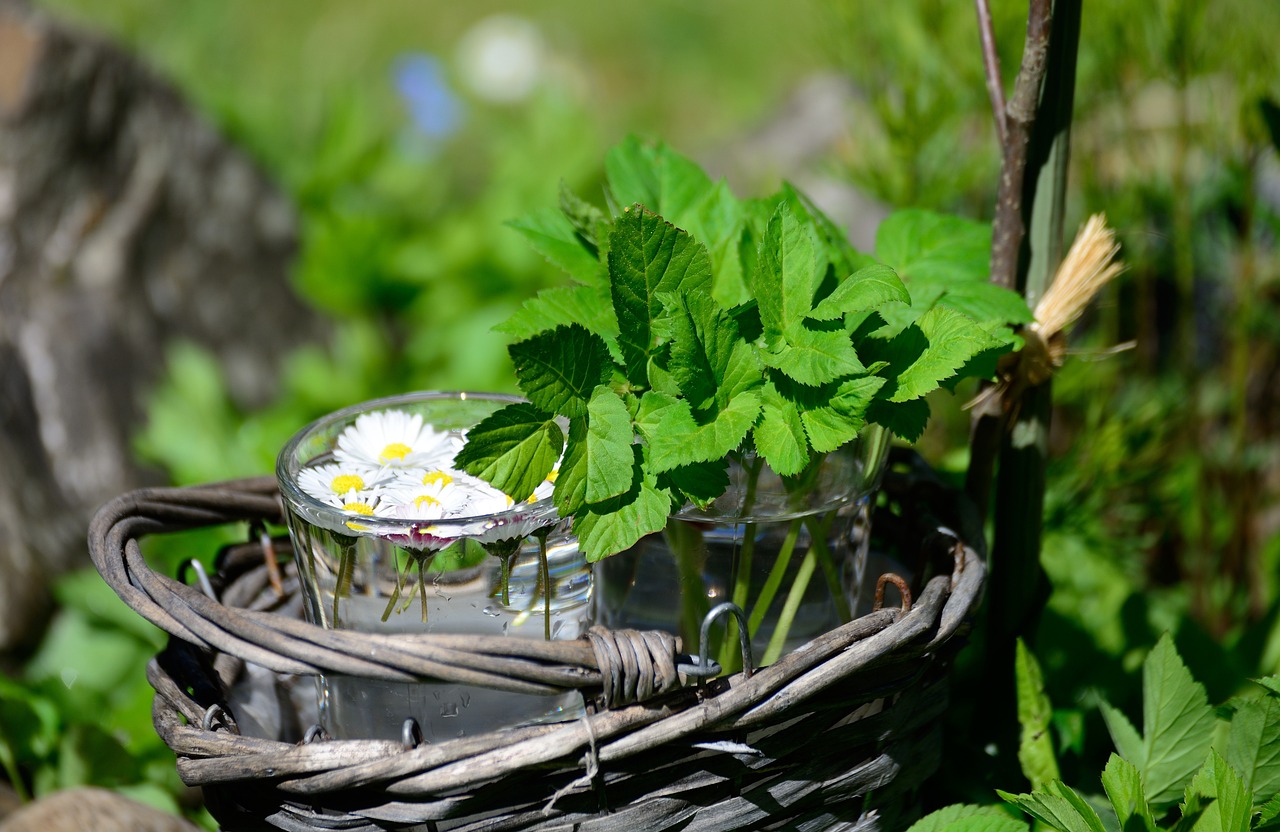
Soil Preparation Tips
When it comes to growing your own medicinal plants, the foundation of success lies in the quality of your soil. Think of soil as the bedrock of your garden; if it's not healthy, your plants won't be either. To ensure your medicinal plants thrive, you need to understand the different types of soil, how to test its pH, and the importance of enriching it with organic matter. Each of these factors plays a vital role in determining how well your plants will grow and how potent their healing properties will be.
First off, let's talk about soil types. There are several types you might encounter, including sandy, clay, and loamy soils. Sandy soil drains quickly but may lack nutrients, while clay soil retains moisture but can become compacted, making it hard for roots to grow. Loamy soil, which is a mix of sand, silt, and clay, is often considered the best option because it holds nutrients and moisture while allowing for good drainage. If you're unsure what type of soil you have, a simple soil test can reveal its composition and help you make informed decisions.
Next, we can't overlook the significance of soil pH. The pH level of your soil affects how well plants can absorb nutrients. Most medicinal plants prefer a slightly acidic to neutral pH, typically between 6.0 and 7.0. You can easily test your soil's pH using a home testing kit, which is widely available at garden centers. If the pH is too low (acidic), you can add lime to raise it. Conversely, if it's too high (alkaline), sulfur can help bring it down. Adjusting the pH can be like giving your plants a boost of energy, allowing them to access the nutrients they need to flourish.
Now, let's dive into enriching your soil with organic matter. This is where composting comes into play. By adding compost, you not only improve soil structure but also introduce beneficial microorganisms that help break down nutrients, making them available to your plants. Think of compost as a superfood for your garden! To create your compost, you can use kitchen scraps, yard waste, and other organic materials. Just be sure to avoid meat and dairy products, as they can attract pests. Regularly turning your compost pile helps aerate it, speeding up the decomposition process.
In summary, preparing your soil is a crucial step in cultivating medicinal plants. By understanding soil types, testing and adjusting pH levels, and enriching your soil with organic matter, you're setting the stage for a thriving garden. Remember, healthy soil leads to healthy plants, and in the world of medicinal herbs, that means more potent healing properties for your natural remedies.
- How often should I test my soil? It’s a good practice to test your soil at least once a year, especially before planting.
- Can I use store-bought compost? Yes, store-bought compost can be a convenient option, but ensure it’s organic for the best results.
- What should I do if my soil is too sandy? You can improve sandy soil by adding organic matter like compost or peat moss to increase its nutrient-holding capacity.
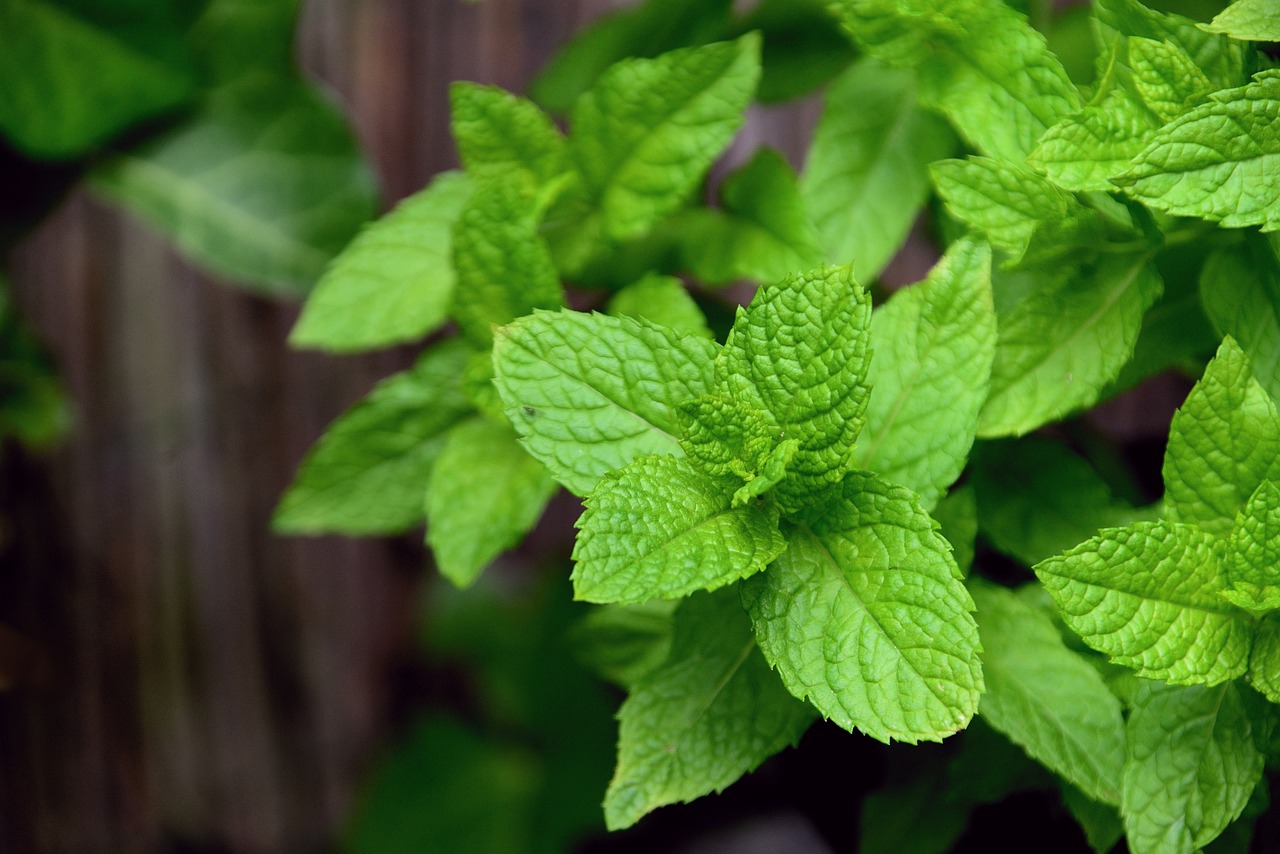
Composting Basics
Composting is a fantastic way to turn your kitchen scraps and yard waste into nutrient-rich soil that can help your medicinal plants thrive. Think of composting as nature's recycling program; it's a simple yet effective method of creating organic matter that enriches your soil, improves its structure, and enhances its ability to retain moisture. By composting, you’re not only reducing waste but also fostering a healthier environment for your plants.
To get started with composting, you’ll need to gather some materials. The best compost piles are made up of a mix of green materials (like fruit and vegetable scraps, grass clippings, and coffee grounds) and brown materials (such as dried leaves, cardboard, and straw). The green materials are rich in nitrogen, while the brown materials provide carbon, creating a balanced compost mix. Aim for a ratio of about 1 part green to 3 parts brown for optimal results.
Once you have your materials, it’s time to build your compost pile. Choose a dry, shady spot in your yard, or use a compost bin to contain your pile. Start by layering your brown materials at the bottom, followed by a layer of green materials. Continue alternating layers until you have a pile that’s at least three feet high. This height helps generate enough heat to break down the organic matter effectively.
To maintain your compost pile, it’s important to turn it regularly—about once every few weeks is ideal. Turning the pile aerates it, allowing oxygen to reach the microbes that are doing the hard work of decomposition. If your compost pile starts to smell bad or becomes too wet, it may need more brown materials or a good mix to help it breathe. A well-maintained compost pile should smell earthy and pleasant.
As your compost breaks down, it will undergo various stages, and you’ll notice it transforming from recognizable scraps into dark, crumbly soil. This process can take anywhere from a few weeks to several months, depending on factors like temperature, moisture, and the materials used. When your compost is ready, it will have a rich, earthy smell and a texture similar to that of soil. You can then use this compost to enrich the soil in your medicinal plant garden, providing them with the nutrients they need to grow strong and healthy.
In summary, composting is a straightforward and rewarding process that not only benefits your plants but also contributes positively to the environment. By turning waste into valuable compost, you’re making a significant impact on your gardening practices and helping your medicinal plants reach their full potential.
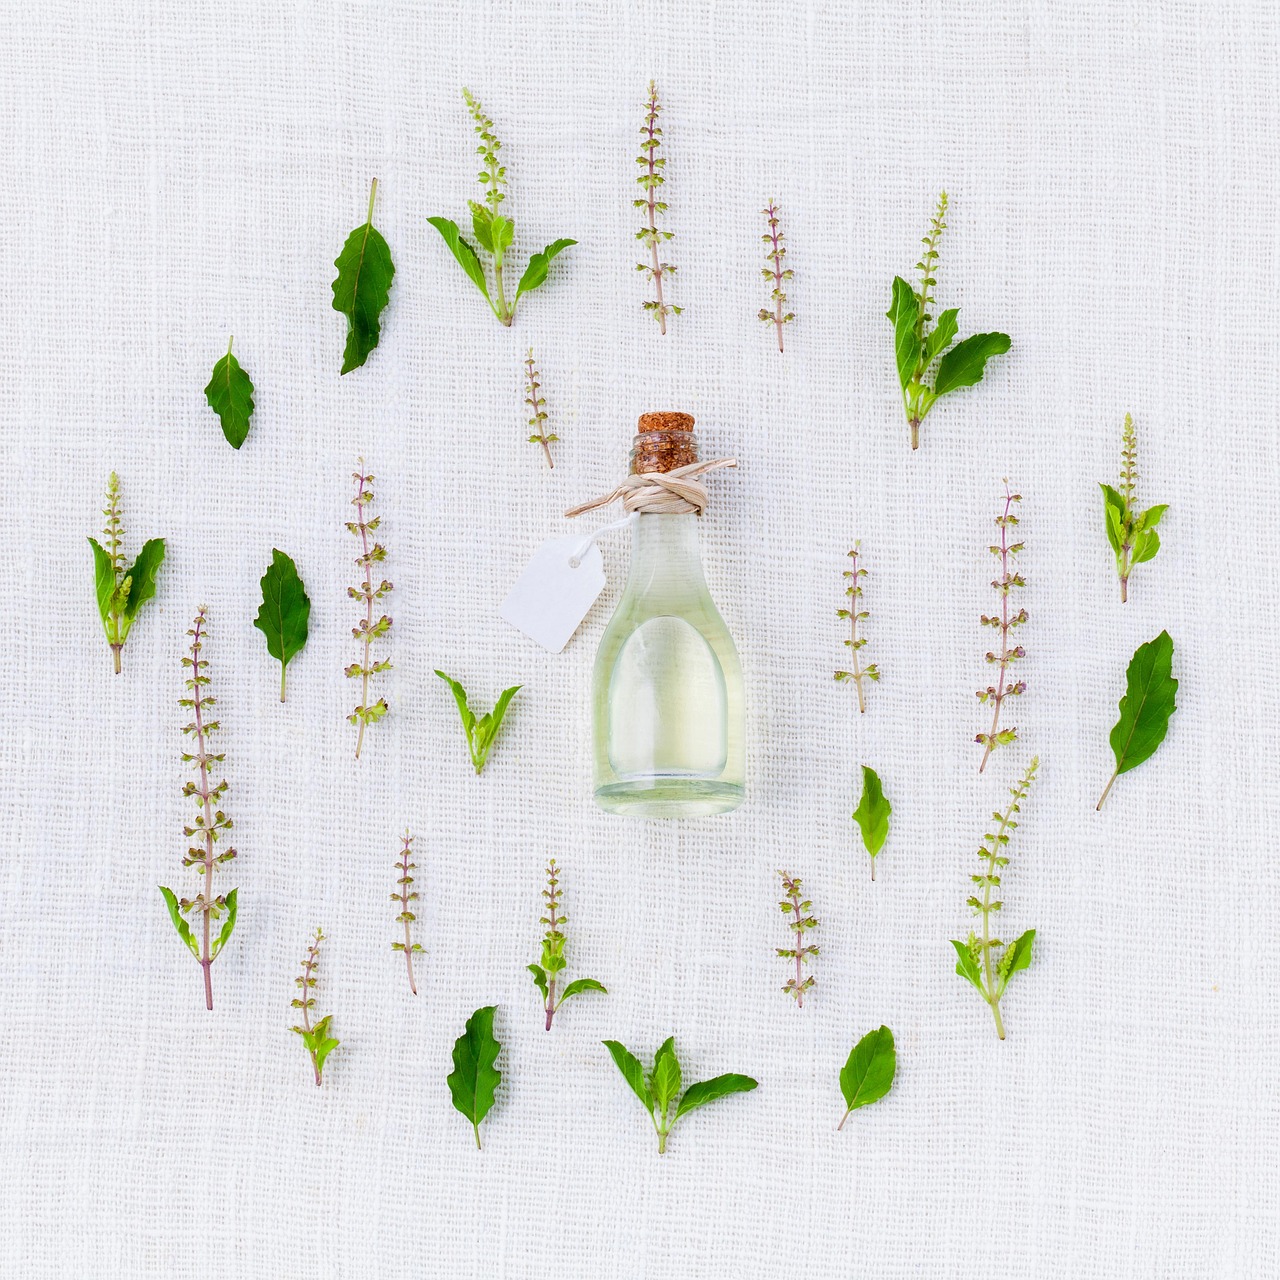
Understanding pH Levels
When it comes to growing your own medicinal plants, understanding soil pH is like knowing the secret handshake to a club; it opens the door to thriving plants and a bountiful harvest. pH, which stands for "potential of hydrogen," measures how acidic or alkaline your soil is, and it plays a crucial role in nutrient availability. Most medicinal plants prefer a slightly acidic to neutral pH, typically ranging from 6.0 to 7.0. If your soil strays too far from this range, you might find your plants struggling to absorb essential nutrients, leading to stunted growth or even plant failure.
Testing your soil's pH is a straightforward process. You can purchase a soil pH test kit from a garden center or use pH test strips. Simply collect a sample of your soil, mix it with distilled water, and follow the instructions provided with your kit. Once you have your results, you'll have a clearer idea of whether your soil needs amending. If your soil is too acidic, you can raise the pH by adding lime, while sulfur can help lower it if your soil is too alkaline.
Here's a quick look at how different pH levels can affect nutrient availability:
| pH Level | Nutrient Availability |
|---|---|
| 4.5 - 5.5 | Iron, manganese, and zinc become more available, but phosphorus and calcium become less available. |
| 6.0 - 7.0 | Most nutrients, including nitrogen, phosphorus, and potassium, are readily available. |
| 7.5 - 8.5 | Calcium and magnesium become more available, but iron and manganese may become deficient. |
Additionally, regularly checking your soil pH can help you maintain a healthy garden. It’s not just a one-time task; think of it as routine maintenance, like changing the oil in your car. You wouldn’t wait until your engine starts sputtering, right? Keeping an eye on your soil's pH can prevent potential problems before they start, allowing your medicinal plants to flourish.
In summary, understanding and managing your soil's pH is vital for the health of your medicinal plants. By ensuring your soil falls within the optimal range, you're setting the stage for robust growth and potent healing properties. So, roll up your sleeves, grab that pH test kit, and let’s get your garden thriving!
- What is the ideal pH level for most medicinal plants? Most medicinal plants thrive in a pH range of 6.0 to 7.0.
- How often should I test my soil pH? It's a good idea to test your soil pH at least once a year, preferably before planting.
- What can I do if my soil is too acidic? You can add lime to raise the pH level.
- Can I use household items to test pH? Yes, some people use baking soda and vinegar, but for more accurate results, a pH test kit is recommended.
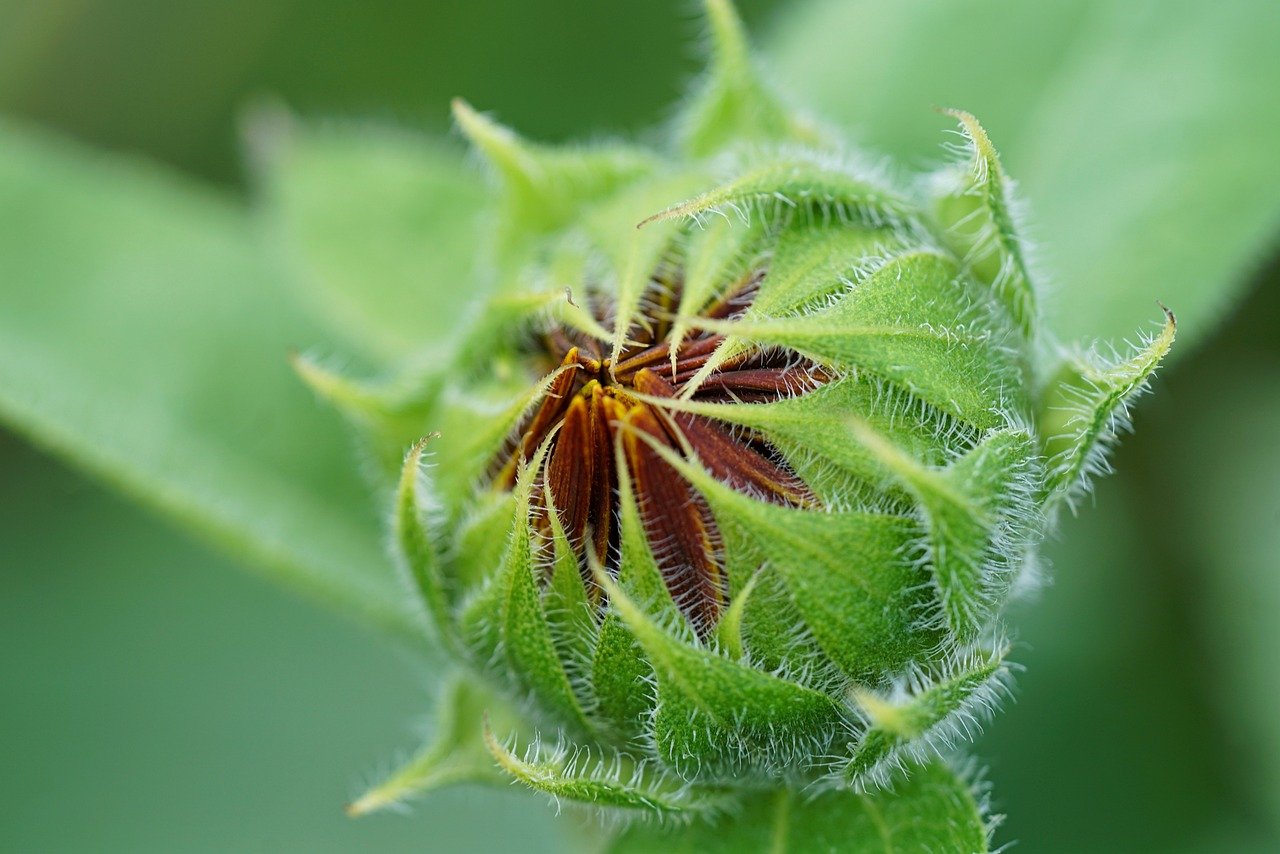
Watering and Sunlight Needs
When it comes to growing your own medicinal plants, understanding their is absolutely essential. Just like us, plants have their own unique preferences and requirements. Think of it as creating the perfect environment for your leafy friends to thrive! Each type of medicinal plant has its own set of needs, and knowing these can make all the difference between a flourishing garden and a struggling one.
First off, let’s tackle watering. Overwatering is a common mistake that many aspiring gardeners make. It’s crucial to strike a balance—too much water can drown your plants, while too little can leave them parched and wilted. A good rule of thumb is to check the top inch of soil. If it feels dry, it’s time to water! However, the frequency of watering can vary based on the plant type, climate, and soil conditions. For instance, herbs like rosemary and thyme prefer drier conditions, while plants like basil and mint thrive in more moisture. Understanding these nuances will help you tailor your watering schedule effectively.
Now, let’s shine a light on the importance of sunlight. Different plants have varying sunlight requirements, which can be categorized into three main types: full sun (6-8 hours of direct sunlight), partial sun (4-6 hours of sunlight), and shade (less than 4 hours). For example, echinacea and calendula love basking in the sun, while chamomile can tolerate some shade. To ensure your plants get the right amount of light, observe their growth patterns and adjust their placement accordingly.
Here’s a quick reference table to help you understand the watering and sunlight needs of some popular medicinal plants:
| Plant | Watering Frequency | Sunlight Requirement |
|---|---|---|
| Basil | Keep soil moist | Full sun |
| Mint | Regularly water | Partial sun |
| Rosemary | Allow to dry out | Full sun |
| Echinacea | Moderate watering | Full sun |
| Chamomile | Moderate watering | Partial sun |
By keeping an eye on your plants and adjusting their care based on their specific needs, you'll not only promote their health but also enhance their medicinal properties. Remember, a little observation goes a long way! So, whether you’re planting a small herb garden on your windowsill or cultivating a larger plot in your backyard, understanding the watering and sunlight needs of your medicinal plants will set you on the path to success.
- How often should I water my medicinal plants?
It depends on the type of plant and the conditions they are in. Generally, check the top inch of soil; if it's dry, it's time to water. - Can I use tap water for my plants?
Yes, but let it sit out for 24 hours to allow chlorine to dissipate, which can be harmful to some plants. - What if my plants are getting too much sunlight?
If leaves are turning yellow or scorched, consider moving them to a shadier spot. - How can I tell if my plant needs more sunlight?
Look for signs of leggy growth or pale leaves, which can indicate insufficient light.
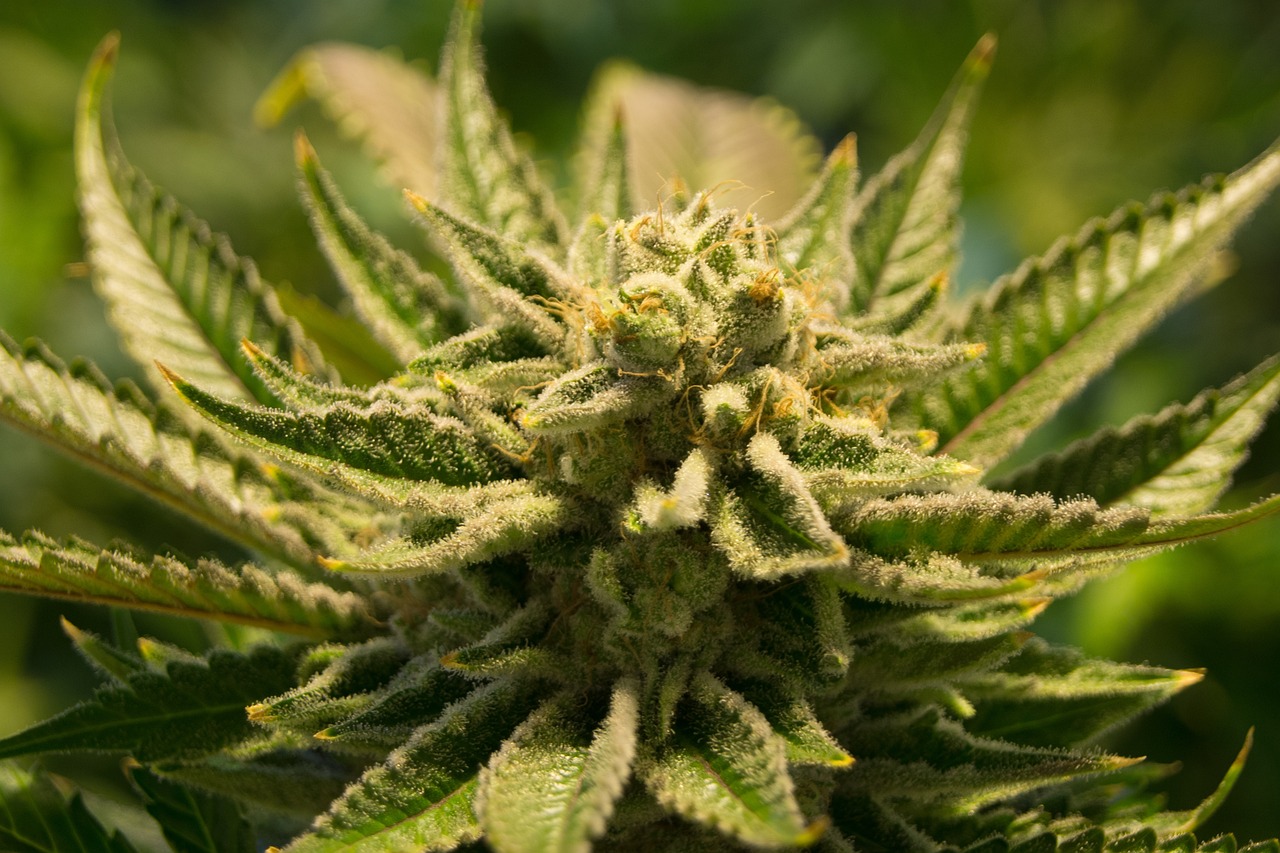
Harvesting and Storing Medicinal Plants
Harvesting medicinal plants at the right time is crucial for maximizing their potency and effectiveness. Think of it like picking fruit: if you wait too long, the fruit may become overripe and lose its flavor and nutrients. Similarly, medicinal plants have their peak moments when their active compounds are most concentrated. Understanding these moments can make all the difference in your natural healing journey.
When it comes to harvesting, timing is everything. For instance, many leaves should be harvested just before the plant flowers, as this is when their essential oils and medicinal properties are at their highest. Flowers, on the other hand, are best picked when they are fully open, bursting with color and fragrance. Roots can be a bit trickier; they should be harvested in the fall when the plant has stored up energy for the winter. Each plant has its own unique rhythm, so it’s essential to do a little research on the specific plants you’re growing.
Once you've harvested your plants, the next step is to ensure they are dried and stored properly to maintain their medicinal properties. Proper drying is essential because moisture can lead to mold and degradation of the plant's beneficial compounds. You can dry herbs by hanging them upside down in a cool, dark, and well-ventilated area. Alternatively, you can use a dehydrator or an oven set to the lowest temperature. The goal is to remove moisture without cooking the herbs, which could destroy their essential oils.
After drying, it's important to store your medicinal plants in a way that preserves their potency. Here are some tips for effective storage:
- Use airtight containers: Glass jars with tight-fitting lids work best, as they keep out moisture and air.
- Keep them in a cool, dark place: Light and heat can degrade the quality of your herbs, so a dark cupboard or pantry is ideal.
- Label your containers: Always label your herbs with the name and date of harvest to keep track of freshness.
Storing your herbs properly not only extends their shelf life but also ensures that you have access to their full range of benefits whenever you need them. Remember, the potency of dried herbs is generally best within the first year after harvest, so try to use them within that timeframe for the best results.
Q: When is the best time to harvest medicinal plants?
A: The best time to harvest varies by plant type, but generally, leaves should be picked just before flowering, flowers when fully open, and roots in the fall.
Q: How should I dry my medicinal plants?
A: You can dry your plants by hanging them upside down in a cool, dark place, or using a dehydrator or low-temperature oven. The key is to remove moisture without cooking the herbs.
Q: How long can I store dried medicinal plants?
A: Dried herbs are best used within a year of harvest for optimal potency, but they can last longer if stored properly in airtight containers away from light and heat.
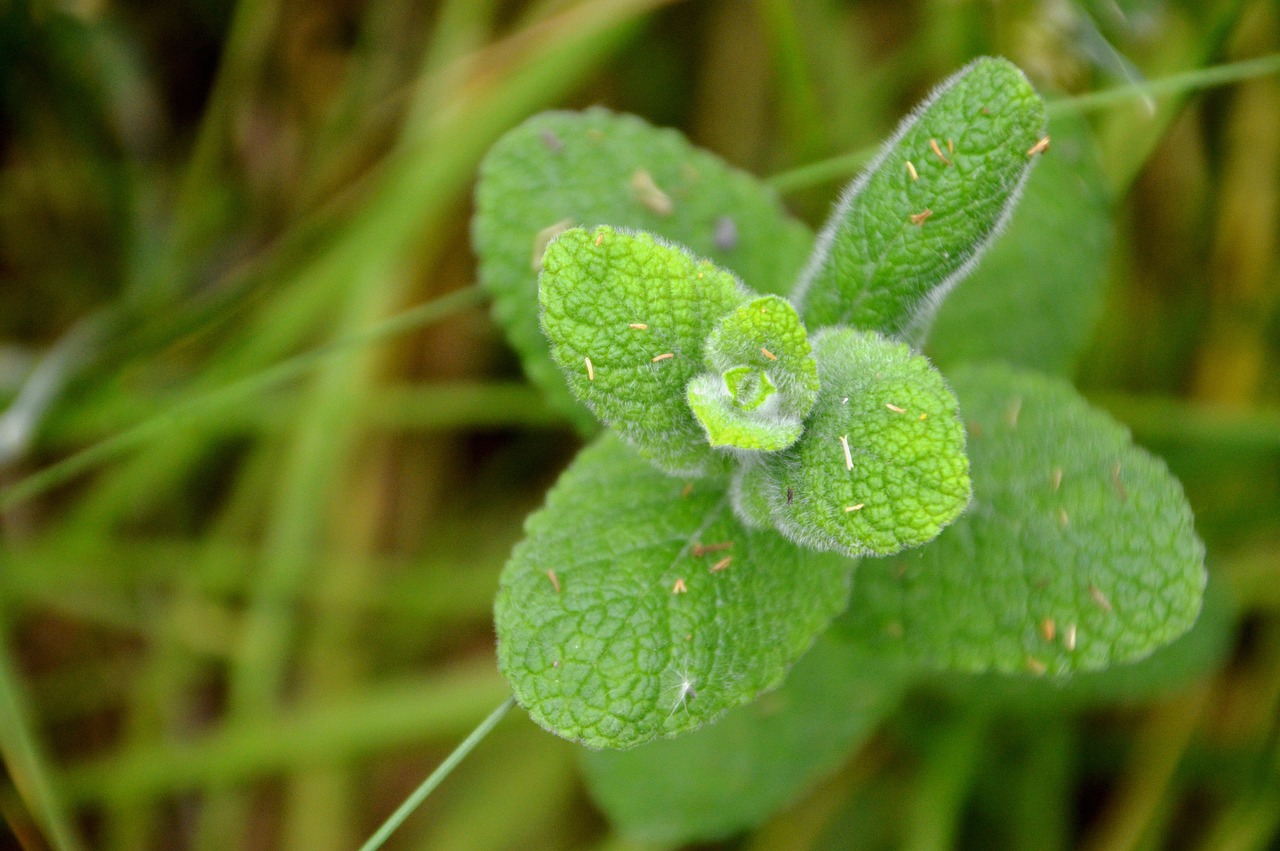
Best Harvesting Practices
When it comes to harvesting your medicinal plants, timing is everything! Just like a chef knows when to pull a dish from the oven for that perfect bite, you need to be aware of the optimal time to gather your herbs for maximum potency. Each type of plant has its own unique lifecycle and ideal harvesting window, so it’s essential to do a little homework before you dive in. For instance, many herbs are best harvested just before they flower, as this is when their essential oils and medicinal properties are at their peak. Imagine the thrill of plucking a fresh leaf, knowing that it’s brimming with healing potential!
To ensure you’re reaping the benefits of your hard work, consider the following practices when harvesting:
- Morning Harvesting: The best time to harvest is in the morning after the dew has dried but before the sun is too hot. This helps preserve the essential oils and flavors.
- Use Clean Tools: Always use sharp, clean scissors or pruners to avoid damaging the plant. A clean cut helps prevent disease and promotes healthy regrowth.
- Harvesting Leaves: For leafy herbs like basil or mint, pinch off the leaves just above a node (where the leaves meet the stem) to encourage new growth.
- Flowers and Roots: When it comes to flowers, wait until they are fully open for maximum potency. For roots, late fall or early spring is generally the best time to dig them up.
Additionally, it’s crucial to only take what you need. Over-harvesting can stress the plant and reduce its ability to grow back. Think of your medicinal garden as a friend; you wouldn’t take all their resources at once, right? Instead, be mindful and leave enough behind for the plant to thrive. This practice not only ensures your plants remain healthy but also contributes to a sustainable gardening habit.
After harvesting, the way you handle your plants is just as important. Gently place them in a basket or a breathable bag to avoid bruising. If you’re harvesting a large quantity, it’s wise to do it in stages to prevent overwhelming the plant and yourself. Remember, the goal is to maintain the integrity of the plant’s medicinal qualities, so treat them with care. Once you’ve gathered your bounty, it’s time to move on to the drying process, which is essential for preserving the herbs' potency.
Q: How do I know when my medicinal plants are ready to be harvested?
A: The best time to harvest is typically just before the plant flowers. Look for vibrant leaves and a strong aroma as indicators of readiness.
Q: Can I harvest my plants multiple times in a season?
A: Yes! Many herbs can be harvested multiple times throughout the growing season, as long as you leave enough foliage for the plant to continue growing.
Q: What should I do if I accidentally over-harvest?
A: If you’ve taken too much, give the plant some time to recover. Water it well and avoid harvesting again until you see signs of new growth.
Q: How can I store my harvested herbs for later use?
A: After harvesting, it’s important to dry your herbs properly and store them in airtight containers away from light and moisture to maintain their potency.
Drying and Storage Techniques
When it comes to preserving the potency of your hard-earned medicinal plants, play a pivotal role. Imagine harvesting a vibrant batch of chamomile or sage, only to have its beneficial properties diminish due to improper drying. The goal is to maintain the essential oils and active compounds that make these plants so valuable for natural healing. So, how do you go about it?
First off, timing is everything. It's crucial to harvest your plants at the peak of their potency. For most herbs, this is just before they start to flower. Once you've gathered your plants, you'll want to ensure they are clean and free from any pests or dirt. A gentle rinse followed by a quick pat down with a clean towel can do wonders.
Next, let's talk about the drying process. There are several methods you can employ to dry your herbs, each with its own set of benefits:
- Air Drying: This is the simplest method. Bundle your herbs in small groups and hang them upside down in a warm, dark, and well-ventilated area. Avoid direct sunlight, as this can degrade the quality of your herbs.
- Oven Drying: If you're short on time, you can use your oven. Set it to the lowest temperature (around 180°F or 82°C) and spread the herbs on a baking sheet. Keep the door slightly ajar to let moisture escape.
- Dehydrator: For those who want a more controlled environment, a food dehydrator is a fantastic option. Follow the manufacturer's instructions for the best results.
Once your herbs are dried, it’s essential to store them properly to maintain their medicinal properties. Use dark glass jars or airtight containers to shield them from light and moisture. Label each jar with the plant name and the date of harvest, as freshness is key for effectiveness.
Additionally, keep your jars in a cool, dark place, away from heat sources. A pantry or a cupboard works well. Ideally, dried herbs can last for up to a year, but for the best flavor and potency, try to use them within six months.
Finally, remember that not all parts of a plant are created equal. Leaves, flowers, and roots may have different drying times and storage needs. For instance, leaves generally dry faster than roots, which can take longer to lose moisture. Understanding these nuances can help you maximize the benefits of your medicinal plants.
Q1: How can I tell if my herbs are properly dried?
A1: Properly dried herbs should feel crisp and crumble easily. If they feel moist or pliable, they need more drying time.
Q2: Can I freeze my medicinal herbs instead of drying them?
A2: Yes, freezing can be a good option for some herbs. Just make sure to wash and chop them first, then store them in airtight containers or freezer bags.
Q3: How do I know the best time to harvest my medicinal plants?
A3: The best time to harvest is usually in the morning after the dew has evaporated but before the sun is too hot. This is when the essential oils are at their peak.
Frequently Asked Questions
- What are some popular medicinal plants to grow at home?
Some popular medicinal plants include aloe vera, known for its soothing properties, lavender, which is great for relaxation, and peppermint, excellent for digestive health. Each plant has unique benefits, so consider your needs and local climate when choosing.
- How do I prepare my soil for growing medicinal plants?
Preparing your soil involves testing its pH and enriching it with organic matter like compost. Aim for a pH level between 6.0 and 7.0 for most medicinal plants. This ensures they have access to the nutrients they need to thrive.
- What are the best watering practices for medicinal plants?
Watering practices can vary, but a general rule is to keep the soil consistently moist but not soggy. Most medicinal plants prefer deep watering less frequently rather than shallow watering often. Always check the top inch of soil before watering!
- How do I know when to harvest my medicinal plants?
The timing of your harvest is crucial. Look for signs like vibrant color and full bloom. For leaves, harvest in the morning after the dew has dried for maximum potency. Each plant has its own optimal harvest time, so do a little research!
- What are the best methods for drying and storing herbs?
To dry herbs, hang them upside down in a cool, dark place with good air circulation. Once dried, store them in airtight containers away from light. This preserves their flavor and medicinal properties for longer periods.
- Can I use medicinal plants for self-treatment?
While many people find relief using medicinal plants, it's essential to consult with a healthcare professional before self-treating. Herbal remedies can interact with medications, and the right dosage is crucial for safety and effectiveness.


