The Wonderful World of Pottery: Breaking Down the Basics
Welcome to the enchanting realm of pottery, where creativity meets craftsmanship! Pottery is not just about molding clay; it's about expressing oneself, connecting with ancient traditions, and finding tranquility in the process. Whether you're a complete novice or a seasoned artisan, this article will guide you through the fascinating world of pottery, exploring its rich history, essential techniques, and the therapeutic benefits it offers. So, grab your apron and let’s dive into the art of pottery!
Understanding the origins of pottery provides insight into its cultural significance and evolution over time. Pottery dates back thousands of years, with the earliest known pieces originating from around 29,000 BCE. These ancient artifacts tell stories of our ancestors, showcasing their daily lives, rituals, and artistic expressions. As societies evolved, so did pottery techniques, influenced by the availability of materials and the needs of the people. From functional vessels used for cooking and storage to intricate decorative pieces, pottery has played a vital role in human civilization. Today, it continues to thrive, blending traditional methods with modern innovations, making it a truly timeless craft.
Mastering the fundamental techniques of pottery is crucial for beginners. These methods allow for personal expression and creativity, enabling artists to create both functional and artistic pieces. The two primary techniques are hand-building and wheel throwing, each offering unique opportunities for creativity.
Hand-building techniques are fantastic for those who want to explore their artistic side without the need for a pottery wheel. These methods include:
- Pinch Pots: One of the simplest forms of hand-built pottery, pinch pots allow beginners to easily shape and mold clay into functional bowls or decorative pieces. This technique involves pinching the clay between your fingers, giving you complete control over the form.
- Coil Construction: This method involves stacking and blending rolled clay coils to create larger forms. It's a fantastic way to experiment with height and texture, allowing for intricate designs and structures.
- Slab Building: By rolling out flat pieces of clay, artists can create geometric shapes and structures. This technique is perfect for those who love precise designs and want to create boxes, plates, or other flat items.
Wheel throwing is a dynamic technique that requires practice and precision. It allows potters to create symmetrical and refined pieces, from bowls to vases. The wheel's motion helps in shaping the clay, and with time, potters can develop their skills to create stunning, intricate designs. While it may seem daunting at first, the satisfaction of crafting a perfectly centered piece is incredibly rewarding!
Selecting the appropriate type of clay is fundamental to pottery success. Different clays offer unique properties and firing requirements, impacting the final outcome of the artwork. The most common types of clay include:
- Earthenware: A porous clay that is easy to work with, perfect for beginners.
- Stoneware: Known for its durability and versatility, often used for functional items.
- Porcelain: A fine, high-fired clay that creates delicate and elegant pieces.
Properly preparing clay is crucial for achieving successful pottery results. This process includes wedging and kneading the clay to ensure a consistent texture and eliminate air bubbles. Think of it as giving your clay a warm-up before the big game! It’s essential for preventing cracks and ensuring that your pottery holds its shape during firing.
Glazes enhance the aesthetic appeal and functionality of pottery, providing color, texture, and a protective layer. Understanding glazing techniques is essential for potters to achieve their desired effects. Different glaze types, such as glossy, matte, and transparent, offer a range of finishes, allowing for creative expression and customization.
Mastering glaze application methods is key to achieving even coverage on pottery surfaces. Techniques include dipping, brushing, and spraying, each offering unique results. Experimenting with different methods can lead to stunning finishes, making your pottery truly one-of-a-kind!
Engaging in pottery as a hobby provides numerous benefits, including stress relief, improved focus, and enhanced creativity. The meditative process of shaping clay promotes mindfulness and relaxation, allowing individuals to escape from daily stressors and find joy in the act of creation.
Participating in pottery classes or workshops fosters a sense of community. It encourages collaboration and shared learning experiences among fellow pottery enthusiasts, creating lasting friendships and a supportive environment for artistic growth.
For those interested in beginning their pottery journey, understanding the necessary tools, resources, and beginner-friendly projects is essential. A basic toolkit, including a pottery wheel, clay tools, and a kiln, is necessary for beginners to start creating pottery effectively and efficiently.
Investing in a few essential tools can set you up for success. Here’s a quick list of what you’ll need:
- Pottery wheel
- Basic clay tools (e.g., rib, needle tool, sponge)
- Kiln for firing
Starting with simple projects, such as mugs or small bowls, allows beginners to practice essential techniques and build confidence in their pottery skills. As you progress, you can challenge yourself with more complex designs and larger pieces!
Q: Do I need any prior experience to start pottery?
A: Not at all! Pottery is a wonderful hobby for beginners. All you need is a willingness to learn and experiment.
Q: What type of clay should I start with?
A: Earthenware is a great choice for beginners due to its workability and forgiving nature.
Q: How long does it take to make a pottery piece?
A: The time varies depending on the project, but generally, you can expect a few hours for shaping and additional time for drying and firing.

History of Pottery
Understanding the origins of pottery provides insight into its cultural significance and evolution over time, showcasing how this ancient craft has influenced societies and continues to thrive in modern times. Pottery dates back to around 29,000 BC, with the earliest known pieces discovered in what is now the Czech Republic. These early artifacts were primarily utilitarian, serving as vessels for food storage and cooking, but they also carried an artistic essence that reflected the culture of their creators.
As we delve deeper into the history of pottery, we find that it has been a fundamental aspect of human civilization across various cultures. From the Neolithic era to the present day, pottery has played a vital role in daily life and rituals. For instance:
- Ancient Egypt: Pottery was used not only for practical purposes but also in burial practices, where decorated pots accompanied the deceased.
- China: The invention of porcelain during the Tang Dynasty revolutionized pottery, leading to exquisite art forms that are still revered today.
- Native American cultures: Pottery served as a canvas for storytelling, with designs that conveyed tribal history and mythology.
Throughout history, pottery techniques have evolved significantly. The transition from hand-built methods to the use of the potter's wheel around 3,500 BC marked a turning point in pottery production. This innovation allowed for greater precision and uniformity in shape and size, enabling artisans to create more intricate designs. The spread of pottery techniques can be traced along trade routes, influencing various cultures and leading to a rich tapestry of styles and methods.
In modern times, pottery has seen a resurgence as both an art form and a therapeutic hobby. With the rise of the studio pottery movement in the 20th century, artists began to embrace individuality and personal expression, moving away from strictly functional pieces to create stunning works of art. Today, pottery is celebrated not only for its historical significance but also for its capacity to connect people through shared experiences in workshops and classes.
In conclusion, the history of pottery is a fascinating journey that reflects human creativity, cultural exchange, and the evolution of craftsmanship. As we continue to explore this ancient art form, we uncover not just the techniques and materials but also the profound connections it fosters among individuals and communities.
- What is the oldest known pottery? The oldest known pottery dates back to around 29,000 BC and was discovered in the Czech Republic.
- How has pottery evolved over time? Pottery has evolved from simple hand-built vessels to intricate designs made using the potter's wheel, reflecting changes in technology and artistic expression.
- What are some famous pottery styles? Notable pottery styles include Chinese porcelain, Native American pottery, and the decorative ceramics of the Arts and Crafts movement.
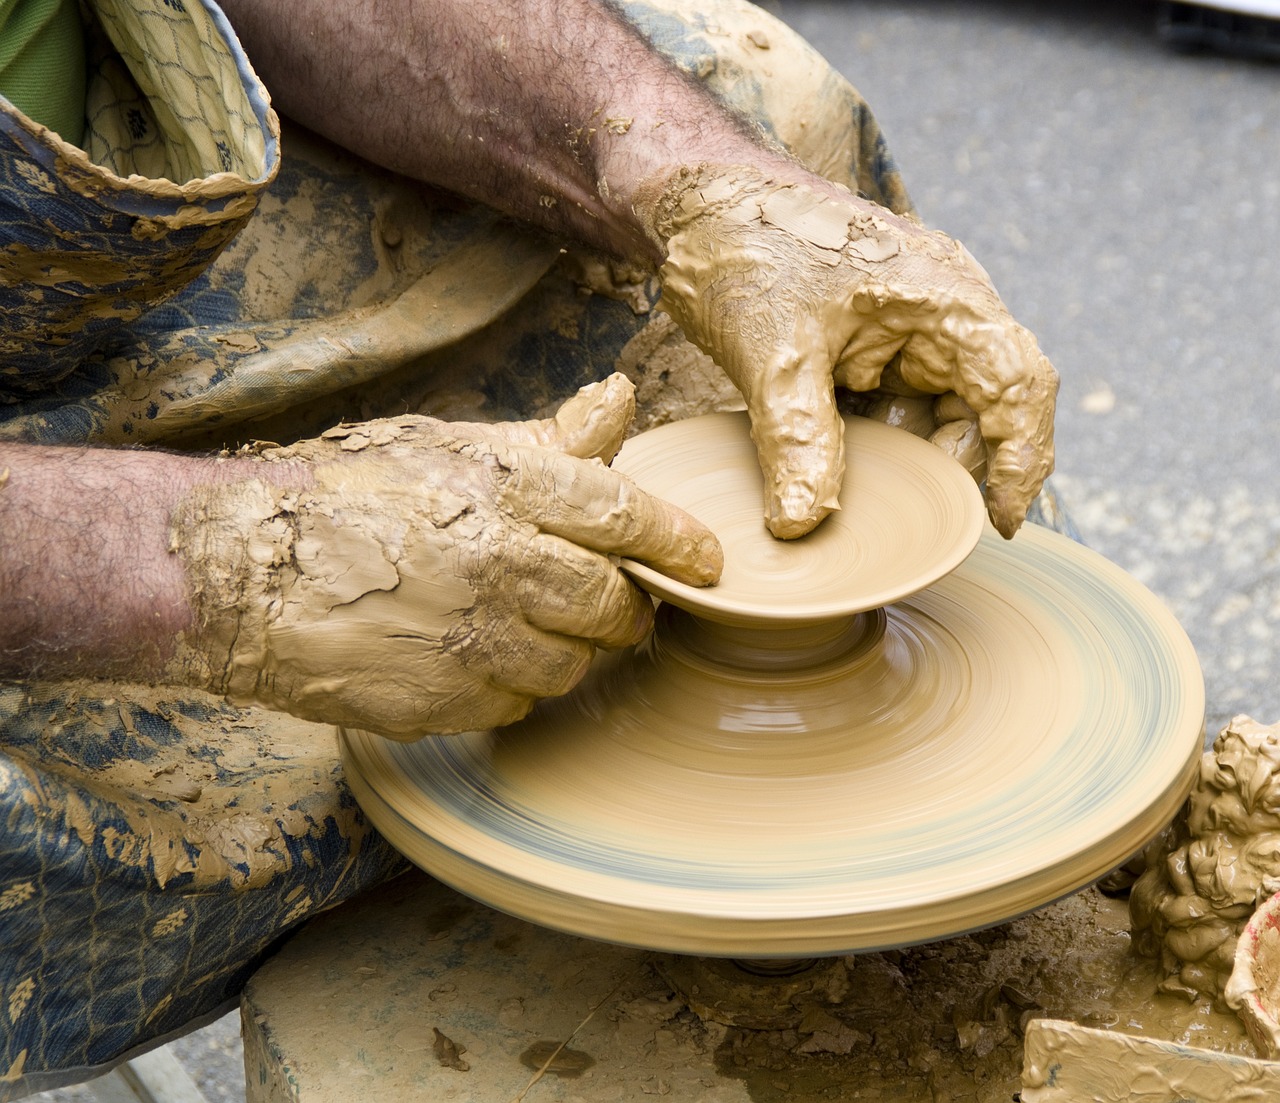
Essential Pottery Techniques
Mastering the fundamental techniques of pottery is like learning the ABCs of a beautiful language; it's essential for both beginners and seasoned artisans alike. Whether you're crafting a simple mug or an intricate vase, understanding these techniques can open up a world of creativity and expression. At its core, pottery can be divided into two main techniques: hand-building and wheel throwing. Each method offers unique ways to mold and shape clay, allowing artists to explore their personal styles and artistic visions.
Hand-building techniques are particularly appealing for those who may not have access to a pottery wheel. They offer a tactile experience that connects the artist with the clay in a very personal way. Among the most popular hand-building methods are pinch pots, coil construction, and slab building. Each of these techniques allows for a different approach to creating pottery, empowering artists to express their creativity without the constraints of machinery.
Let's delve deeper into hand-building methods. Pinch pots are one of the simplest forms of hand-built pottery. They are created by pinching and molding clay into shape, making them perfect for beginners. Imagine shaping a small ball of clay into a bowl with just your fingers; it’s an incredibly satisfying process. Not only do pinch pots serve as functional bowls, but they can also be transformed into decorative pieces that reflect your personality.
Next up is coil construction, which involves rolling out long, snake-like coils of clay and stacking them to build larger forms. This technique allows for greater height and texture, enabling artists to create unique pieces that stand out. Imagine building a tall, spiraled vase that catches the eye and sparks conversation. The possibilities are endless!
On the other hand, wheel throwing is a dynamic technique that requires practice and precision. If you're looking for symmetry and refinement in your pottery, this is the way to go. The pottery wheel spins as you shape the clay, allowing for an even distribution of pressure and a smoother finish. Think of it like dancing; it takes time to master the rhythm, but once you do, the results can be breathtaking. From bowls to vases, wheel throwing enhances your skill set and artistry, giving you the confidence to tackle more complex projects.
In summary, whether you choose to hand-build or wheel throw, each pottery technique offers its own set of challenges and rewards. Embracing these essential techniques will not only improve your pottery skills but also deepen your appreciation for this ancient craft. So, why not grab some clay and start experimenting? You might just discover a hidden talent!
- What is the best technique for beginners? Hand-building techniques, like pinch pots, are often recommended for beginners as they require minimal tools and allow for immediate creativity.
- Do I need a pottery wheel to create pottery? No, many beautiful pieces can be made without a wheel using hand-building techniques.
- How long does it take to learn pottery? The learning curve varies by individual, but with practice, many beginners can create simple pieces within a few weeks.
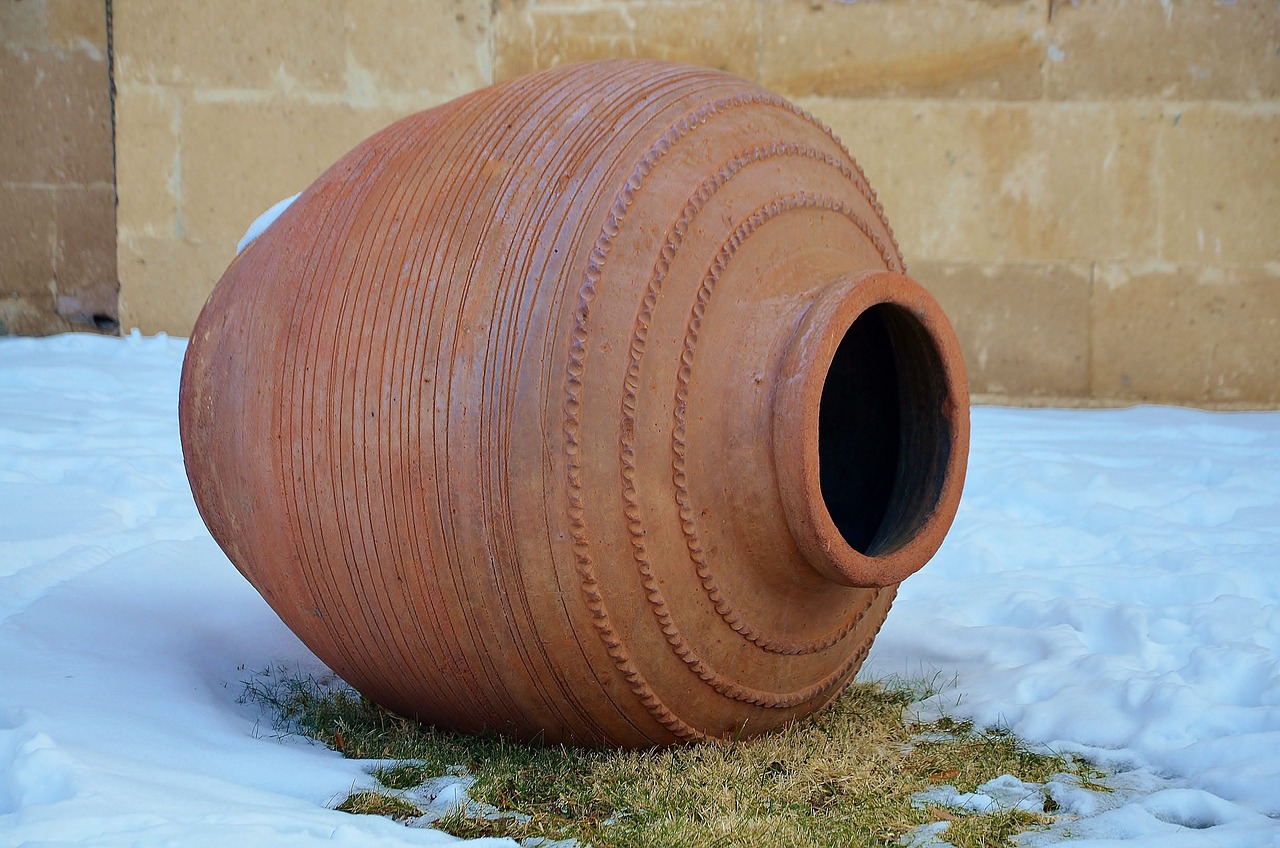
Hand-Building Methods
Hand-building methods are the heart and soul of pottery, offering a delightful alternative to the wheel for those who prefer a more tactile and personal approach. These techniques allow artists to mold and shape clay with their hands, creating unique pieces that reflect their individual styles. Whether you're a novice just dipping your toes into the world of pottery or a seasoned artisan looking to expand your repertoire, mastering hand-building methods can be an incredibly rewarding experience.
Among the most popular hand-building techniques are pinch pots, coil construction, and slab building. Each method has its own charm and advantages, making them accessible for beginners while still providing room for creativity and innovation.
Pinch pots are one of the simplest forms of hand-built pottery, making them perfect for beginners. To create a pinch pot, you start with a ball of clay, which you then press and pinch between your fingers to form a bowl-like shape. This method not only allows for easy shaping but also encourages personal touches, as each pinch pot can take on a unique form and texture. They can serve as functional bowls for small items or as decorative pieces that showcase your personality.
Coil construction is another exciting hand-building technique that involves rolling out long strands of clay, or coils, and stacking them to create larger and more complex forms. This method allows for greater height and texture in pottery creations. As you blend the coils together, you can experiment with various designs, creating everything from vases to intricate sculptures. The beauty of coil construction lies in its versatility; you can create smooth surfaces or add texture for a more organic feel.
Each of these hand-building methods opens up a world of possibilities for creativity. They not only allow for artistic expression but also encourage a deeper connection with the material. As you work with your hands, you'll find that the process itself can be meditative, drawing you into a state of flow where your worries fade away.
- What tools do I need for hand-building pottery? You primarily need your hands, clay, and a few basic tools like a needle tool, rib, and sponge for smoothing.
- Can I combine hand-building methods with wheel throwing? Absolutely! Many potters use a combination of both techniques to create unique pieces.
- How long does it take for hand-built pottery to dry? It typically takes 1-2 days, depending on the thickness of your piece and the humidity in the air.
- What type of clay is best for hand-building? Earthenware or stoneware clays are great choices for hand-building due to their workability and durability.
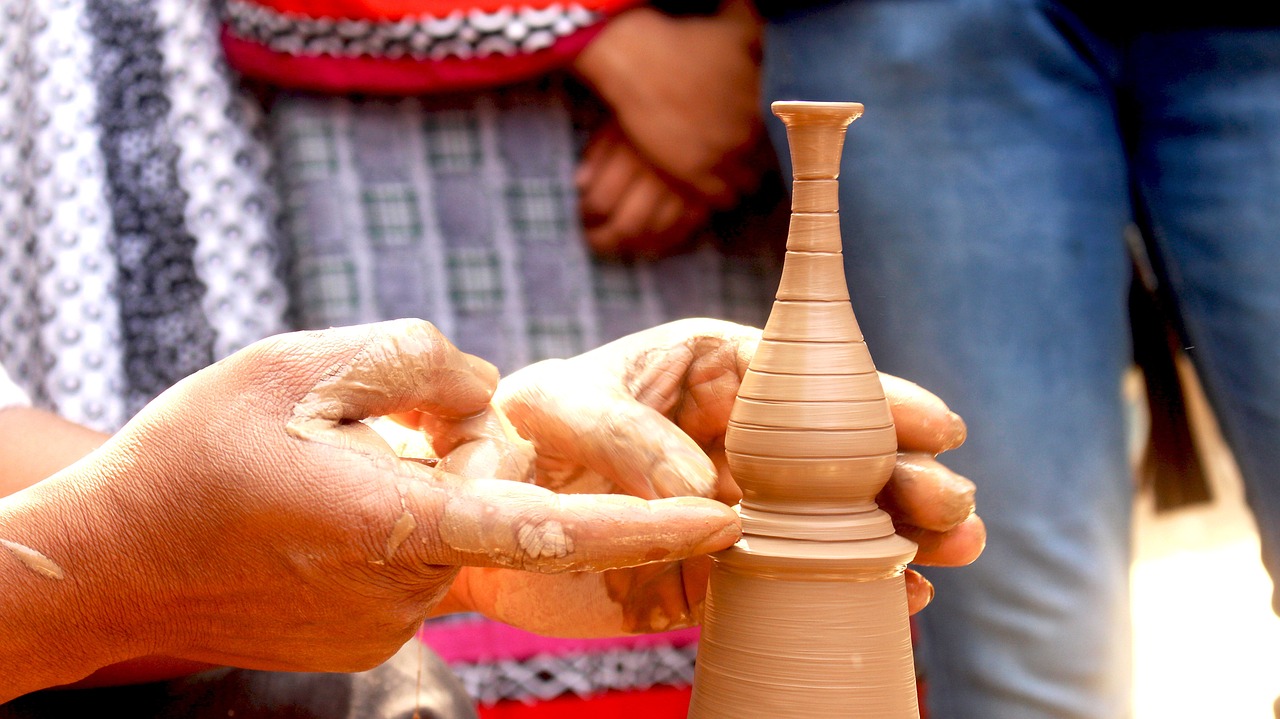
Pinch Pots
Pinch pots are an incredibly accessible and versatile form of hand-built pottery that anyone can try, regardless of their skill level. These delightful creations are made simply by pinching and shaping a ball of clay into a desired form. Imagine molding a soft, pliable material with your hands, feeling the texture beneath your fingertips, and watching it transform into something uniquely yours. It’s like sculpting a piece of your imagination into reality!
To start with pinch pots, all you need is a lump of clay, your hands, and a bit of creativity. The process is straightforward: you begin by rolling a ball of clay, then use your thumb to create a small hole in the center. From there, you pinch the walls of the pot with your fingers, gradually shaping it into a bowl or a decorative piece. This technique not only allows for a variety of shapes but also encourages personal expression. You can create anything from simple bowls to intricate designs that reflect your style.
One of the most exciting aspects of pinch pots is the ability to experiment with different sizes and shapes. You can make tiny pots for succulents or larger ones for serving snacks at a gathering. The beauty of pinch pots lies in their imperfections; each piece tells a story and showcases the artist's touch. This makes them perfect for beginners who might feel intimidated by more complex pottery techniques.
Moreover, pinch pots can be enhanced with various decorative techniques. After creating your basic shape, you can add texture by pressing objects like leaves, fabric, or even your fingers into the surface. Once you’ve achieved the desired look, you can paint or glaze your pot to add color and shine, transforming it into a stunning piece of art.
In summary, pinch pots are not just a beginner's project; they are a gateway into the wonderful world of pottery. They allow for creativity, experimentation, and personal expression, making them a beloved choice among potters of all skill levels. So why not grab some clay and start pinching? You might just discover a hidden talent!
- What type of clay is best for pinch pots? Earthenware clay is often recommended for beginners due to its ease of use and forgiving nature.
- Can I use pinch pots for food? Yes, as long as you use food-safe glazes and clays, pinch pots can be functional as well as decorative.
- How do I prevent my pinch pots from cracking? Make sure to keep your clay moist while working and allow your pots to dry slowly and evenly.
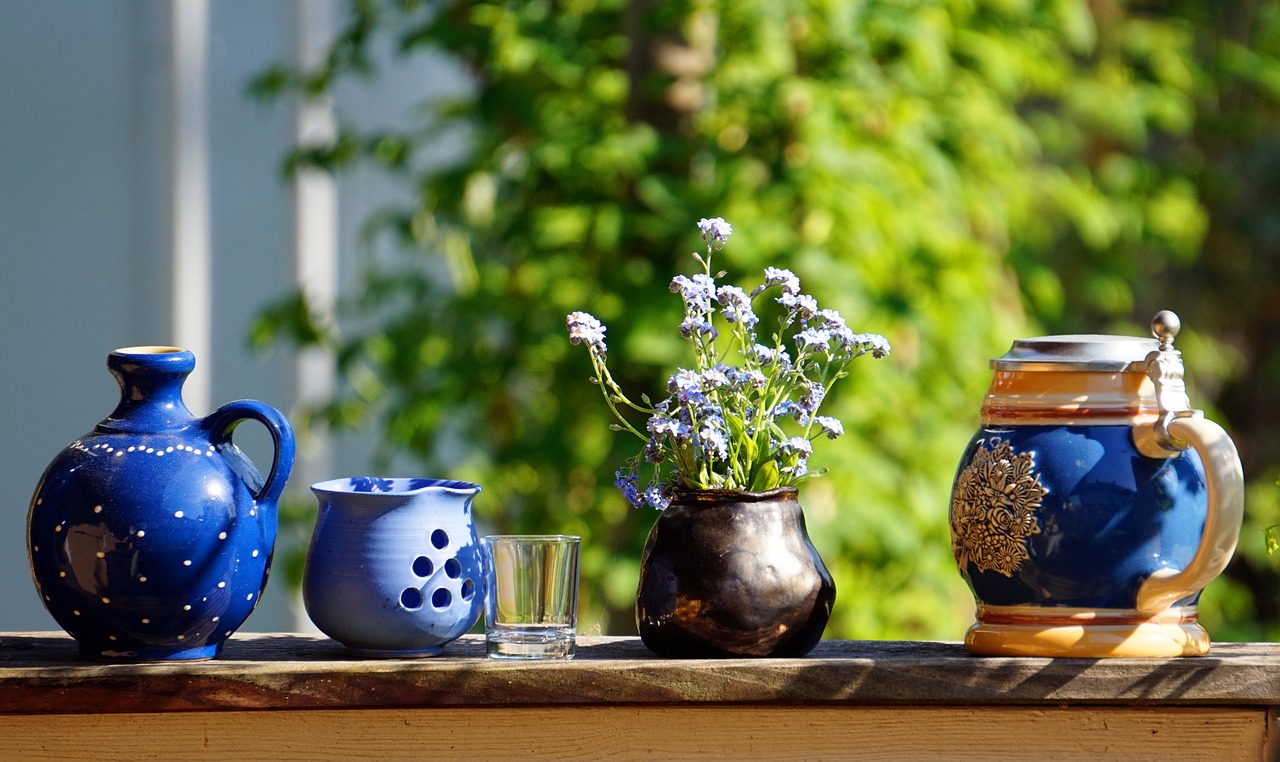
Coil Construction
Coil construction is a fascinating and versatile pottery technique that allows artists to create larger and more complex forms without the need for a pottery wheel. This method involves rolling out long, snake-like coils of clay and stacking them to build up the desired shape. It’s like building with clay spaghetti! The beauty of coil construction lies in its accessibility; even beginners can dive right into this method and start crafting unique pieces that reflect their personal style.
To get started with coil construction, you’ll need to gather some basic materials. Here’s a quick list of what you’ll need:
- Clay (preferably earthenware or stoneware for beginners)
- Clay tools for shaping and smoothing
- A work surface, such as a table or a pottery board
- Water to keep the clay moist
Once you have your materials ready, the first step is to prepare your clay. Begin by wedging the clay to remove any air bubbles and create a consistent texture. After that, roll out coils of clay to your desired thickness. Typically, coils should be about the diameter of your thumb, but feel free to experiment! The thickness of your coils will impact the final piece's weight and durability.
Next comes the fun part: stacking and blending the coils. Start by placing the first coil on your work surface and then add another coil on top, pressing them together gently. As you stack more coils, it's essential to blend the seams to create a smooth transition between layers. This can be done using your fingers or a clay tool. Think of this process as sculpting a clay tower, where each coil adds height and character to your creation.
As you build upwards, you can also experiment with different shapes and textures. For instance, you might want to create a wide bowl or a tall vase, each requiring different handling techniques. You can even add decorative elements, such as carving designs into the surface or incorporating other materials like beads or stones. The only limit is your imagination!
Once you’ve achieved your desired shape, let your piece dry slowly to avoid cracking. After it’s completely dry, it’s time for the firing process, which will solidify your work and prepare it for glazing. Remember, coil construction not only allows for creativity but also teaches patience and precision, making it a rewarding experience for any pottery enthusiast.
In summary, coil construction is a fantastic technique that opens the door to endless possibilities in pottery. Whether you’re crafting a simple bowl or an intricate sculpture, this method encourages personal expression and creativity. So roll up your sleeves, grab some clay, and start building your masterpiece!
Q: What type of clay is best for coil construction?
A: Earthenware or stoneware clays are great choices for beginners due to their workability and durability.
Q: Can I use coil construction for large pieces?
A: Absolutely! Coil construction is ideal for larger pieces, allowing you to build height and volume with ease.
Q: How do I prevent my coils from cracking while drying?
A: Make sure to dry your piece slowly and evenly, covering it with plastic if necessary to retain moisture.
Q: Is coil construction suitable for beginners?
A: Yes! Coil construction is one of the most accessible pottery techniques and is perfect for beginners looking to explore their creativity.
Wheel Throwing Basics
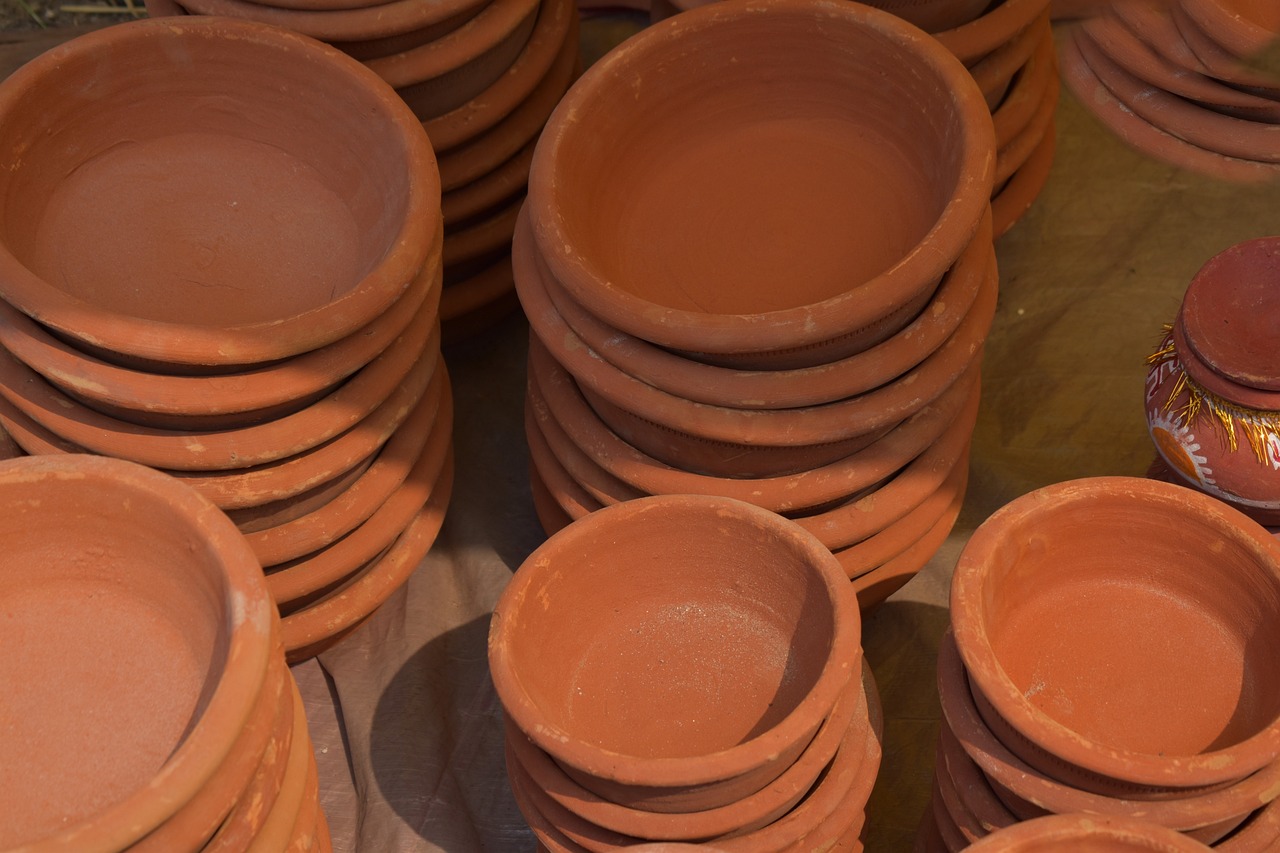
Wheel throwing is not just a technique; it's an exhilarating dance between the potter and the clay. Imagine the feeling of soft, malleable clay spinning beneath your hands, gradually transforming into a beautiful piece of art. This dynamic process requires practice and precision, but the rewards are immense. From bowls to vases, mastering wheel throwing can significantly enhance your pottery skills and artistic flair.
To begin your journey into wheel throwing, you'll need to familiarize yourself with the pottery wheel. This essential tool consists of a rotating platform that allows you to shape the clay as it spins. The key to success lies in understanding how to control the speed of the wheel and the pressure you apply with your hands. It's almost like riding a bike; once you find your balance, everything else falls into place.
Here are some important steps to consider when starting with wheel throwing:
- Centering the Clay: This is the first and most crucial step. You need to ensure that the clay is perfectly centered on the wheel to achieve a symmetrical shape. If the clay is off-center, it can lead to uneven pieces.
- Opening the Clay: After centering, you will open the clay to create a hollow form. This involves pressing your fingers into the center of the clay while it spins, gradually pulling the walls upward.
- Pulling Up the Walls: This technique requires a gentle touch and steady hands. You will pull the clay upwards to create the desired height and shape, whether it's a bowl, cup, or vase.
- Trimming: Once your piece is dry enough to handle, you can trim the bottom to refine its shape and remove excess clay.
It's essential to practice these steps repeatedly. Just like any other skill, the more you throw, the better you’ll become. Don't be discouraged by initial failures; every potter has had their share of wobbly bowls and crooked vases. Embrace the learning process, and remember that each piece you create is a stepping stone toward mastery.
As you advance, you can experiment with different forms and techniques, such as altering the shape of your pieces or adding unique textures. The possibilities are endless! Wheel throwing not only allows for functional pottery but also opens the door to artistic expression. You can create stunning pieces that reflect your personality and style.
In conclusion, wheel throwing is a thrilling and rewarding aspect of pottery that offers a unique blend of skill and creativity. Whether you're looking to produce functional items or artistic masterpieces, the wheel is your canvas. So, roll up your sleeves, get your hands dirty, and let the magic of wheel throwing take you on a creative journey!
- What type of clay is best for wheel throwing? Stoneware and porcelain are popular choices due to their plasticity and ability to hold shape.
- Do I need a kiln for wheel throwing? Yes, a kiln is essential for firing your pottery to make it durable and functional.
- How long does it take to learn wheel throwing? It varies by individual, but with consistent practice, you can start feeling comfortable within a few weeks.
- Can I make functional pottery on the wheel? Absolutely! Many potters create beautiful bowls, mugs, and plates using wheel throwing techniques.
Choosing the Right Clay
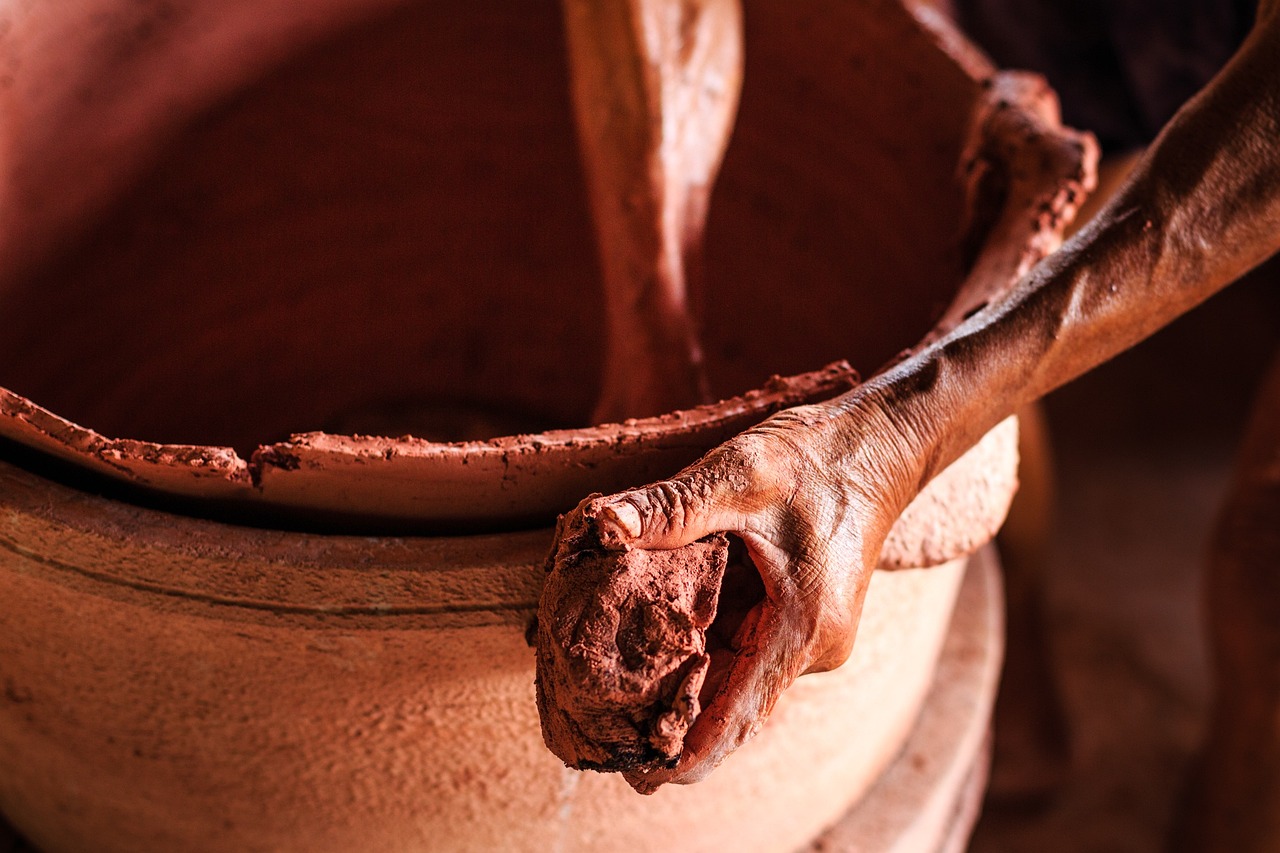
Choosing the right clay is fundamental to your success in pottery. Imagine stepping into a world where the type of clay you select can make or break your artistic vision. Each clay type has its own unique characteristics that influence not only the **durability** of your creations but also their **texture** and **finish**. So, how do you choose the right one? Let's dive into the various types available and what makes each one special.
There are three primary types of clay that potters commonly use: earthenware, stoneware, and porcelain. Each type has distinct properties that cater to different artistic needs:
| Type of Clay | Characteristics | Best For |
|---|---|---|
| Earthenware | Low firing temperature, porous, often colorful | Decorative pieces, beginner projects |
| Stoneware | Medium to high firing temperature, durable, non-porous | Functional ware, dinnerware |
| Porcelain | High firing temperature, fine texture, translucent | Elegant pieces, intricate designs |
When selecting your clay, consider the type of pottery you wish to create. For instance, if you’re just starting out and want to make fun, decorative pieces, earthenware is an excellent choice. It's forgiving and allows for vibrant glazes. On the other hand, if you’re aiming for functional items like dinnerware, stoneware is more suitable due to its durability and ability to withstand everyday use. Finally, for those looking to create delicate, refined pieces, porcelain offers a beautiful finish but requires more skill and precision.
Another aspect to consider is the firing temperature of each clay type. Each clay needs to be fired at specific temperatures, which can affect your choice based on the equipment you have access to. For example, earthenware typically fires at lower temperatures (around 1,830°F or 1,000°C), while stoneware and porcelain require higher temperatures (between 2,190°F to 2,600°F or 1,200°C to 1,400°C). Understanding these firing requirements will save you from potential mishaps in your pottery journey.
Preparing your clay properly is also crucial. Before you start shaping, you'll want to ensure it's free of air bubbles and has a consistent texture. This process, known as wedging, is essential for achieving successful results. Think of it as kneading dough; it makes the clay more pliable and ready for your creative touch.
Choosing the right clay is more than just picking a material; it’s about aligning your artistic vision with the properties of the clay. Take your time to experiment with different types, and you’ll soon discover which ones resonate with your style. Remember, the world of pottery is vast and inviting, and the right clay can unlock your creative potential!
- What is the best clay for beginners? Earthenware is often recommended for beginners due to its workability and vibrant colors.
- Can I mix different types of clay? Mixing clays can be tricky due to different firing temperatures and shrinkage rates, so it's generally not advisable.
- How do I know which clay to use for my project? Consider the final use of your piece, the firing method, and the aesthetic you want to achieve.
Types of Clay
When it comes to pottery, the type of clay you choose can make all the difference in your creative process and the final product. Each type of clay has its own unique properties, firing temperatures, and ideal uses, which can significantly influence the durability, texture, and appearance of your pottery. Understanding these differences is crucial for both beginners and seasoned potters alike. Let's dive into the three primary types of clay that you might encounter on your pottery journey.
Earthenware is one of the most common types of clay, characterized by its low firing temperature, typically between 1,830°F to 2,100°F (1,000°C to 1,150°C). This type of clay is often used for creating decorative pieces, tiles, and pottery that doesn’t require high durability. Earthenware is porous and generally has a reddish or brownish color due to the iron content in the clay. After firing, it can be glazed to enhance its appearance and make it more functional. The beauty of earthenware lies in its ability to be easily shaped and molded, making it perfect for beginners.
Stoneware, on the other hand, is a bit more robust. It fires at higher temperatures, around 2,190°F to 2,500°F (1,200°C to 1,300°C), resulting in a dense, durable material that is less porous than earthenware. Stoneware is often used for functional pottery, such as dinnerware and bakeware, thanks to its ability to withstand thermal shock. The texture is typically smoother than earthenware, and it can be found in various colors, from gray to brown to even white, depending on the specific clay body used. Many potters love stoneware for its versatility and strength, making it a favorite for both functional and artistic pieces.
Finally, we have porcelain, the crème de la crème of pottery clays. Porcelain is known for its fine texture and translucency, making it a sought-after choice for high-end pottery and decorative items. It fires at very high temperatures, usually around 2,300°F to 2,600°F (1,260°C to 1,400°C), which makes it incredibly strong and non-porous. Porcelain can be challenging to work with due to its smoothness and tendency to warp, but the results are often breathtaking. The delicate nature of porcelain allows for intricate designs and fine details, making it perfect for artists looking to push the boundaries of their creativity.
In summary, the choice of clay can greatly affect your pottery projects. Here’s a quick comparison of the three types:
| Type of Clay | Firing Temperature | Properties | Ideal Uses |
|---|---|---|---|
| Earthenware | 1,830°F - 2,100°F | Porous, soft, easy to mold | Decorative pieces, tiles |
| Stoneware | 2,190°F - 2,500°F | Durable, smooth, less porous | Functional pottery, dinnerware |
| Porcelain | 2,300°F - 2,600°F | Fine, translucent, very strong | High-end pottery, intricate designs |
Choosing the right type of clay for your pottery projects will not only impact your creative process but also the overall success of your work. Whether you're crafting a simple mug or an elaborate vase, understanding the nuances of each clay type will help you unleash your artistic potential.
- What is the best clay for beginners? Earthenware is often recommended for beginners due to its ease of use and low firing temperature.
- Can I mix different types of clay? Mixing different types of clay can be tricky, as they have different firing temperatures and shrinkage rates, which can lead to cracking.
- How do I know which clay is right for my project? Consider the desired finish, strength, and firing temperature needed for your project to choose the right clay.
Preparing Clay for Use
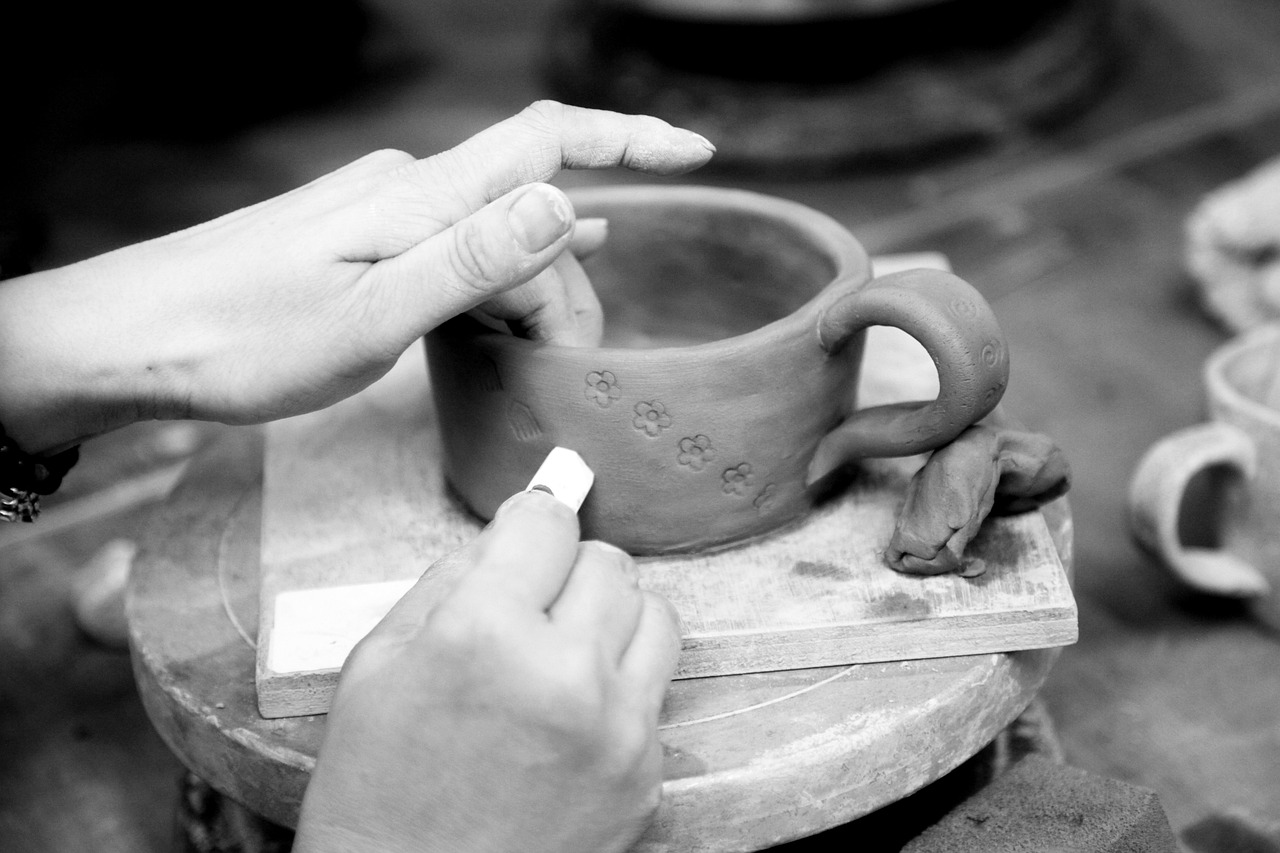
Before diving into the exciting world of pottery, it's essential to prepare your clay properly. This process is crucial not just for the success of your projects, but also for enhancing your overall experience as a potter. Think of preparing clay as warming up before a workout; it sets the stage for everything that follows. The first step in this preparation is called wedging, a technique that not only kneads the clay but also eliminates any air bubbles that could lead to cracks during firing.
Wedging involves repeatedly folding and pushing the clay against a surface, creating a consistent texture that is both pliable and strong. This technique can be likened to making bread dough—you're looking for that perfect elasticity that allows for easy shaping. Once you've wedged your clay, it's time to consider the moisture content. Clay that is too dry can be difficult to work with, while overly wet clay can lose its shape. Aim for a texture that feels like play-dough, not too sticky and not too crumbly.
After wedging, it's also important to keep your clay covered to prevent it from drying out. Use a damp cloth or plastic wrap to maintain the right moisture level while you work. If you find that your clay has started to dry out, you can add a little water and knead it again, but be careful not to overdo it, as too much water can make the clay too soft and unmanageable.
For those eager to dive deeper into the technical aspects, consider creating a clay preparation checklist to ensure you don't miss any steps. Here’s a simple example:
| Step | Description |
|---|---|
| 1. Wedging | Knead the clay to remove air bubbles and achieve a uniform texture. |
| 2. Moisture Check | Ensure the clay is neither too dry nor too wet for optimal workability. |
| 3. Covering | Keep the clay covered while working to maintain moisture. |
By following these steps, you'll not only enhance your clay's workability but also set yourself up for a more enjoyable pottery experience. Remember, the quality of your clay preparation can significantly impact the final outcome of your pottery pieces. So take the time to get it right, and you'll be rewarded with beautiful creations that reflect your hard work and dedication.
- What is wedging in pottery? Wedging is the process of kneading clay to remove air bubbles and create a consistent texture.
- How do I know if my clay is too dry? If the clay feels crumbly and doesn't hold its shape, it may be too dry.
- Can I rehydrate dry clay? Yes, you can add small amounts of water to dry clay and knead it to restore its workability.
The Role of Glazes
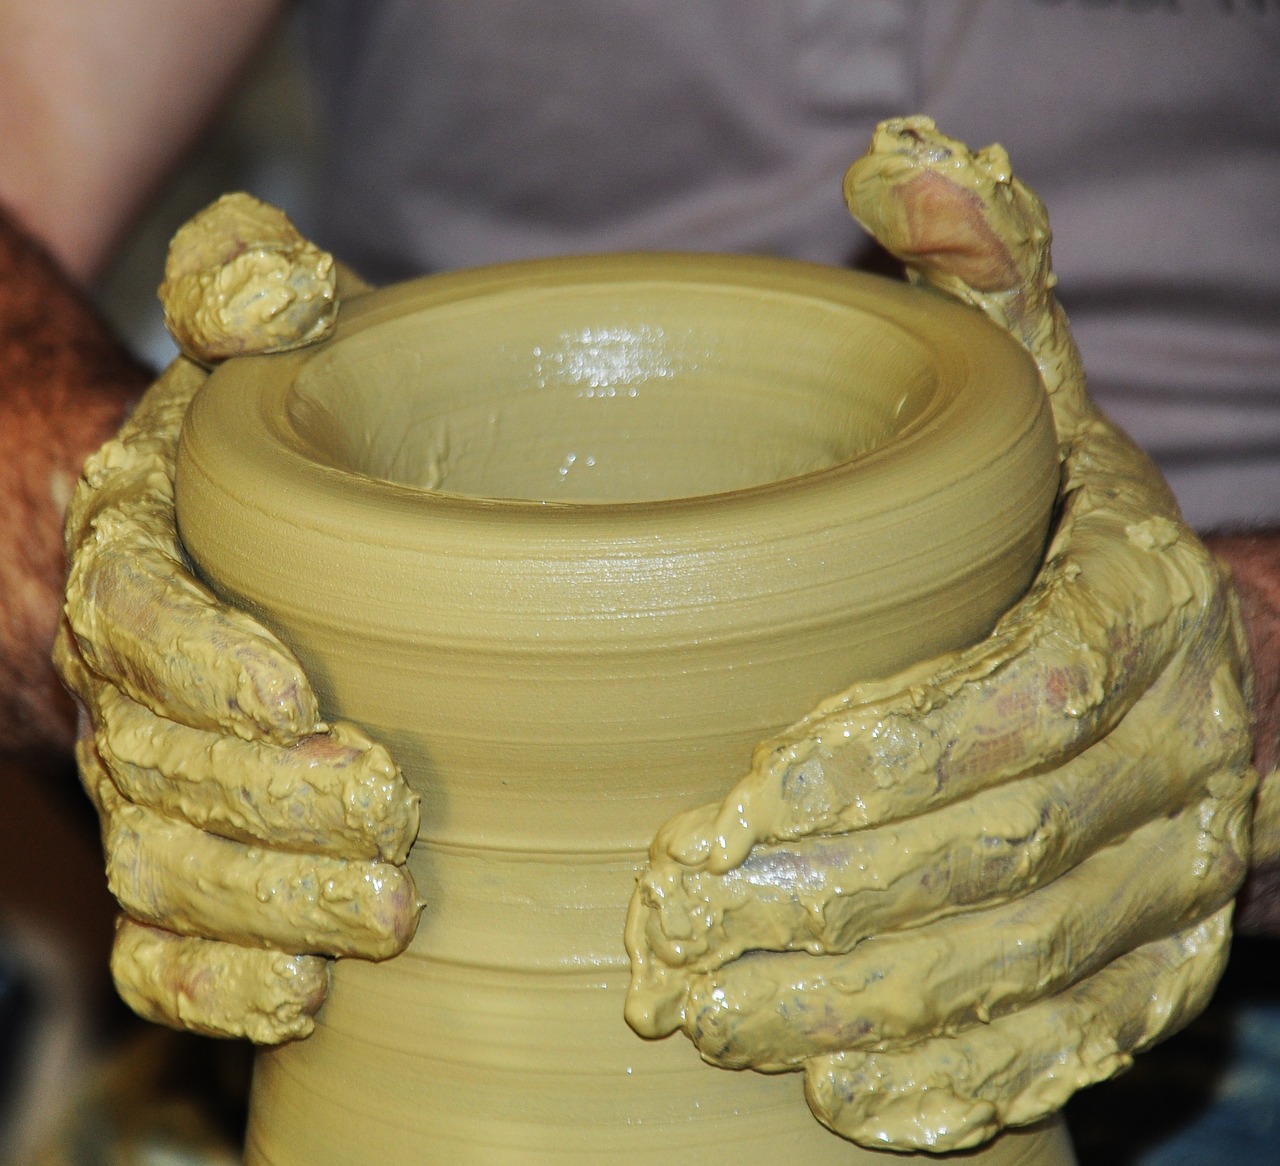
Glazes play a pivotal role in the world of pottery, elevating the aesthetic appeal and functionality of ceramic pieces. They are not merely decorative; glazes serve as a protective layer, sealing the porous surface of clay and making it suitable for holding liquids and food. In essence, glazes transform plain pottery into vibrant works of art, enhancing both their beauty and usability.
Understanding the different types of glazes is essential for any potter. Each type offers unique characteristics that can affect the final appearance and texture of the piece. For instance, some glazes create a glossy finish that reflects light beautifully, while others provide a matte surface that offers a more subdued look. A quick overview of common glaze types includes:
- Glossy Glazes: These glazes provide a shiny, reflective surface that enhances colors and patterns.
- Matte Glazes: Offering a soft, non-reflective finish, matte glazes can give pottery a more organic feel.
- Transparent Glazes: These allow the underlying clay body or decorative underglaze to show through, making them ideal for showcasing intricate designs.
- Opaque Glazes: These completely cover the clay body, providing a solid color and often hiding any imperfections.
Applying glaze is an art in itself, requiring skill and precision. Various techniques can be employed to achieve different effects. For example, dipping involves immersing the piece in a glaze solution, ensuring an even coat. Brushing allows for more control and can create patterns or textures, while spraying offers a fine mist that can provide a soft, even application. Each method has its advantages, and the choice often depends on the desired outcome.
Moreover, the chemistry behind glazes is fascinating. Potters often experiment with different materials to create unique colors and finishes. The interaction between various minerals and the firing temperature can lead to unexpected results, making glazing a thrilling part of the pottery process. For instance, adding iron oxide can yield earthy tones, while cobalt oxide can produce vibrant blues. This experimentation not only enhances creativity but also allows potters to develop their own signature styles.
In conclusion, glazes are not just a finishing touch; they are an integral part of pottery that can define the piece's character and functionality. By mastering the art of glazing, potters can unlock a world of possibilities, transforming simple clay into stunning creations that captivate the eye and serve a purpose.
Q: What is the purpose of glazing pottery?
A: Glazing pottery not only adds color and texture but also creates a waterproof seal, making the pottery functional for everyday use.
Q: Can I create my own glazes?
A: Yes! Many potters enjoy experimenting with different materials to create custom glazes, allowing for a unique artistic expression.
Q: How do I apply glaze to my pottery?
A: Glaze can be applied using various methods such as dipping, brushing, or spraying. The method you choose will depend on the desired effect and the piece you are working on.
Q: Are all glazes food-safe?
A: Not all glazes are food-safe. It's essential to use glazes specifically labeled as food-safe if you intend to use your pottery for serving food or beverages.
Types of Glazes
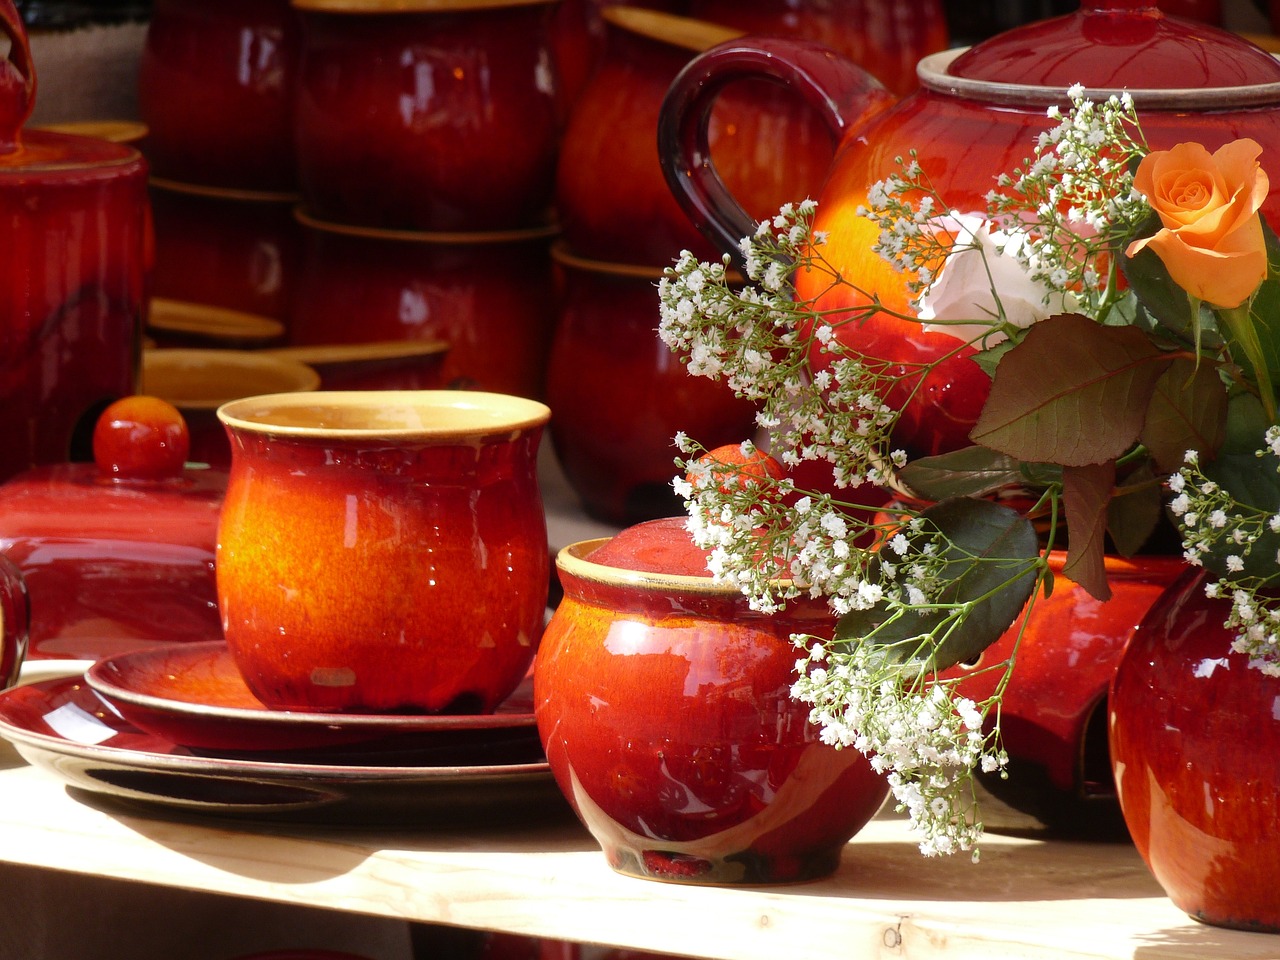
When it comes to pottery, glazes are the magical finishing touch that transforms a simple clay piece into a stunning work of art. Understanding the different types of glazes is essential for potters, whether you're a novice just dipping your toes into the world of ceramics or a seasoned artisan looking to expand your repertoire. Glazes not only enhance the aesthetic appeal of pottery but also serve functional purposes, such as providing a protective layer that makes the pieces more durable and food-safe.
There are several categories of glazes, each offering unique characteristics and effects. Here are some of the most common types:
- Glossy Glazes: These glazes have a shiny finish that reflects light beautifully. They are often used to create vibrant colors and can enhance the visual depth of the piece. Glossy glazes are perfect for functional ware, as they are generally easier to clean.
- Matte Glazes: In contrast to glossy glazes, matte glazes have a soft, non-reflective finish. They can create a more subdued and earthy aesthetic, making them ideal for rustic pottery. However, matte surfaces can be more challenging to clean and may require special care.
- Transparent Glazes: These glazes allow the underlying clay body or decorative underglaze to show through, creating a layered effect. They are often used over colored slips or underglazes to enhance the overall design.
- Opaque Glazes: Opaque glazes completely cover the clay beneath, providing a solid color that can be striking and bold. They are often used for pieces where the potter wants to completely mask the clay body.
- Celadon Glazes: Known for their beautiful jade-like appearance, celadon glazes are typically transparent and can range from pale green to deep blue-green. They are often associated with East Asian pottery and can add an element of sophistication to any piece.
- Raku Glazes: Raku is a unique firing technique that produces stunning, unpredictable results. Raku glazes often feature metallic or crackled finishes, making each piece truly one-of-a-kind.
Each type of glaze offers its own set of challenges and rewards. For instance, while glossy glazes are generally easier to work with, they can sometimes run during firing, leading to drips and uneven surfaces. On the other hand, matte glazes can be more forgiving in terms of application but may require additional techniques to achieve the desired finish. As you experiment with different glazes, you'll discover how each one interacts with your clay body and firing conditions, allowing you to create pieces that reflect your personal style and artistic vision.
Moreover, the choice of glaze can significantly influence the final look and feel of your pottery. For example, a glossy finish can make colors pop, while a matte glaze can give a more organic and understated appearance. It's like choosing the right outfit for an occasion; the glaze you select can set the tone for your piece, whether it's elegant, playful, or rustic.
In conclusion, exploring the various types of glazes opens up a world of possibilities for potters. By understanding their characteristics and applications, you can elevate your pottery creations to new heights. So, grab your clay and start experimenting with glazes to find the perfect finish that resonates with your artistic expression!
Q: What is the difference between glossy and matte glazes?
A: Glossy glazes have a shiny finish that reflects light, while matte glazes have a non-reflective, soft finish. Glossy glazes are often easier to clean, whereas matte glazes can create a more rustic look but may require special care.
Q: Can I use any glaze on any type of clay?
A: Not all glazes are compatible with every type of clay. It's important to check the glaze's specifications and the clay body's firing temperature to ensure they are compatible.
Q: What are the benefits of using transparent glazes?
A: Transparent glazes allow the underlying clay body or decorative underglaze to show through, creating depth and visual interest. They are great for enhancing designs and colors without completely masking the clay.
Applying Glaze Techniques
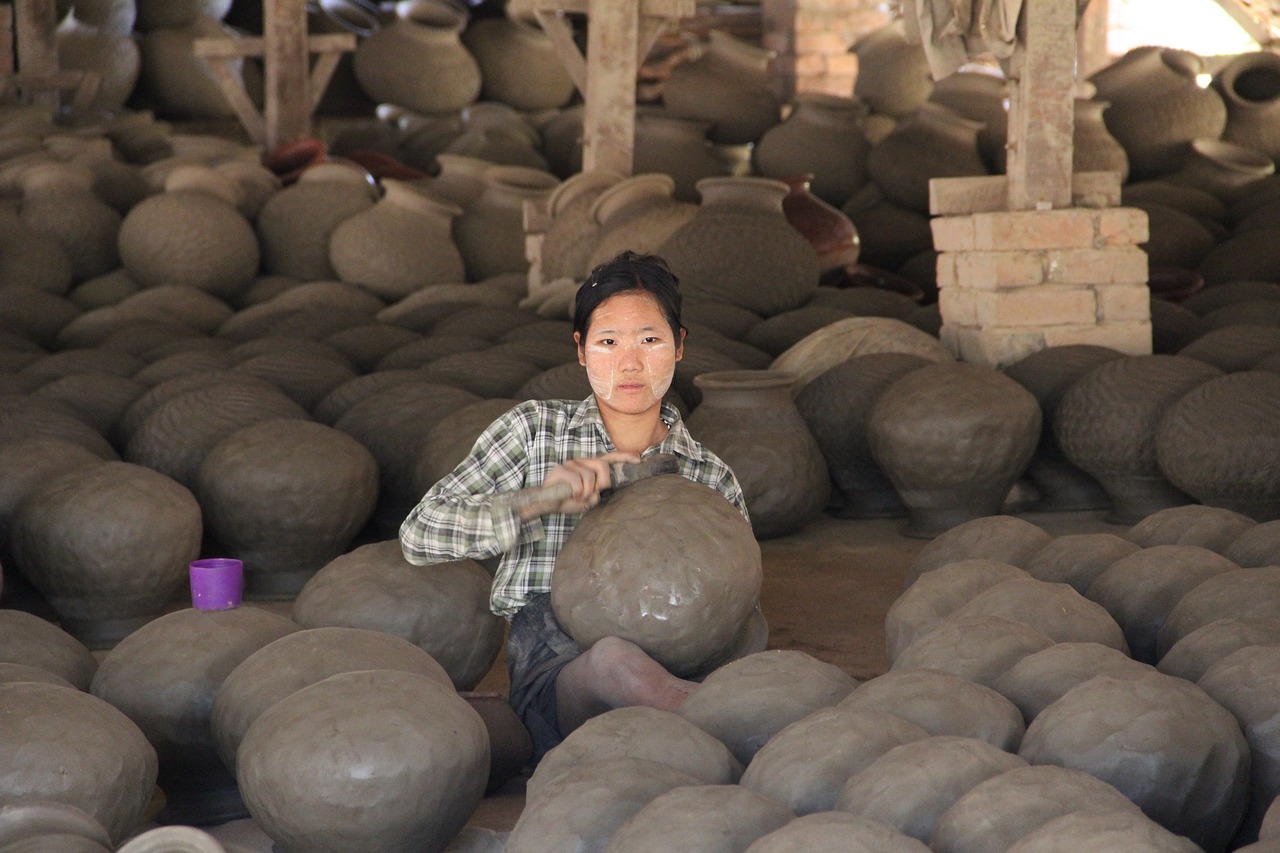
When it comes to pottery, glazing is not just a finishing touch; it's an art form in itself! The way you apply glaze can dramatically alter the final look and feel of your piece. Think of glaze as the icing on the cake—it's what makes your pottery not only functional but also visually stunning. There are several techniques you can use to apply glaze, each offering unique results and effects. Let's dive into some of the most popular methods!
One of the most common techniques is dipping. This involves immersing your pottery piece into a container filled with glaze. Dipping is fantastic for achieving an even coat and is especially useful for larger items like bowls or vases. However, it’s essential to ensure that the glaze is well-mixed to avoid uneven application. Additionally, you’ll want to be mindful of the glaze's thickness, as this can affect how it flows during the firing process.
Another popular method is brushing. This technique allows for more detail and control, making it ideal for intricate designs or patterns. Using a brush, you can apply glaze precisely to specific areas, creating beautiful contrasts and textures. However, be cautious of brush strokes; they can be visible after firing if not blended well. To achieve a smooth finish, consider using a soft brush and applying several thin layers instead of one thick coat.
For those looking for a more modern approach, spraying is an exciting option. This technique involves using a spray gun or airbrush to apply glaze, allowing for an even and smooth finish that can cover complex shapes. Spraying is particularly useful for creating gradients or ombre effects, where one color gradually transitions into another. However, it requires some practice and the right equipment, so it may not be the best choice for complete beginners.
Regardless of the technique you choose, there are a few best practices to keep in mind:
- Always test your glaze on a small piece of clay before applying it to your final project. This ensures you understand how the glaze will react during firing.
- Make sure to clean your pottery piece thoroughly before applying glaze to remove any dust or oils that could affect adhesion.
- Consider the type of glaze you are using, as different glazes may require specific application techniques or firing temperatures.
Ultimately, the key to mastering glaze application is experimentation. Don't be afraid to try different techniques and combinations to discover what works best for your style. Each piece you create is a canvas for your creativity, and with practice, you'll find your unique voice in the world of pottery glazing!
Q: What is the best way to apply glaze for beginners?
A: For beginners, dipping is often the easiest method, as it provides an even coating. However, brushing can also be a great way to gain control over your design.
Q: Can I mix different glazes together?
A: Yes, mixing glazes can create unique colors and effects! Just be sure to test your mixture on a small piece before applying it to your main project.
Q: How many layers of glaze should I apply?
A: Typically, two to three thin layers are recommended for the best results. This helps to achieve a smooth finish without drips or uneven spots.
Q: Do I need to fire my pottery after glazing?
A: Yes, glazing requires a second firing to set the glaze and make it permanent. Make sure to follow the specific firing instructions for the glazes you are using.
Benefits of Pottery as a Hobby
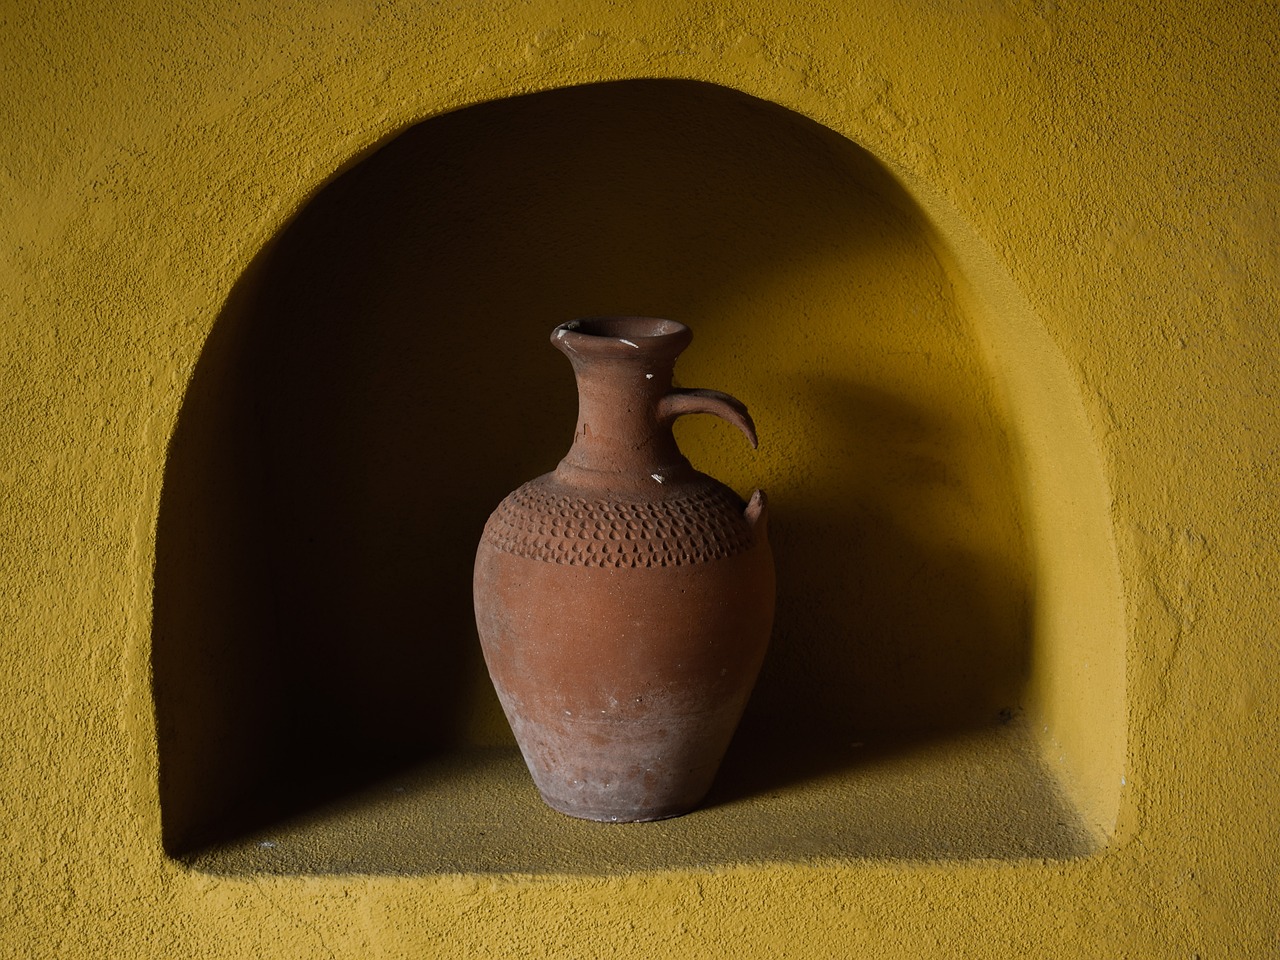
Engaging in pottery as a hobby is not just about molding clay into beautiful shapes; it's a journey filled with numerous benefits that can enhance your life in unexpected ways. Many people find that the act of creating pottery serves as a wonderful escape from the hustle and bustle of daily life. But what exactly makes pottery so special? Let's dive into some of the key advantages that come with this creative outlet.
One of the most significant benefits of pottery is its ability to provide stress relief. The repetitive motions of kneading and shaping clay can be incredibly soothing, almost like a form of meditation. As you immerse yourself in the process, you might find that your worries fade away, replaced by a sense of calm and focus. Imagine sitting at a potter's wheel, your hands covered in clay, losing track of time as you concentrate solely on the piece you're creating. This kind of mindfulness can be a much-needed break from the chaos of everyday life.
Beyond stress relief, pottery also fosters improved focus. When you're working on a project, whether it’s a simple mug or an intricate vase, your attention is fully engaged. This level of concentration can translate into greater productivity in other areas of your life. Plus, the satisfaction of completing a piece can boost your self-esteem, making you feel accomplished and capable.
Moreover, pottery is a fantastic way to enhance your creativity. The possibilities are endless when it comes to designing and crafting your pieces. From choosing the right clay to experimenting with different glazes, each decision allows for personal expression. You might find that as you explore your artistic side, your creativity spills over into other aspects of your life, inspiring new ideas and ventures.
Another aspect that makes pottery so enjoyable is the community and collaboration it fosters. Joining a pottery class or workshop can introduce you to a supportive group of fellow enthusiasts. Sharing tips, techniques, and even your successes and failures can create a sense of camaraderie. You’ll find yourself surrounded by like-minded individuals who share your passion, making the journey even more rewarding.
Finally, let’s not overlook the therapeutic aspects of working with clay. The tactile experience of molding and shaping can be incredibly grounding. It connects you to the material world in a way that’s often missing in our digital age. The simple act of creating something with your hands can bring immense joy and satisfaction, reminding you of the beauty of tangible art.
In summary, the benefits of pottery as a hobby are multifaceted. From stress relief and improved focus to enhanced creativity and community engagement, pottery offers a holistic approach to personal well-being. So, if you’re looking for a fulfilling and rewarding creative outlet, why not give pottery a try? You might just discover a new passion that enriches your life in ways you never expected.
- What do I need to start pottery? To begin your pottery journey, you'll need some basic tools like clay, a pottery wheel (if you're interested in wheel throwing), and some essential hand tools for shaping and cutting.
- Is pottery a good way to relieve stress? Absolutely! Many people find that the repetitive motions and focus required in pottery can be incredibly calming and therapeutic.
- Can I do pottery at home? Yes, you can certainly practice pottery at home! However, you'll need access to a kiln for firing your pieces, or you can take classes at a local studio.
- What types of pottery can I create? The options are endless! You can create functional items like bowls and mugs or decorative pieces like sculptures and wall hangings.
Therapeutic Aspects
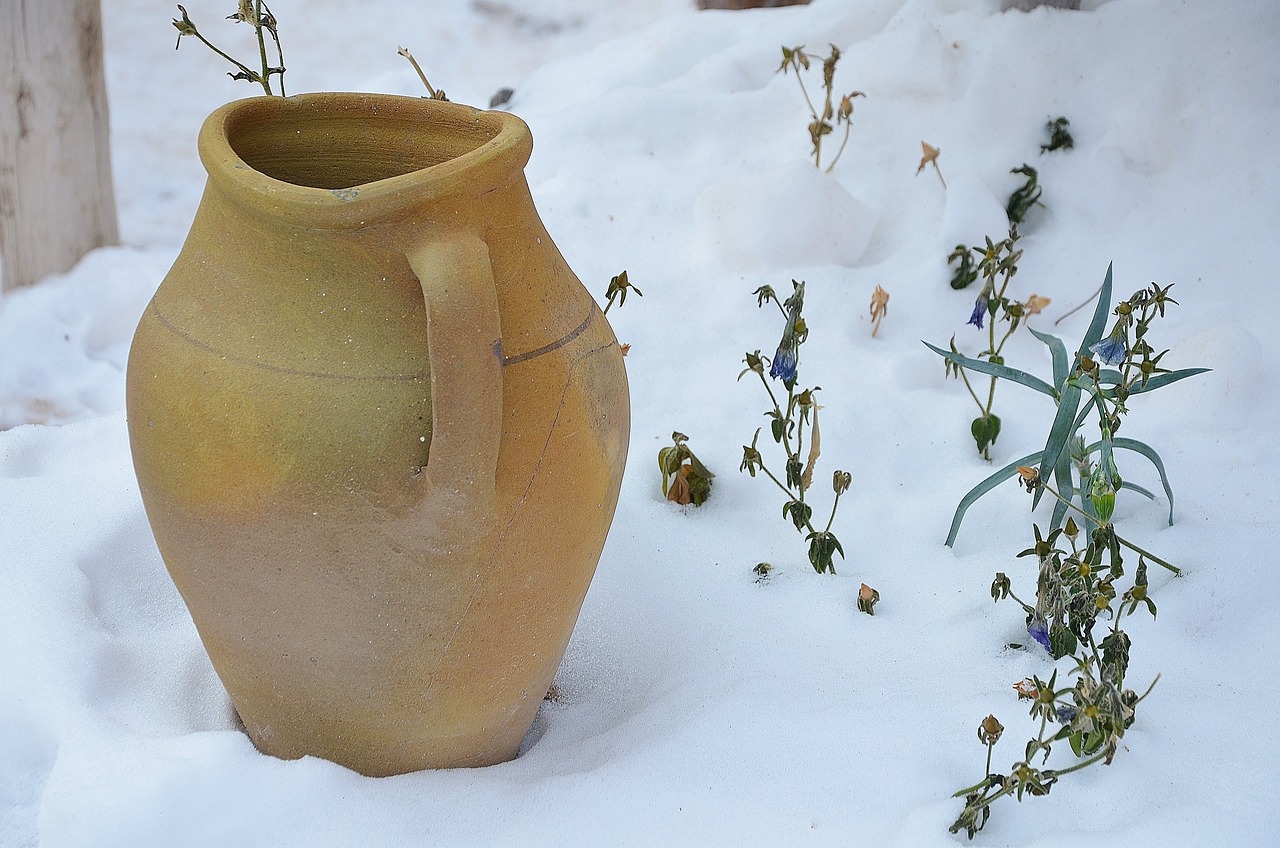
Engaging in pottery can be a truly transformative experience, offering a unique blend of creativity and mindfulness that many find therapeutic. The act of shaping and molding clay provides a hands-on way to express emotions, channeling feelings into tangible forms. When you sit down at the pottery wheel or start pinching clay, you enter a world where your mind can wander freely, allowing you to escape from the daily grind and immerse yourself in the moment.
Many pottery enthusiasts describe the process as meditative. As you focus on the texture of the clay and the rhythm of your hands, you may find that the outside world fades away. This mindfulness aspect of pottery is particularly beneficial for those dealing with stress or anxiety. It encourages a state of flow, where time seems to stand still, and worries are left behind. It's like a mini-vacation for your mind!
Moreover, the repetitive motions involved in pottery, whether it's wedging the clay or pulling it on the wheel, can be incredibly soothing. These actions not only help to center the mind but also promote a sense of accomplishment as you see your creation take shape. This journey from a lump of clay to a finished piece can be incredibly satisfying, providing a tangible result of your efforts.
Additionally, pottery can foster a sense of community and connection with others. Participating in classes or workshops allows individuals to share their experiences, learn from one another, and build friendships. This social aspect can significantly enhance the therapeutic benefits of pottery, as the support and encouragement from fellow artists create a nurturing environment. The joy of creating together can lead to lasting bonds, making the pottery experience even more enriching.
In summary, the therapeutic aspects of pottery extend beyond just the act of creating. It nurtures the mind, body, and spirit by promoting mindfulness, offering a creative outlet, and fostering connections with others. Whether you're a seasoned potter or just starting out, the benefits of engaging with clay are profound and well worth exploring.
- What are the mental health benefits of pottery?
Pottery can reduce stress, promote mindfulness, and enhance creativity, making it an excellent therapeutic activity. - Do I need prior experience to start pottery?
No! Pottery is accessible to everyone, and beginners can start with simple projects to build their skills. - Can pottery help with anxiety?
Yes, the meditative process of working with clay can help alleviate anxiety by providing a calming and focused activity. - Is pottery a good social activity?
Absolutely! Pottery classes and workshops provide opportunities to meet others, share experiences, and collaborate on projects.
Community and Collaboration
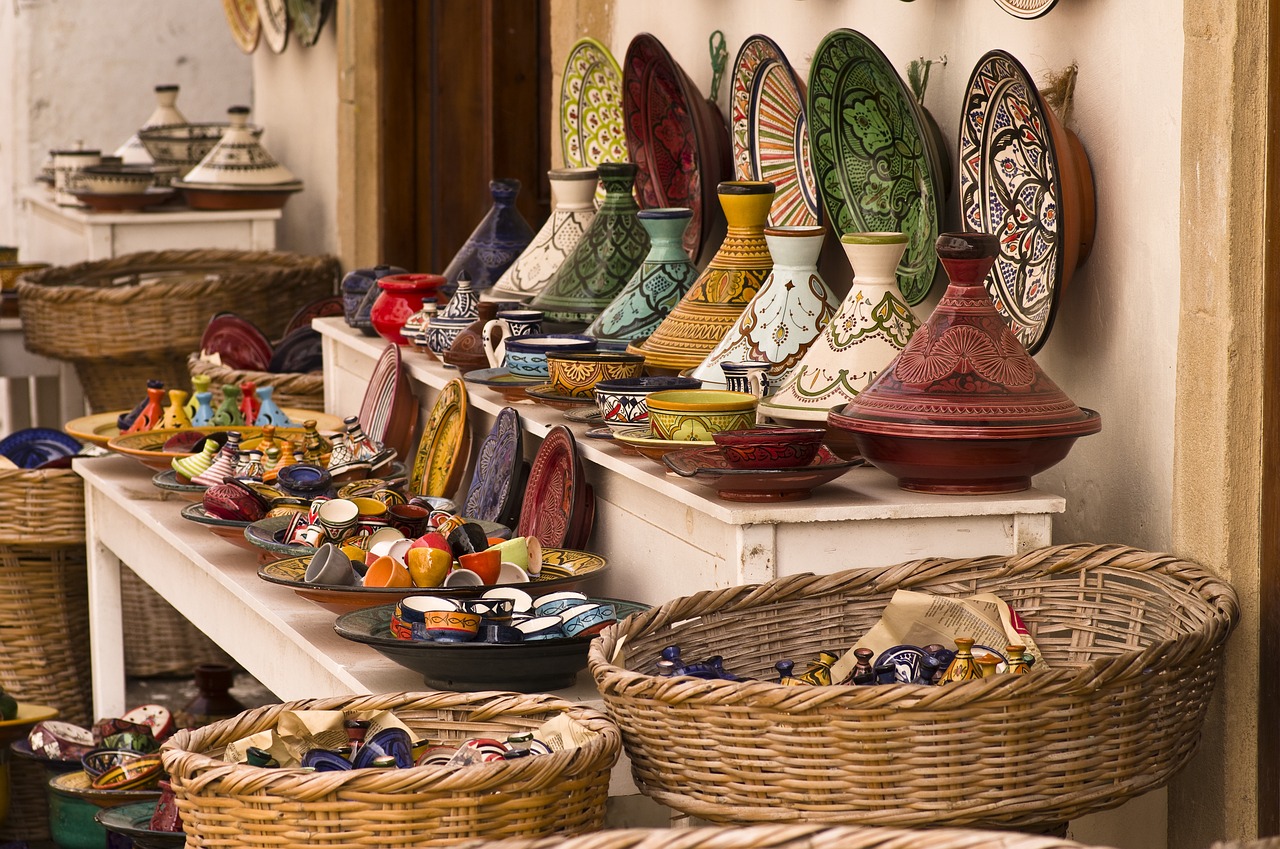
Pottery is not just a solitary endeavor; it thrives within a vibrant community of artists and enthusiasts. Engaging with fellow potters can significantly enhance your skills and enrich your experience. Whether you’re a novice or a seasoned artisan, the opportunity to collaborate and share ideas with others can lead to unexpected creativity and innovation. Imagine walking into a studio filled with the scent of wet clay and the sound of laughter as potters exchange tips and techniques. This atmosphere fosters a sense of belonging and inspires you to push your artistic boundaries.
Many pottery studios and local art centers offer classes and workshops that cater to all skill levels. These environments create a supportive space where individuals can learn from each other, share their challenges, and celebrate their successes. You might find yourself in a class where beginners and advanced potters work side by side, each bringing their unique perspectives and experiences to the table. Such interactions can ignite new ideas, helping everyone involved to grow in their craft.
Moreover, participating in pottery groups or clubs can open doors to collaborative projects. For instance, you might join forces with others to create a community mural made of ceramic tiles or participate in a group exhibit showcasing individual works. These collaborative efforts not only strengthen your connection with fellow potters but also allow you to reach a wider audience, showcasing the collective talent and creativity of your community.
Here are some ways to engage with the pottery community:
- Join Local Workshops: Look for pottery classes at local art centers or studios.
- Participate in Pottery Shows: Attend or showcase your work at local art fairs and exhibitions.
- Engage Online: Connect with other potters through social media platforms and forums dedicated to pottery.
- Collaborate on Projects: Work with fellow potters to create larger installations or themed exhibitions.
Ultimately, the world of pottery is a tapestry woven from the threads of individual creativity and collective collaboration. By immersing yourself in this community, you not only enhance your skills but also contribute to a rich tradition that has spanned centuries. So grab your clay, connect with others, and let the magic of collaboration take your pottery journey to new heights!
Q: What are the benefits of joining a pottery community?
A: Joining a pottery community allows you to learn from others, gain new perspectives, and find support in your artistic journey. It also opens up opportunities for collaboration and sharing your work with a broader audience.
Q: How can I find pottery classes in my area?
A: You can search online for local art centers, community colleges, or pottery studios that offer classes. Social media groups and community bulletin boards are also great resources for finding pottery classes.
Q: Can I collaborate with other potters if I’m a beginner?
A: Absolutely! Many potters are open to collaborating with beginners. It’s a great way to learn and grow while contributing your own ideas and creativity.
Getting Started with Pottery
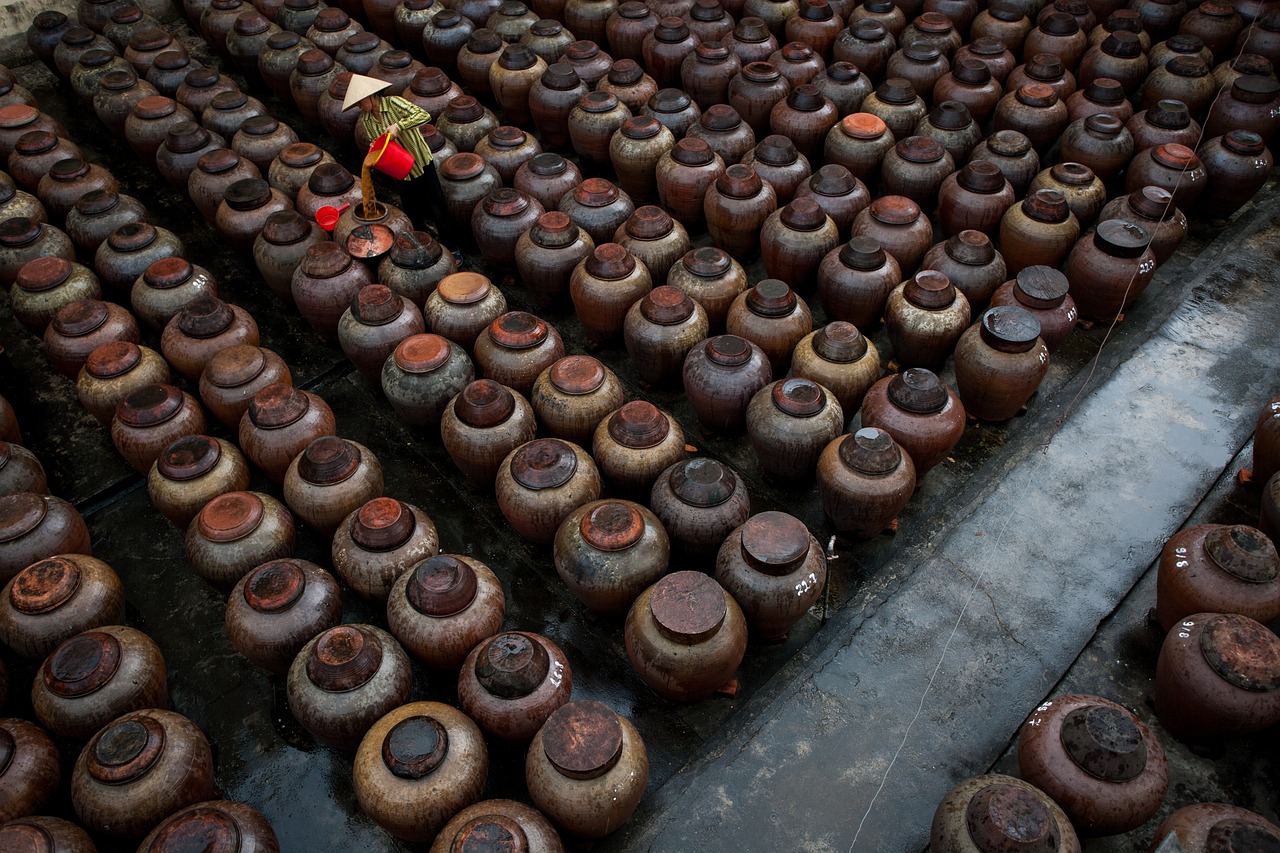
So, you’ve decided to dive into the **wonderful world of pottery**! That’s fantastic! Pottery is not just about molding clay; it’s a journey of creativity and self-expression. But before you get your hands dirty, let’s talk about how to get started. First things first, you’ll need some essential tools and materials. Think of these as your trusty sidekicks on this creative adventure. A basic toolkit typically includes:
- Pottery Wheel: If you’re planning to explore wheel throwing, investing in a good pottery wheel is key. It’s like the engine of your pottery journey!
- Clay Tools: A variety of tools such as rib tools, trimming tools, and sponges will help you shape and refine your creations.
- Kiln: This is where the magic happens! A kiln is essential for firing your pottery, turning soft clay into hard, durable pieces.
Once you have your tools ready, it’s time to think about the clay. Choosing the right type of clay can make or break your pottery experience. There are several types of clay to consider, such as earthenware, stoneware, and porcelain, each offering unique textures and firing requirements. For beginners, earthenware is often a great starting point due to its workability and lower firing temperature.
Now, let’s not forget about the fun part—projects! Starting with simple projects can help build your confidence and skills. Think about making small items like mugs or bowls. These projects are not only practical but also allow you to practice essential techniques without feeling overwhelmed. As you progress, you can explore more intricate designs and forms, letting your creativity shine.
Another crucial aspect of getting started is finding a community or class. Joining a pottery class can be incredibly beneficial. Not only will you learn from experienced instructors, but you’ll also meet fellow pottery enthusiasts who share your passion. Sharing ideas and techniques can enrich your experience and inspire new projects.
Lastly, remember that pottery is a journey, not a race. Enjoy the process of learning and creating. Embrace your mistakes as they are part of the learning curve, and let your creativity flow. With patience and practice, you’ll be amazed at what you can create!
| Question | Answer |
|---|---|
| Do I need prior experience to start pottery? | No, pottery is accessible to everyone, regardless of experience. Beginners are welcome! |
| What’s the best type of clay for beginners? | Earthenware is a great choice for beginners due to its ease of use and lower firing temperature. |
| How long does it take to learn pottery? | Learning pottery is a personal journey. With consistent practice, you can see significant improvement in a few months. |
| Can pottery be a therapeutic hobby? | Absolutely! Many find that working with clay is a great way to relieve stress and promote mindfulness. |
Essential Tools for Beginners
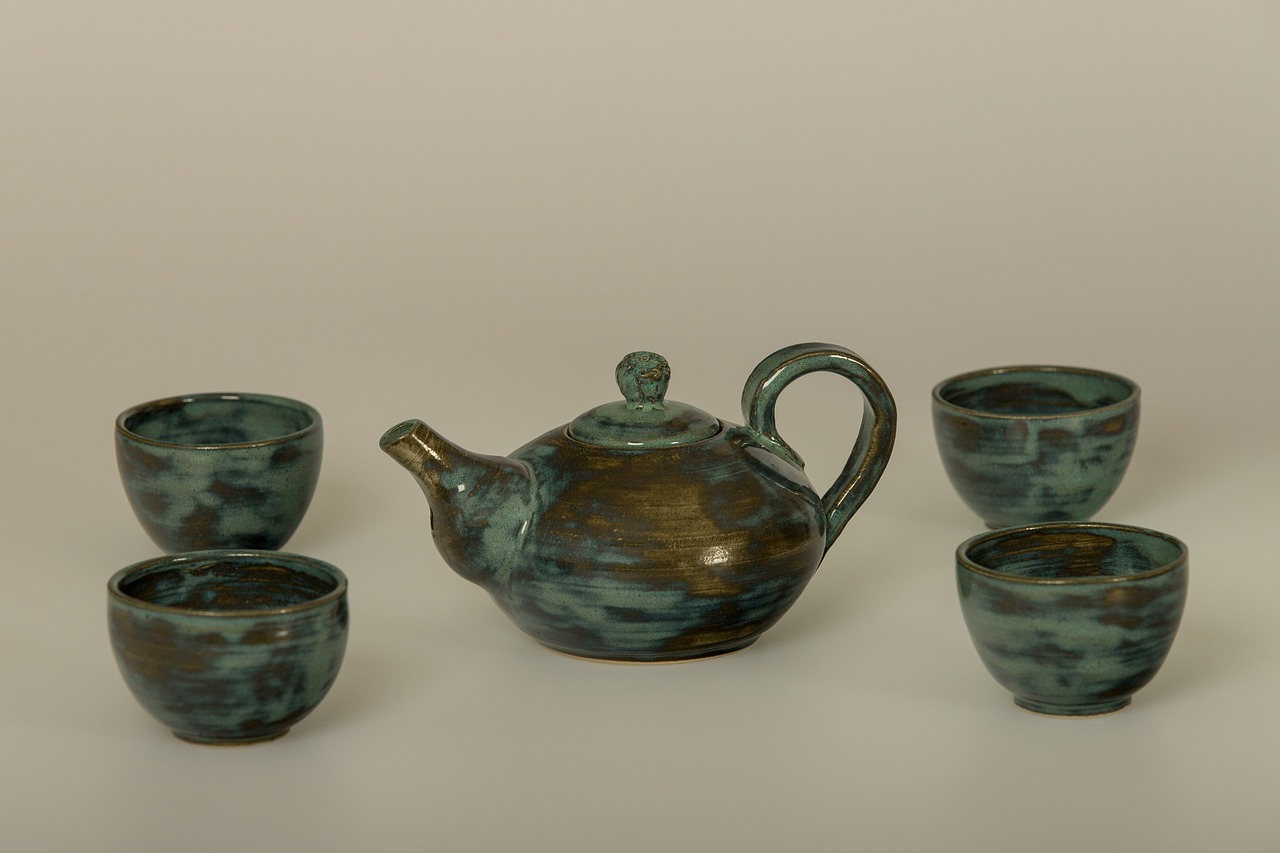
Starting your pottery journey is an exciting adventure, but having the right tools can make all the difference between a smooth experience and a frustrating one. Whether you're a budding artist or just curious about the craft, equipping yourself with essential tools will set you up for success. Think of these tools as your trusty companions, guiding you through the creative process and helping you bring your imaginative visions to life.
At the heart of pottery-making is the pottery wheel. This essential tool allows you to shape and mold clay with precision and speed. If you're serious about wheel throwing, investing in a quality pottery wheel can elevate your skills significantly. However, if you're just starting out, many community studios offer access to wheels, which can be a great way to test the waters before making a purchase.
In addition to the wheel, you'll need a variety of clay tools that will help you manipulate the clay effectively. These tools include:
- Wire cutter: Perfect for cutting large blocks of clay or removing your creations from the wheel.
- Ribs: These come in various shapes and materials, helping you smooth and shape your pottery.
- Needle tool: Ideal for detailing and trimming, this tool is essential for precision work.
- Sponge: A sponge is crucial for keeping your clay moist during the shaping process.
Of course, once your pottery is shaped and ready, you'll need access to a kiln for firing your creations. This is where your pieces transform from soft clay into durable pottery. If you’re working at home, consider joining a local pottery studio or community center, as they often have kilns available for use. It's a fantastic way to meet fellow potters and share tips and techniques, all while getting your work fired properly.
Another important consideration is the workspace. Setting up a dedicated area for your pottery can enhance your creativity and focus. Ensure you have a sturdy table to work on, as well as adequate storage for your tools and materials. A clean, organized space will not only make your pottery sessions more enjoyable but will also help you to stay inspired.
Finally, don't forget about glazes and underglazes. These are what will give your pottery its beautiful finish and color. Experimenting with different glazes can be one of the most exciting parts of pottery-making, as you’ll discover how they react during firing, often leading to unexpected and delightful results.
In summary, having the right tools is essential for any beginner potter. From the pottery wheel to the kiln, each tool plays a vital role in your creative process. So gather your equipment, find a comfortable workspace, and let your imagination run wild!
Q: Do I need to buy all the tools at once?
A: No, you can start with the basics and gradually build your toolkit as you progress in your pottery journey.
Q: Can I use air-dry clay instead of kiln-fired clay?
A: Yes, air-dry clay is a great option for beginners who want to avoid the kiln process, but keep in mind that it may not be as durable as kiln-fired pottery.
Q: How can I find a pottery class near me?
A: Check local community centers, art schools, or online platforms that offer pottery workshops. Many studios welcome beginners and provide all the necessary materials.
Q: What if I don't have space for a kiln?
A: Many pottery studios offer kiln services for a fee, so you can still fire your pieces without needing to own a kiln.
Beginner-Friendly Projects
Starting your pottery journey can be both exciting and a bit daunting. However, tackling can make the learning process enjoyable and rewarding. One of the best ways to build your skills is to start with simple, manageable pieces that allow you to practice essential techniques without feeling overwhelmed. By focusing on projects that are both functional and artistic, you can gain confidence and develop your unique style.
One of the most popular beginner projects is creating mugs. Mugs are not only practical but also provide an excellent canvas for personal expression. You can experiment with different shapes, handles, and glazing techniques. Plus, everyone loves a custom mug! To create a mug, you'll practice basic hand-building or wheel-throwing techniques, which are fundamental to your pottery education.
Another fantastic project for beginners is crafting small bowls. Bowls are versatile and can be used for various purposes, from serving snacks to holding keys at the entrance of your home. When making a bowl, you can utilize both hand-building methods and wheel throwing. The process of shaping the clay into a bowl allows you to focus on achieving smooth curves and a balanced form, which are essential skills in pottery.
For those who want to try something a bit more creative, consider making decorative tiles. Tiles can serve as coasters, wall art, or even part of a larger mosaic project. This project allows you to explore texture and glazing techniques without the pressure of creating a functional piece. You can experiment with stamps, carving tools, and underglazes to create unique designs that reflect your personality.
Lastly, if you're feeling adventurous, why not try your hand at creating planters? Planters are not only trendy but also provide a fantastic opportunity to practice your skills while creating something that brings life to your space. You can design them in various shapes and sizes, and even add drainage holes to make them functional for your favorite plants.
Embarking on these beginner-friendly projects will not only enhance your pottery skills but also provide a sense of achievement as you see your creations come to life. Remember, the key is to enjoy the process and not rush through it. Each piece you create is a step towards mastering the art of pottery!
1. What tools do I need to start pottery?
To get started with pottery, you will need some basic tools such as a pottery wheel (if you plan to wheel throw), clay tools (like a rib, needle tool, and sponge), and a kiln for firing your pieces. You can also use simple household items to help shape and mold your clay.
2. How long does it take to learn pottery?
Learning pottery is a gradual process that varies from person to person. Some people may feel comfortable creating basic pieces within a few weeks, while mastering advanced techniques can take months or even years. The important thing is to practice regularly and enjoy the journey!
3. Can I do pottery at home?
Yes, you can definitely do pottery at home! However, you will need access to a kiln for firing your work. Many beginners start by taking classes at local studios to learn techniques before investing in their own equipment.
4. What type of clay is best for beginners?
Earthenware clay is often recommended for beginners due to its workability and lower firing temperature. It’s easy to shape and is forgiving for those just starting out. As you progress, you can explore stoneware and porcelain for different effects and finishes.
Frequently Asked Questions
-
What is pottery and why is it significant?
Pottery is the art of shaping and firing clay to create functional or decorative objects. Its significance lies in its rich history, cultural importance, and the way it connects us to ancient civilizations. Pottery has evolved over time, influencing societies and continuing to thrive as both an artistic expression and a craft.
-
What are the basic techniques I should learn as a beginner?
As a beginner, it's essential to master fundamental techniques such as hand-building and wheel throwing. Hand-building methods like pinch pots, coil construction, and slab building allow you to create unique pieces without a wheel, while wheel throwing helps you achieve symmetrical shapes and refined designs.
-
How do I choose the right clay for my projects?
Choosing the right clay is crucial for your pottery success. Different types of clay, such as earthenware, stoneware, and porcelain, have unique properties that affect durability, texture, and firing requirements. Consider your project's needs and desired finish when selecting your clay.
-
What role do glazes play in pottery?
Glazes enhance the aesthetic appeal and functionality of pottery by adding color, texture, and a protective layer. Understanding the different types of glazes, like glossy, matte, and transparent, as well as application techniques, is essential for achieving the desired effects on your pottery pieces.
-
Can pottery be a therapeutic hobby?
Absolutely! Engaging in pottery can be incredibly therapeutic. The process of shaping clay promotes mindfulness and relaxation, allowing you to escape daily stressors and find joy in creation. It's a fulfilling way to express yourself while also enjoying a meditative experience.
-
What tools do I need to start pottery?
To start your pottery journey, you'll need a basic toolkit that includes a pottery wheel, clay tools, and a kiln. These essential tools will help you effectively create and fire your pottery pieces, setting you up for a successful experience.
-
What are some beginner-friendly pottery projects?
Starting with simple projects like mugs or small bowls is a great way to practice essential techniques and build confidence. These projects allow you to explore your creativity while honing your skills in a manageable way.


