Steps to Creating Your First Garden Mosaic
Creating a stunning garden mosaic is not just about placing a few tiles together; it’s an art form that merges creativity with nature, resulting in a breathtaking piece that enhances your outdoor space. Whether you’re a seasoned DIY-er or a complete novice, this guide will walk you through the essential steps to craft a mosaic that reflects your personal style and adds charm to your garden. Imagine stepping into your backyard and being greeted by a vibrant, colorful design that tells a story—your story! So, let’s dive into the world of garden mosaics and explore how to transform your vision into reality.
The first step in your mosaic journey is selecting the perfect spot for your masterpiece. Think about where you want it to shine! Consider factors such as sunlight, visibility, and how it fits in with your existing plants. A well-placed mosaic can serve as a focal point, drawing the eye and enhancing the overall aesthetic of your garden. For example, a sunny corner can illuminate the colors of your tiles, while a spot near a pathway can invite guests to admire your handiwork up close. Don't forget to think about the surrounding elements—your mosaic should complement rather than clash with the natural beauty around it.
Next up, let’s talk materials! Having the right supplies at your fingertips is essential for a successful mosaic project. You’ll need a variety of items, including tiles, stones, adhesives, and tools. Understanding what you need will streamline the creation process and ensure durability. Here’s a quick rundown of what you might want to gather:
- Tiles: Ceramic, glass, or natural stone.
- Adhesives: Strong glue suitable for outdoor use.
- Grout: To fill in the spaces and add a finished look.
- Tools: Tile cutters, safety gear, and a trowel.
When it comes to tiles, the options are endless! Each type offers unique characteristics and aesthetic qualities. Ceramic tiles are durable and come in a wide range of colors, while glass tiles can add a shimmering effect to your design. Natural stone tiles bring an earthy feel and can blend beautifully with your garden’s landscape. Think about what resonates with you and the overall vibe you want to create.
Choosing a color palette is crucial to your mosaic’s success. Picture this: vibrant reds and yellows can evoke warmth and energy, while cool blues and greens can create a calming atmosphere. Consider the surrounding plants and flowers in your garden—your mosaic should harmonize with these elements, enhancing the overall beauty of your space. A well-thought-out color scheme can turn your mosaic from ordinary to extraordinary!
Don’t forget about texture! Incorporating different textures can add depth and interest to your mosaic. Imagine the contrast between smooth glass tiles and rough stones—this interplay can create a visually engaging experience. Experimenting with various materials will not only make your mosaic stand out but also invite viewers to take a closer look.
Now that you have your materials, let’s talk tools. Having the right tools on hand will make the mosaic creation process easier and more enjoyable. Essential tools include tile cutters for shaping your tiles, adhesive to secure them in place, grout for finishing touches, and safety gear to protect yourself while working. Investing in quality tools can significantly enhance your crafting experience and ensure a professional-looking result.
With your materials and tools ready, it’s time to unleash your creativity! Designing a mosaic is like painting a picture, but instead of a brush, you’ll use tiles. Start by sketching your ideas—this will help you visualize the final product and guide your installation. Think about incorporating patterns that resonate with you, whether it’s geometric shapes, floral designs, or abstract motifs. Patterns can elevate the visual appeal of your mosaic, making it a true centerpiece in your garden.
Patterns can significantly enhance the aesthetic of your mosaic. They can create movement and flow, drawing the eye across your design. Consider using templates, especially if you’re a beginner. Templates provide a clear guide for tile placement, helping you maintain consistency and achieve a polished final look.
Now comes the exciting part—installation! Proper techniques are vital for the longevity of your garden mosaic. Learn how to apply adhesive correctly, arrange your tiles, and grout effectively to ensure a sturdy and beautiful outcome. Remember, patience is key; take your time to get everything just right!
Layering tiles correctly and ensuring strong adhesion is crucial. Apply adhesive evenly and press tiles firmly into place to prevent shifting. This step is essential for ensuring your mosaic withstands the test of time and the elements.
Grouting is the final step that brings your mosaic to life. Properly apply grout between the tiles, and don’t forget to clean any excess for a neat finish. This not only enhances the mosaic's appearance but also protects it from the elements, ensuring it remains a stunning feature in your garden for years to come.
To keep your garden mosaic looking its best, regular maintenance is essential. Simple cleaning and occasional repairs can prolong its life and maintain its visual appeal throughout the seasons. A little TLC goes a long way in preserving the beauty of your creation!
Q: How long does it take to create a garden mosaic?
A: The time varies based on the size and complexity of the design. It can take anywhere from a few hours to several days.
Q: Can I use recycled materials for my mosaic?
A: Absolutely! Using recycled materials can add a unique touch and is an eco-friendly choice.
Q: How do I clean my garden mosaic?
A: Use a mild detergent and a soft brush to gently clean the surface, avoiding harsh chemicals that could damage the tiles.

Choosing the Right Location
When it comes to creating a stunning garden mosaic, is like laying the foundation for a beautiful home. Imagine crafting a masterpiece only for it to be hidden in the shadows or overwhelmed by other plants. To avoid this, you'll want to consider several key factors that can significantly enhance your mosaic's beauty and functionality.
First off, think about sunlight. Most plants thrive in sunlight, and so does your mosaic! If your garden receives ample sunlight, your mosaic will not only shine but also highlight the vibrant colors of your tiles. A sunny spot can create a magical interplay of light and shadow, making your artwork come alive. Conversely, placing your mosaic in a shaded area may dull its brilliance and lead to dampness, which can damage the materials over time.
Next, consider visibility. You want your mosaic to be a focal point in your garden, something that captures the eye of anyone who walks by. Position it where it can be easily seen from various angles, perhaps near a pathway or at the end of a garden vista. This strategic placement ensures that your hard work is appreciated and admired by friends, family, and even passersby.
Another important aspect is the proximity to existing plants. Think of your mosaic as a piece of art in a gallery; it needs the right frame to truly stand out. Surrounding your mosaic with complementary plants can enhance its aesthetic appeal. For instance, if your mosaic features warm colors, consider planting flowers that bloom in similar hues. This creates a cohesive look that ties your garden together, making it feel more inviting and harmonious.
In summary, the ideal location for your garden mosaic should be:
- Sunny: Ensure it gets enough light to highlight its colors.
- Visible: Place it where it can be appreciated from multiple viewpoints.
- Complementary: Surround it with plants that enhance its beauty.
By carefully considering these factors, you’ll not only create a stunning garden mosaic but also a captivating outdoor space that invites admiration and joy. So, take a moment to walk around your garden and envision where your masterpiece will fit best. Remember, the right location is the first step towards creating a mosaic that will be cherished for years to come!

Gathering Materials
When it comes to creating a stunning garden mosaic, gathering the right materials is like assembling the perfect recipe. Each ingredient plays a crucial role in crafting a masterpiece that not only looks good but also stands the test of time. First and foremost, you’ll need to decide on the types of materials you want to use. This can include a variety of tiles, stones, and adhesives that come together to create your unique design. Think of your mosaic as a canvas where each piece contributes to the overall picture.
Here’s a quick rundown of the essential materials you’ll need:
- Tiles: You can choose from ceramic, glass, or natural stone tiles. Each type brings its own flair and character to your design.
- Adhesive: A strong adhesive is vital for keeping your tiles securely in place. Look for waterproof options, especially if your mosaic will be exposed to the elements.
- Grout: This acts as the finishing touch, filling in the gaps between tiles and providing a polished look while also protecting your masterpiece.
- Tools: Essential tools include tile cutters, a mixing bucket for grout, and safety gear like gloves and goggles.
Now, let’s dive deeper into the types of tiles you can use. The world of tiles is vast and vibrant. Ceramic tiles are a popular choice due to their versatility and wide range of colors. They can be easily cut to fit any design you have in mind. Glass tiles, on the other hand, add a touch of elegance and can create stunning visual effects, especially when they catch the sunlight. Finally, natural stone tiles offer a rustic charm and are perfect for blending with outdoor environments.
When selecting your tiles, consider not only their aesthetic qualities but also their durability. You want materials that can withstand the changing weather conditions in your area. For instance, if you live in a region with harsh winters, opting for frost-resistant tiles will save you from future headaches.
Next up is color selection. This is where you can really let your creativity shine! Think about the existing colors in your garden and how your mosaic can complement or contrast with them. A well-thought-out color palette can transform your outdoor space into a vibrant oasis. For example, if your garden features lush greens and colorful blooms, you might want to use bright and bold tiles to create a striking focal point. On the other hand, softer hues can provide a more serene and calming effect.
In addition to color, texture is another important consideration. Mixing different textures can add depth and interest to your mosaic. Imagine the contrast between smooth glass tiles and rough, uneven stones. This interplay can create a dynamic visual experience that draws the eye and invites closer inspection. So, don’t be afraid to experiment with various materials!
Finally, having the right tools on hand will make your mosaic creation process smoother than a freshly paved path. Essential tools include:
- Tile cutters for those precise cuts.
- Adhesive and grout for assembly and finishing.
- Safety gear to protect yourself during the project.
By gathering these materials thoughtfully, you set the stage for a successful garden mosaic project that will not only enhance your outdoor space but also serve as a testament to your creativity and dedication. So, roll up your sleeves, gather your supplies, and get ready to create something truly beautiful!

Types of Tiles
When it comes to creating a stunning garden mosaic, the type of tiles you choose plays a significant role in the overall aesthetic and durability of your masterpiece. There are several options available, each with its unique characteristics that can elevate your design. Let's dive into the most popular types of tiles you might consider for your mosaic project.
Ceramic Tiles are a classic choice for mosaics. They come in a wide range of colors and patterns, making it easy to find the perfect match for your garden. Their glazed surface not only adds a vibrant finish but also makes them resistant to moisture and fading, which is essential for outdoor use. However, be cautious as they can be prone to chipping if not handled carefully.
Glass Tiles are another fantastic option, especially if you want to add a touch of elegance to your garden. These tiles reflect light beautifully, creating a stunning visual effect that changes throughout the day. They are also non-porous, which means they won’t absorb water, making them ideal for outdoor mosaics. However, glass tiles can be more expensive than other options, so it’s essential to consider your budget.
Natural Stone Tiles bring an organic feel to your mosaic. Each piece is unique, with its own textures and colors, allowing for a truly personalized design. Options like slate, granite, and marble can add a rustic charm to your garden. Keep in mind that natural stone can be heavier and may require additional support during installation.
In addition to these main types, you might also want to explore recycled materials. Using broken pottery, old glass bottles, or even seashells can create an eclectic and environmentally friendly mosaic. This approach not only adds character but also tells a story, making your garden truly one-of-a-kind.
When selecting tiles for your mosaic, consider the following factors:
- Durability: Ensure the tiles can withstand outdoor conditions.
- Color: Choose colors that complement your garden's existing palette.
- Texture: Mixing different textures can enhance visual interest.
Ultimately, the choice of tiles will depend on your personal style and the overall theme of your garden. Take your time to explore different options, and don't hesitate to mix and match to create a unique piece of art that reflects your personality.
Color Selection
This article will guide you through the essential steps to create a stunning garden mosaic, from planning and materials to installation and maintenance, ensuring a beautiful addition to your outdoor space.
Selecting the perfect spot for your garden mosaic is crucial. Consider factors such as sunlight, visibility, and proximity to existing plants to enhance your garden's overall aesthetic and functionality.
Collecting the right materials is essential for a successful mosaic. From tiles and stones to adhesives and tools, understanding what you need will streamline the creation process and ensure durability.
There are various types of tiles to choose from, including ceramic, glass, and natural stone. Each offers unique characteristics and aesthetic qualities, allowing for personalized designs that reflect your style.
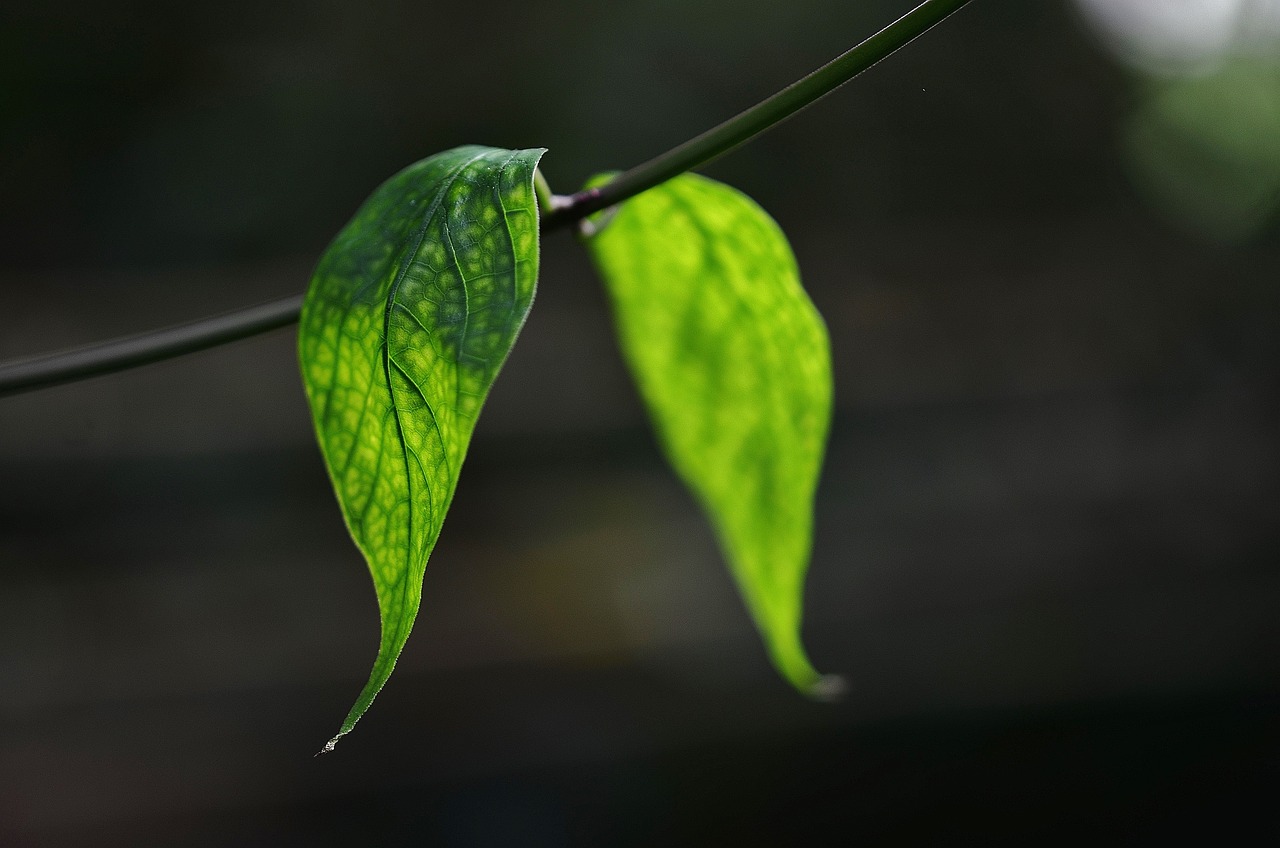
Choosing a color palette for your mosaic is vital. The colors you select will not only define the mood of your garden but also enhance its overall beauty. Consider the surrounding garden elements, such as flowers, foliage, and other decorative features. For instance, if your garden is bursting with vibrant flowers, you might want to choose colors that either complement or contrast them effectively. This can create a stunning visual harmony or an exciting clash that draws the eye.
Here are a few tips to help you nail down the perfect color scheme:
- Consider the Seasons: Different colors can evoke different feelings based on the season. Warm tones like reds and oranges can be inviting in the fall, while cool blues and greens can provide a refreshing look in the summer.
- Use a Color Wheel: A color wheel can be a handy tool for selecting colors that work well together. Complementary colors (those opposite each other on the wheel) can create a vibrant and dynamic look, while analogous colors (those next to each other) can offer a more serene and cohesive feel.
- Test Swatches: Before committing to a color, consider laying out tiles or paint swatches in your garden to see how they look in natural light. This can help you visualize the final effect and ensure it aligns with your vision.
Ultimately, your color selection should reflect your personal taste and the atmosphere you want to create. Whether you prefer a bold and bright mosaic or a more subtle and muted design, the right colors can transform your outdoor space into a stunning visual masterpiece.
To keep your garden mosaic looking its best, regular maintenance is essential. Simple cleaning and repairs can prolong its life and maintain its visual appeal throughout the seasons.
- How do I choose the right materials for my mosaic? Consider the durability, color, and texture of the materials in relation to your garden's environment.
- Can I create a mosaic without prior experience? Absolutely! Start with simple designs and gradually work your way up to more complex patterns.
- What is the best adhesive for outdoor mosaics? A waterproof adhesive is recommended to withstand varying weather conditions.
- How often should I maintain my garden mosaic? Regular cleaning and inspections every few months can help keep your mosaic in good shape.
Texture Considerations
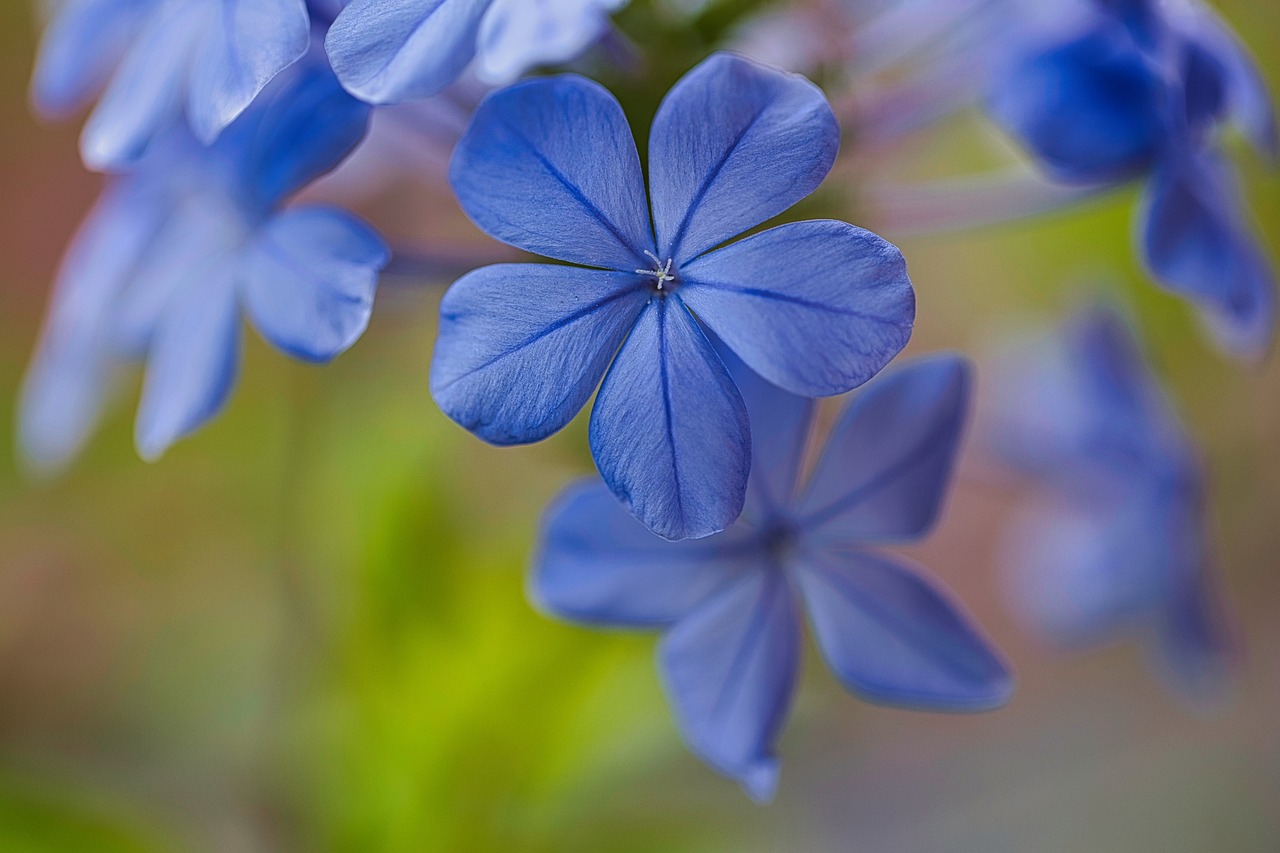
When it comes to creating a stunning garden mosaic, texture is one of the most important elements to consider. Just like a good recipe needs a variety of ingredients to create depth and flavor, your mosaic will benefit from a mix of textures that can transform the visual experience of your outdoor space. Imagine walking through your garden and being drawn to a mosaic that not only catches the eye with its vibrant colors but also invites you to touch it, to feel the contrast between smooth and rough surfaces.
Incorporating different textures into your mosaic can create a dynamic and engaging design. For instance, you might choose to use smooth glass tiles that reflect the sunlight beautifully, paired with rough stones that add an earthy feel. This combination not only enhances the aesthetic appeal but also provides a tactile experience that can make your garden feel more inviting. The juxtaposition of textures can evoke emotions, much like how a soft breeze can bring a sense of calm on a warm day.
Moreover, consider the functionality of the materials you choose. Some textures may be more durable than others, especially when exposed to the elements. For example, if you live in an area with harsh winters, incorporating textured tiles that can withstand freezing temperatures will ensure your mosaic remains intact and beautiful year after year. On the other hand, softer materials might be more suitable for sheltered areas where they won’t be subjected to heavy wear and tear.
As you plan your mosaic, think about how the textures will interact with one another. You might create a visual rhythm by alternating between smooth and rough tiles, or you could cluster similar textures together for a more uniform look. This approach not only adds interest but also guides the viewer's eye across the mosaic, encouraging them to explore every detail. Remember, the goal is to create a piece that resonates with both your personal style and the natural beauty of your garden.
In summary, paying attention to texture in your garden mosaic can elevate it from a simple decoration to a captivating centerpiece. By thoughtfully combining different materials and considering their durability, you can craft a mosaic that is not only visually stunning but also stands the test of time. So, as you embark on this creative journey, let your imagination run wild and don’t be afraid to experiment with textures that speak to you!
- What types of materials can I use for my garden mosaic?
You can use a variety of materials including ceramic tiles, glass, natural stones, and even recycled materials. The key is to choose materials that complement each other in both color and texture. - How do I ensure my mosaic lasts through different weather conditions?
Opt for weather-resistant materials and ensure proper sealing and grouting. Regular maintenance checks will also help in identifying any issues early on. - Can I create a mosaic without prior experience?
Absolutely! Start with simple designs and use templates if needed. With practice, you’ll develop your skills and confidence in creating more intricate patterns.
Tools Needed
This article will guide you through the essential steps to create a stunning garden mosaic, from planning and materials to installation and maintenance, ensuring a beautiful addition to your outdoor space.
Selecting the perfect spot for your garden mosaic is crucial. Consider factors such as sunlight, visibility, and proximity to existing plants to enhance your garden's overall aesthetic and functionality.
Collecting the right materials is essential for a successful mosaic. From tiles and stones to adhesives and tools, understanding what you need will streamline the creation process and ensure durability.
There are various types of tiles to choose from, including ceramic, glass, and natural stone. Each offers unique characteristics and aesthetic qualities, allowing for personalized designs that reflect your style.
Choosing a color palette for your mosaic is vital. Consider the surrounding garden elements and your personal preferences to create a harmonious and eye-catching design that complements your outdoor space.
Incorporating different textures can add depth to your mosaic. Experimenting with various materials, such as smooth glass and rough stone, can create an engaging visual experience in your garden.
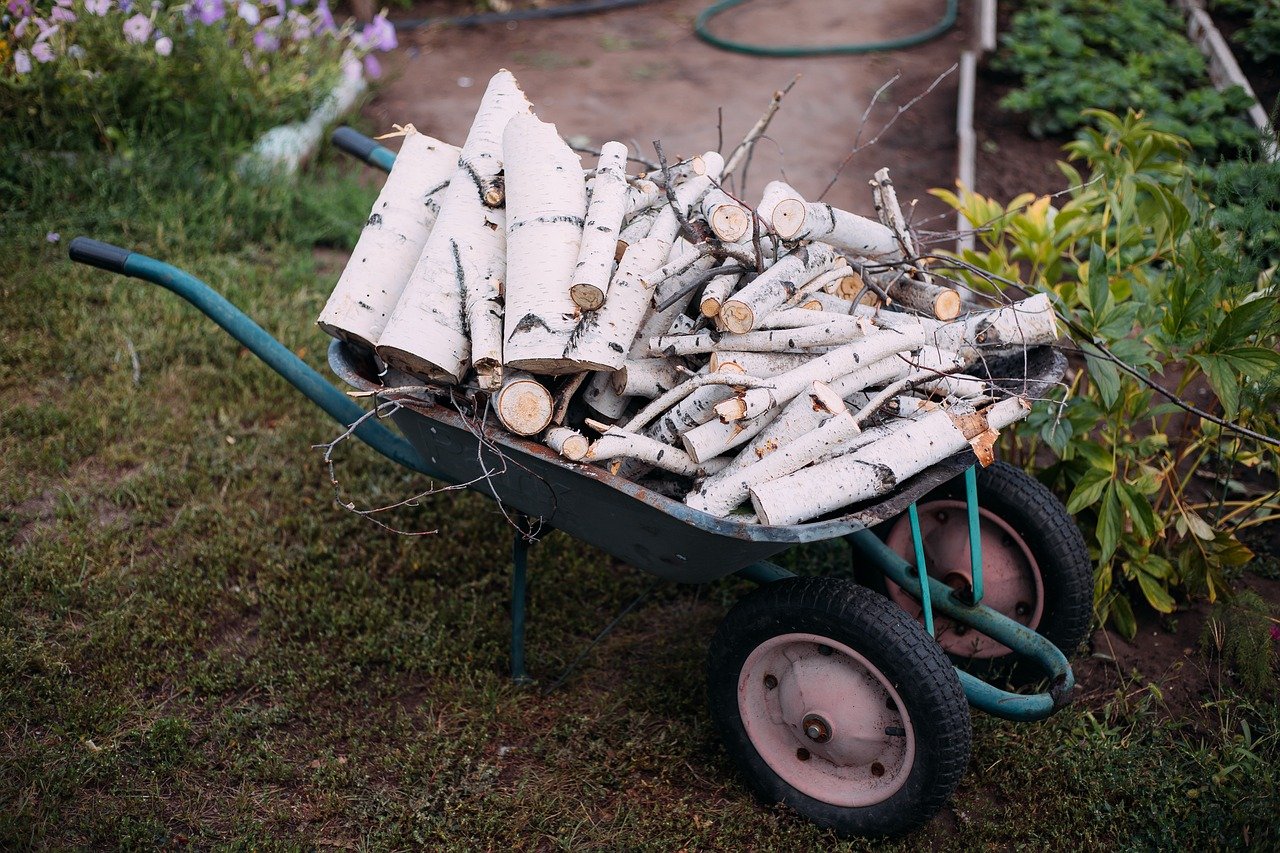
Having the right tools on hand will make the mosaic creation process easier and more enjoyable. Essential tools include:
- Tile Cutters: These are crucial for shaping your tiles to fit your design. Whether you opt for manual or electric cutters, they will help you achieve clean edges.
- Adhesive: A strong adhesive is necessary to secure your tiles to the base. Make sure to choose a weather-resistant option to withstand outdoor conditions.
- Grout: This is used to fill the gaps between the tiles, providing stability and a finished look. Choose a grout that matches your color scheme for a cohesive appearance.
- Safety Gear: Don’t forget your safety goggles and gloves! Working with sharp tiles and tools can be risky, so protect yourself while creating your masterpiece.
Additionally, having a few other handy tools can make your project smoother:
- Sponges and Rags: For cleaning excess grout and adhesive.
- Measuring Tape: To ensure accurate placements and dimensions.
- Level: To make sure your mosaic is even and aligned properly.
By gathering these tools before you start, you'll set yourself up for a successful and enjoyable mosaic-making experience. Think of it like preparing for a big cooking adventure; the right ingredients and utensils can make all the difference in the outcome!
Creating a design plan is a fundamental step in the mosaic process. Sketching your ideas and considering layout options will help visualize the final product and guide your installation.
Patterns can elevate the visual appeal of your mosaic. Explore geometric shapes, floral designs, or abstract motifs to create a unique centerpiece that draws attention in your garden.
Templates can simplify the design process, especially for beginners. They provide a clear guide for placement and help maintain consistency in your mosaic, ensuring a polished final look.
Proper installation techniques are vital for the longevity of your garden mosaic. Understanding how to apply adhesive, arrange tiles, and grout effectively will ensure a sturdy and beautiful outcome.
Layering tiles correctly and ensuring strong adhesion is crucial. Learn the best practices for applying adhesive and securing tiles to prevent shifting or damage over time.
Grouting is the final step in the installation process. Properly applying grout and cleaning excess will enhance the mosaic's appearance and protect it from the elements, ensuring lasting beauty.
To keep your garden mosaic looking its best, regular maintenance is essential. Simple cleaning and repairs can prolong its life and maintain its visual appeal throughout the seasons.
Q: How long does it take to create a garden mosaic?
A: The time can vary based on the size and complexity of your design, but most projects can be completed in a weekend.
Q: Can I use recycled materials for my mosaic?
A: Absolutely! Recycled tiles, broken pottery, and even glass bottles can add a unique touch to your mosaic.
Q: What should I do if a tile breaks after installation?
A: Don’t panic! You can carefully remove the broken tile and replace it with a new one. Just make sure to match the grout and adhesive.

Designing Your Mosaic
Creating a stunning garden mosaic begins with a well-thought-out design plan. It's like painting a masterpiece, but instead of a canvas, you’re using your garden as the backdrop. The first step is to sketch your ideas. Grab a piece of paper and let your imagination flow! Think about the shapes, patterns, and colors that resonate with you. This sketch will act as your blueprint, guiding you through the installation process. Remember, a clear vision is essential for a successful outcome.
When it comes to patterns, the world is your oyster! You can incorporate a variety of designs, from geometric shapes that give a modern feel to floral motifs that bring a touch of nature into your mosaic. Perhaps you’re feeling adventurous and want to explore abstract designs? Whatever direction you choose, ensure that it reflects your personal style and complements the surrounding garden elements.
Using templates can be a game-changer, especially if you’re new to mosaic art. They provide a clear guide for tile placement, ensuring that your design remains consistent throughout. Imagine trying to bake a cake without a recipe; templates act as your guide, helping you achieve that perfect look without the guesswork. You can create your own templates or find printable ones online, making the process even easier.
As you design, consider the scale and proportion of your mosaic. A large area may benefit from a bold, intricate design, while a smaller space might be better suited for a simple, elegant pattern. It’s all about balance! Use a
| Design Element | Best for | Visual Impact |
|---|---|---|
| Geometric Shapes | Modern gardens | Bold and striking |
| Floral Designs | Naturalistic settings | Soft and inviting |
| Abstract Patterns | Contemporary spaces | Unique and creative |
Finally, don’t forget to think about the colors you want to use. The right color palette can make or break your mosaic. Consider the hues of your existing plants and flowers. Aim for a harmonious blend that enhances the overall aesthetic of your garden. You could even create a mood board with color swatches to help you visualize how everything will come together.
In conclusion, designing your mosaic is an exciting journey that allows you to express your creativity. By sketching your ideas, incorporating patterns, utilizing templates, considering scale, and choosing the right colors, you’ll be well on your way to crafting a breathtaking piece of art for your garden. So grab those materials and let your creativity blossom!
- What materials do I need to create a garden mosaic? You will need tiles, adhesive, grout, and tools like tile cutters and safety gear.
- How do I choose the right design for my mosaic? Consider your personal style, the surrounding garden elements, and the scale of your space.
- Can I use broken tiles for my mosaic? Absolutely! Broken tiles can add a unique touch and are often used in mosaic art.
- How do I maintain my garden mosaic? Regular cleaning and prompt repairs will help keep your mosaic looking its best.

Incorporating Patterns
When it comes to creating your garden mosaic, incorporating patterns is not just an option; it’s a way to infuse your unique personality into your outdoor space. Patterns can transform a simple mosaic into a **captivating focal point** that draws the eye and sparks conversation. Think of it like adding a splash of color to a canvas—suddenly, it becomes a masterpiece! So, how do you go about choosing and incorporating patterns that resonate with you?
First, consider the **theme** of your garden. Are you aiming for a serene, natural look, or something more vibrant and eclectic? Patterns can range from geometric shapes to floral designs, and even abstract motifs. Each option tells a different story. For instance, geometric patterns can create a sense of order and symmetry, while floral designs evoke a feeling of whimsy and romance. You might even combine several styles to create a **mosaic narrative** that reflects your personal journey through gardening.
Once you’ve settled on a general theme, sketch out some ideas. Don’t worry about perfection; this is just a brainstorming phase. You can play around with different shapes and arrangements on paper before committing to your mosaic. Consider using templates to help guide your design. Templates can simplify the process, ensuring that your patterns are consistent and well-placed. This is especially beneficial for beginners who may find the idea of freehand designs intimidating.
Another exciting aspect of incorporating patterns is the **color interplay**. You can create a stunning visual effect by using contrasting colors within your chosen pattern. For example, if you opt for a geometric design, alternating colors can make each shape pop, adding depth and intrigue. Likewise, floral patterns can benefit from a gradient of colors that mimic the natural beauty of flowers blooming in your garden.
Don't forget about the **texture** of the materials you choose. Mixing smooth tiles with rough stones can add another layer of complexity to your pattern. Imagine a mosaic where the smooth glass tiles catch the sunlight, while the rough stone adds a rustic touch. This variety not only enhances the visual appeal but also creates a tactile experience that can be delightful to explore.
To inspire your creativity, here are a few pattern ideas you might consider:
- Geometric Shapes: Triangles, squares, and circles can be arranged in various configurations for a modern look.
- Floral Motifs: Incorporate flowers or leaves in your design for a more organic feel.
- Abstract Art: Let your imagination run wild and create an abstract pattern that speaks to you.
Ultimately, the key to incorporating patterns into your garden mosaic is to have fun and let your creativity flow. It’s about expressing yourself and creating a space that feels uniquely yours. So grab your tiles, unleash your imagination, and watch as your garden transforms into a vibrant tapestry of color and design!
Q1: How do I choose the right pattern for my garden mosaic?
A1: Start by considering the theme of your garden and your personal style. Sketch out ideas and think about how different patterns can complement your existing landscape.
Q2: Can I mix different types of tiles in my mosaic?
A2: Absolutely! Mixing different types of tiles can add texture and depth to your mosaic, making it more visually interesting.
Q3: How can I ensure my patterns are consistent?
A3: Using templates can help maintain consistency in your patterns. They provide a clear guide for placement and design.
Q4: What if I make a mistake while creating my mosaic?
A4: Don’t worry! Mistakes can often be incorporated into your design or fixed during the grouting process. Embrace the creative journey!

Using Templates
Using templates in your garden mosaic project can be a game-changer, especially if you're just starting out. Think of templates as your personal roadmap; they guide you through the creative process and help you avoid the common pitfalls of design. When you have a clear template in front of you, it’s like having a safety net that allows you to explore your creativity while ensuring that your mosaic remains cohesive and visually appealing.
Templates can come in various forms, from simple sketches to more elaborate designs printed on sturdy material. They provide a framework that helps you visualize how your mosaic will look once completed. This is particularly helpful because it allows you to experiment with different layouts before you commit to placing any tiles. You can easily adjust your design, swap colors, or even change patterns without the stress of redoing the entire project.
When selecting or creating a template, consider the following:
- Scale: Ensure that your template is to scale with your intended mosaic size. A well-proportioned template will give you a more accurate representation of how the final piece will look in your garden.
- Complexity: For beginners, it’s wise to start with simpler designs. As you gain more confidence, you can delve into more intricate patterns that challenge your skills.
- Material Compatibility: Make sure that the template works well with the materials you’ve chosen. Some designs may require specific tile shapes or sizes, so keep that in mind as you plan.
Once you have your template ready, the next step is to lay it out on your working surface. This allows you to visualize the arrangement of tiles before you start adhering them. You can even use a light adhesive to temporarily hold the tiles in place while you make adjustments. This flexibility is one of the biggest advantages of using templates; they let you play around with your design until it feels just right.
In conclusion, using templates not only simplifies the design process but also enhances the overall quality of your garden mosaic. They serve as a foundation for your creativity, allowing you to focus on the fun aspects of creating art while ensuring that your final piece is both beautiful and well-structured. So grab a template, unleash your imagination, and watch your garden come to life in a mosaic of colors and patterns!

Installation Techniques
Proper installation techniques are vital for the longevity of your garden mosaic. Think of it as laying the foundation for a beautiful house; if the base isn't solid, everything else will crumble. Understanding how to apply adhesive, arrange tiles, and grout effectively will ensure a sturdy and visually appealing outcome that can withstand the test of time.
First and foremost, layering tiles correctly is crucial. Start by preparing your surface; it should be clean, dry, and free of debris. This ensures that the adhesive can bond effectively. When applying the adhesive, use a notched trowel to create grooves, which helps the tiles adhere better. Think of it as giving your tiles a cozy bed to snuggle into!
After you've laid out your tiles according to your design, take a moment to step back and admire your work before the adhesive sets. This is your chance to make any adjustments. Once you're satisfied, press each tile firmly into place, ensuring there are no gaps. Remember, the goal is to create a seamless look, so be meticulous!
Now, let’s talk about grouting. Grouting is the final step in the installation process, and it’s where your mosaic truly comes to life. Properly applying grout not only enhances the mosaic's appearance but also protects it from the elements. Use a rubber float to spread the grout over the tiles, pushing it into the spaces between them. This is where the magic happens—imagine filling in the gaps like icing on a cake!
Once the grout is applied, you’ll want to clean off any excess. A damp sponge works wonders here. Wipe gently, as you don’t want to disturb the grout lines you just created. After the grout has set for a bit, you can polish the tiles with a soft cloth to give them a nice shine. This finishing touch can make a world of difference!
Finally, allow your mosaic to cure for at least 24 hours before exposing it to moisture. This waiting period is essential; it’s like letting a fine wine breathe. Once it’s fully cured, your garden mosaic will be ready to dazzle all who pass by!
| Step | Description |
|---|---|
| Preparation | Ensure the surface is clean and dry for optimal adhesion. |
| Adhesive Application | Use a notched trowel to create grooves for better tile bonding. |
| Tile Placement | Press tiles firmly into the adhesive and adjust as necessary. |
| Grouting | Spread grout with a rubber float, filling all gaps between tiles. |
| Cleaning | Wipe excess grout with a damp sponge and polish tiles after curing. |
Q: How long does it take for the adhesive to set?
A: Typically, it takes about 24 hours for the adhesive to fully set before exposing your mosaic to moisture.
Q: Can I use different types of tiles in my mosaic?
A: Absolutely! Mixing various tile types can add unique visual interest and texture to your design.
Q: What should I do if a tile breaks?
A: If a tile breaks, you can carefully remove the damaged piece and replace it with a new tile using the same installation techniques.

Layering and Adhesion
When it comes to creating a stunning garden mosaic, the layering and adhesion of your tiles are critical components that can make or break your project. Think of it like building a house; if the foundation isn’t solid, everything else will crumble. The first step is to ensure that your surface is clean, dry, and free from debris. This will help the adhesive grip better and ensure a long-lasting bond.
Next, select a high-quality adhesive that is suitable for outdoor use. There are various types of adhesives available, including thin-set mortar and liquid nails, each having its unique properties. For example, thin-set mortar is great for heavier tiles, while liquid nails might be more appropriate for lighter materials. It's essential to follow the manufacturer's instructions for the best results.
As you begin layering your tiles, consider the pattern and placement. Start from the center of your design and work your way outward. This method not only helps maintain symmetry but also allows you to adjust the tiles easily if needed. Use a notched trowel to spread the adhesive evenly on the surface before placing each tile. This ensures that every tile has a good grip and prevents any shifting that could occur as the adhesive dries.
Don’t forget to leave small gaps between the tiles for grouting later. These gaps are essential for allowing the grout to fill in and provide stability. If you’re using smaller tiles, you might find it helpful to use tile spacers to maintain consistent spacing throughout your mosaic. This little tip can save you from a lot of headaches later on!
Once you’ve laid all your tiles, it’s time to let the adhesive cure. This usually takes about 24 hours, but it’s best to check the adhesive instructions for specific curing times. Patience is key here; rushing this step could lead to tiles shifting or coming loose over time.
In summary, proper layering and adhesion are fundamental to the success of your garden mosaic. By choosing the right materials and following best practices, you can create a beautiful and durable piece of art that enhances your outdoor space for years to come. Remember, a well-laid mosaic is like a well-composed song; every note (or tile) must be in harmony for the masterpiece to shine!
- What type of adhesive should I use for outdoor mosaics?
It's best to use a waterproof adhesive, such as thin-set mortar or a strong construction adhesive, to ensure durability against the elements. - How long should I wait before grouting my mosaic?
Typically, you should wait at least 24 hours for the adhesive to cure before applying grout. Always check the adhesive's instructions for specific curing times. - Can I use any type of tile for my mosaic?
While you can use various types of tiles, it's important to select materials that are suitable for outdoor use, such as ceramic, glass, or natural stone. - How do I clean my garden mosaic?
Regularly clean your mosaic with mild soap and water. Avoid harsh chemicals that can damage the adhesive or tiles. - What should I do if a tile comes loose?
If a tile comes loose, carefully remove it, clean the area, and reapply adhesive before placing the tile back in its position.
Grouting and Finishing Touches
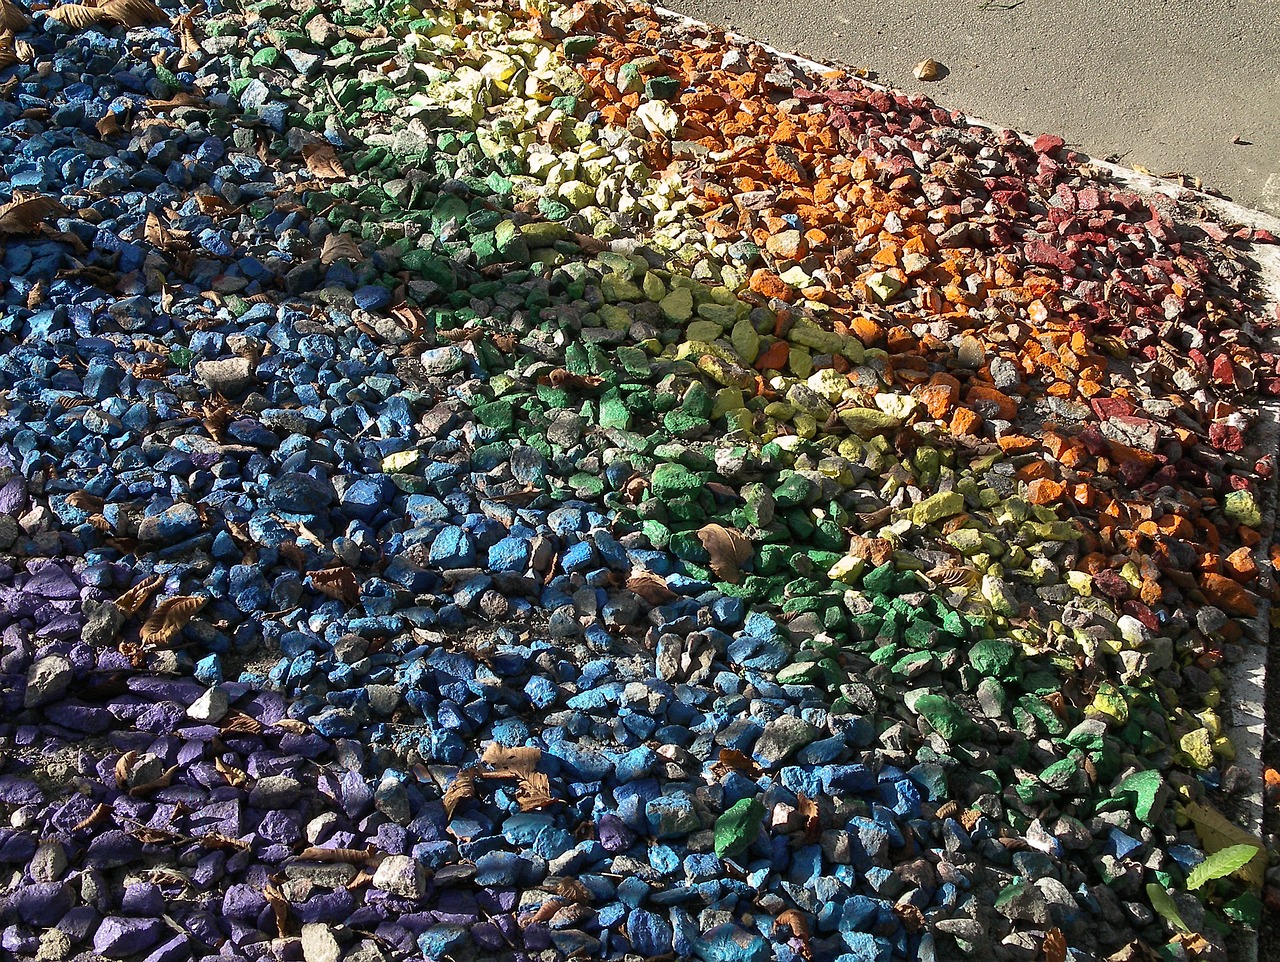
Once your mosaic is beautifully arranged and the tiles are securely adhered, it’s time for the exciting final step: grouting. Grouting not only enhances the aesthetic appeal of your mosaic but also serves as a protective barrier against the elements. Imagine it as the icing on a cake – it brings everything together and adds that final touch of elegance.
When selecting grout, you have a few options to consider. The most common types are sanded and unsanded grouts. Sanded grout is ideal for larger gaps between tiles, while unsanded grout works best for smaller joints. Choosing the right type will ensure a smooth application and a polished finish. It’s also a good idea to match the grout color with your tile selection to create a cohesive look. You can even opt for a contrasting color to make your tiles pop!
To apply the grout, start by mixing it according to the manufacturer’s instructions. Use a grout float to spread the mixture evenly over the tiles, pushing it into the gaps. Make sure to work in small sections to prevent the grout from drying out before you finish. As you apply, don’t be afraid to get a little messy – this part can be a bit of a workout, but it’s all part of the fun!
After you’ve filled all the spaces, it’s time to clean up. Use a damp sponge to wipe off any excess grout from the surface of the tiles. This step is crucial because if the grout dries on the tiles, it can be a real pain to remove later. Rinse your sponge frequently to keep it clean and avoid smearing grout onto the tiles.
Once the grout has set for the recommended time, usually about 24 hours, you can seal it to enhance its durability and water resistance. Applying a grout sealer will help prevent stains and moisture from penetrating, ensuring your mosaic remains vibrant and intact for years to come. Think of it as putting a protective coat on your masterpiece!
Finally, step back and admire your work. You’ve transformed your outdoor space into a stunning visual delight! To keep your mosaic looking fresh, regular maintenance is key. A simple wash with mild soap and water will do wonders to keep it clean. If you notice any cracks or chips over time, don’t hesitate to make repairs – it’s much easier to fix small issues than to let them grow.
To summarize, the grouting and finishing touches are what will truly bring your garden mosaic to life. By paying attention to detail and following these steps, you’ll ensure that your mosaic not only looks fantastic but also stands the test of time.
- How long does grout take to dry? Grout typically takes about 24 hours to dry, but check the manufacturer's instructions for specific recommendations.
- Can I use colored grout? Absolutely! Colored grout can enhance the design of your mosaic and add unique flair.
- What should I do if my grout cracks? If you notice cracks, clean the area and reapply grout as needed. Sealing it afterward can help prevent future issues.
Maintenance Tips
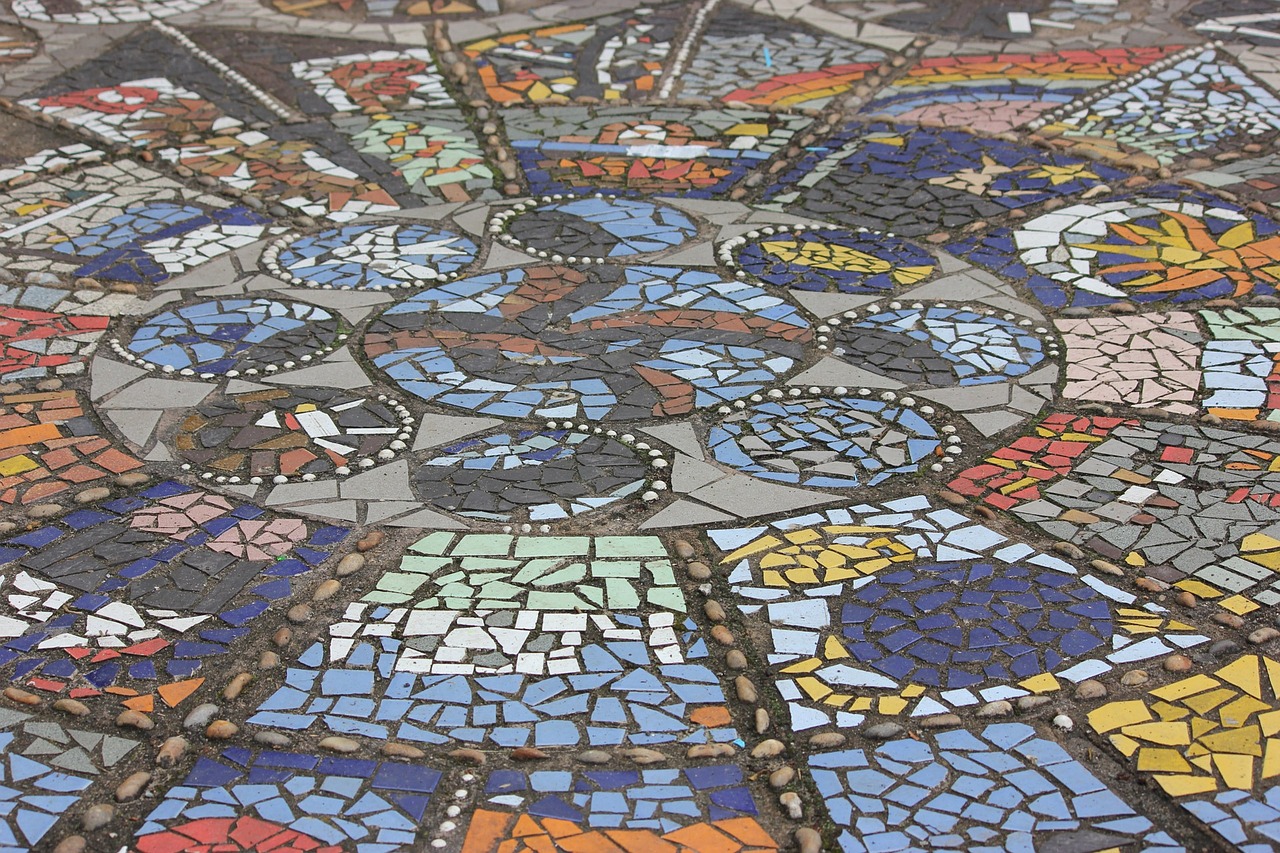
To keep your garden mosaic looking its best, regular maintenance is essential. Just like a beautiful painting, your mosaic deserves attention to ensure it remains vibrant and intact throughout the seasons. One of the simplest yet most effective ways to maintain your mosaic is through routine cleaning. Gently wash the surface with a soft cloth or sponge and mild soap to remove dirt and grime. This will help preserve the colors and prevent any buildup that could detract from its beauty.
Another important aspect of maintenance is inspecting your mosaic for any cracks or loose tiles. Over time, weather conditions can take a toll, so it's wise to conduct a visual check every few months. If you notice any issues, addressing them promptly will save you time and effort later on. For small cracks, you can use a clear adhesive to fill them in, while larger repairs may require reapplying grout or even replacing tiles.
Regularly checking the grout is also crucial. Grout acts as a protective barrier for your tiles, so if it starts to crumble or discolor, it’s time to reapply. When doing this, make sure to clean the area thoroughly before applying new grout to ensure a strong bond. Additionally, if your mosaic is exposed to harsh weather conditions, consider using a sealant to protect it from moisture and UV rays. This extra layer of protection can significantly extend the life of your mosaic.
Here’s a quick reference table summarizing key maintenance tasks:
| Maintenance Task | Frequency | Notes |
|---|---|---|
| Routine Cleaning | Monthly | Use mild soap and a soft cloth. |
| Visual Inspection | Every 3 months | Check for cracks and loose tiles. |
| Grout Check | Every 6 months | Reapply if crumbling or discolored. |
| Sealant Application | Annually | Protect against moisture and UV rays. |
By following these maintenance tips, you can ensure that your garden mosaic remains a stunning focal point in your outdoor space for years to come. Remember, a little attention goes a long way in preserving the beauty and functionality of your artistic creation.
Q: How often should I clean my garden mosaic?
A: It's best to clean your mosaic monthly using mild soap and a soft cloth to keep it looking fresh.
Q: What should I do if I notice cracks in my mosaic?
A: For small cracks, use a clear adhesive to fill them in. For larger issues, you may need to reapply grout or replace tiles.
Q: Is it necessary to use a sealant on my mosaic?
A: While not mandatory, using a sealant can help protect your mosaic from moisture and UV damage, extending its lifespan.
Q: Can I use any type of cleaner on my mosaic?
A: Avoid harsh chemicals. Stick to mild soaps and gentle cleaning methods to prevent damage to the tiles and grout.
Frequently Asked Questions
- What materials do I need to create a garden mosaic?
To create a stunning garden mosaic, you'll need a variety of materials. Essential items include tiles (ceramic, glass, or natural stone), adhesive, grout, and tools like tile cutters. Don't forget your safety gear!
- How do I choose the right location for my mosaic?
Choosing the right spot is crucial! Look for areas that receive adequate sunlight and are visible from different angles. Also, consider the proximity to existing plants to ensure your mosaic enhances the overall garden aesthetic.
- Can I use different types of tiles in my mosaic?
Absolutely! Mixing different types of tiles can create a unique and personalized design. Each type of tile brings its own character, so feel free to experiment with combinations of ceramic, glass, and natural stone.
- What are some tips for designing my mosaic?
Start by sketching your ideas! Think about incorporating patterns, shapes, or even templates to guide your design. This will help you visualize the final product and maintain consistency throughout the installation process.
- How do I ensure my mosaic is installed properly?
Proper installation is key! Make sure to apply adhesive evenly, layer your tiles correctly, and grout thoroughly. Following best practices will help prevent shifting and ensure your mosaic stands the test of time.
- What maintenance does my garden mosaic need?
Regular maintenance is essential to keep your mosaic looking its best. Simple cleaning and occasional repairs can prolong its life and maintain its beauty through all seasons. Just a little TLC goes a long way!


