How to Arrange a Stunningly Simple Flower Bouquet
Creating a stunning flower bouquet may seem like an overwhelming task, but it doesn't have to be! With just a few simple steps, you can craft a beautiful arrangement that will impress anyone who lays eyes on it. Whether you're preparing for a special occasion or just want to brighten up your space, this guide will walk you through the process of making a bouquet that looks like it was crafted by a professional. So, grab your favorite blooms and let’s dive into the art of flower arranging!
First things first, selecting the right flowers is absolutely crucial for creating a stunning bouquet. Imagine walking through a garden bursting with colors; that’s the kind of vibe you want to capture in your arrangement. Start by considering seasonal blooms, as they not only tend to be more affordable but also fresher. For example, in spring, you might find tulips and daffodils, while summer could bring sunflowers and dahlias. When picking out flowers, think about how their colors will interact. A harmonious color palette can make or break your bouquet. You can choose a monochromatic scheme for a sophisticated look or go for a vibrant mix for a fun, playful vibe. Here are a few flower types that work well together:
- Roses - Classic and romantic.
- Lilies - Elegant and fragrant.
- Sunflowers - Bright and cheerful.
- Daisies - Simple and charming.
Now that you’ve selected your flowers, it's time to gather the essential tools and supplies needed for your floral masterpiece. You don’t need a lot of fancy equipment; just a few basic items will do the trick. Here’s what you’ll need:
- Vase: Choose one that complements your flowers.
- Scissors or Floral Shears: Sharp tools make cleaner cuts.
- Floral Tape or Wire: For securing your arrangement.
- Water: Essential for keeping your flowers fresh.
Having these tools ready will make your flower arranging process smoother and more enjoyable. Remember, a well-prepared workspace can greatly enhance your creative flow!
A clean and organized workspace is vital for any floral project. Before you start, clear a table or countertop and lay down some newspaper or a towel to catch any mess. Gather all your tools and flowers within arm's reach. This way, you won’t have to keep running back and forth, and you can focus on what matters: creating a beautiful bouquet. It’s like setting the stage for a performance; everything should be in place to let your creativity shine!
Once your workspace is ready, it’s time to get your flowers prepped. Properly cleaning and cutting your flowers enhances their longevity and appearance. Start by removing any leaves that will sit below the waterline in your vase, as they can cause bacteria to grow, shortening the life of your bouquet. Next, trim the stems at a 45-degree angle under running water. This technique increases the surface area for water absorption, keeping your flowers hydrated and happy. It’s like giving them a refreshing drink before the big show!
Now comes the fun part: arranging your flowers! This is where your creativity can truly shine. Start by placing the largest flowers in the center of the bouquet, creating a focal point. Then, add smaller blooms around them, layering and grouping them for a balanced look. Don’t be afraid to experiment with different heights and angles; think of it as composing a piece of music, where each flower plays its own note in harmony with the others. Remember, there’s no right or wrong way to do this—just trust your instincts!
To take your bouquet to the next level, consider adding filler flowers and greenery. These elements can enhance the texture and depth of your arrangement. Filler flowers like baby’s breath or waxflower can add softness, while greenery such as eucalyptus or ferns can provide a lush backdrop. Incorporating these elements is like adding the finishing touches to a painting; they complete the picture and make it truly stunning!
After all that hard work, you’ll want your bouquet to last as long as possible. Proper care is essential! Make sure to change the water every few days and trim the stems slightly to encourage new growth. Keep your bouquet in a cool spot, away from direct sunlight and drafts. Think of it as nurturing a delicate friendship; a little attention goes a long way!
Even simple arrangements can go wrong. Here are a few common pitfalls to watch out for:
- Overcrowding: Too many flowers can make your bouquet look chaotic.
- Ignoring Water Levels: Always keep an eye on the water level in your vase.
- Neglecting Foliage: Don’t forget to incorporate greenery for balance.
By avoiding these mistakes, you’ll be well on your way to achieving a flawless final product!
Once you’ve mastered the basics, why not explore some creative variations for your bouquets? You can play with unique themes, color combinations, and styles that can elevate your floral designs to the next level. For instance, consider creating a rustic bouquet with wildflowers and twine, or a chic arrangement with monochromatic blooms in a sleek vase. The possibilities are endless, and each bouquet can tell its own story!
Q: How long will my bouquet last?
A: With proper care, your bouquet can last anywhere from a week to two weeks.
Q: What flowers are best for beginners?
A: Easy-to-arrange flowers include daisies, sunflowers, and carnations.
Q: Can I use flowers from my garden?
A: Absolutely! Just make sure they are pesticide-free and freshly cut.
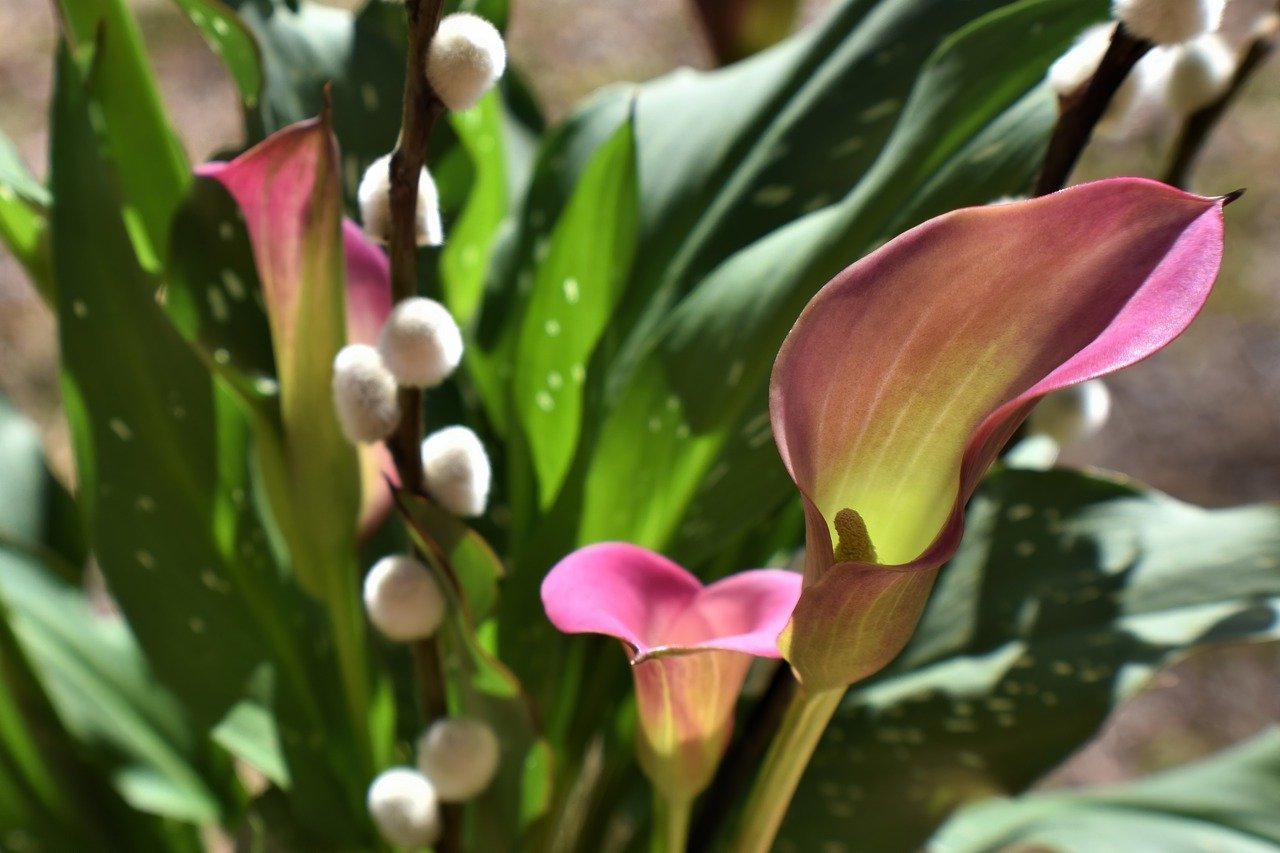
Choosing the Right Flowers
Choosing the right flowers is absolutely crucial for crafting a stunning bouquet that catches the eye and warms the heart. Imagine walking into a room filled with vibrant colors and enchanting scents; that's the magic of flowers! But how do you select the perfect blooms? It all starts with understanding seasonality, color palettes, and how different flower types can work together harmoniously.
First off, let’s talk about seasonal blooms. Flowers are like fruits; they have their peak seasons when they look their best and are most fragrant. For instance, tulips and daffodils are springtime favorites, while sunflowers and dahlias shine during the summer months. By choosing flowers that are in season, not only do you get the freshest options, but you also support local growers and reduce your carbon footprint. It’s a win-win!
Next up, consider your color palette. The colors you choose can set the mood of your arrangement. Are you aiming for a romantic vibe? Soft pinks and whites will do the trick. Want something vibrant and cheerful? Think bold yellows and reds! Here’s a handy tip: use the color wheel as your guide. Complementary colors, which are opposite each other on the wheel, create a striking contrast, while analogous colors, which sit next to each other, offer a more harmonious look. For example:
| Color Combination | Effect |
|---|---|
| Red & Green | Vibrant and eye-catching |
| Blue & Purple | Calming and serene |
| Yellow & Orange | Bright and cheerful |
Now, let’s dive into the different flower types. Mixing various types of flowers can add depth and interest to your bouquet. For instance, you might choose a mix of focal flowers (the stars of your bouquet, like roses or peonies), secondary flowers (like lilies or hydrangeas, which complement the focal ones), and filler flowers (such as baby’s breath or statice, which fill in the gaps). This layering creates a visually stunning arrangement that draws the eye and keeps it engaged.
In addition to the flower types, think about the texture of the flowers. A bouquet that includes a variety of textures—smooth petals, spiky foliage, and fluffy blooms—adds an intriguing element that can elevate your arrangement from ordinary to extraordinary. Imagine a bouquet where the soft petals of peonies contrast beautifully with the feathery fronds of ferns; it’s like a dance of textures that makes your bouquet come alive!
Finally, don’t forget to consider the meaning behind the flowers you choose. Each flower carries its own symbolism. For example, red roses symbolize love, while sunflowers represent adoration and loyalty. By selecting flowers that convey a specific message, you can add an extra layer of sentiment to your bouquet, making it even more special for the recipient.
In summary, when choosing the right flowers for your bouquet, remember to consider the seasonality, color palettes, flower types, textures, and meanings. With a bit of thought and creativity, you can create a stunning floral arrangement that not only looks beautiful but also resonates with emotion. So, what are you waiting for? Grab those flowers and start creating your masterpiece!
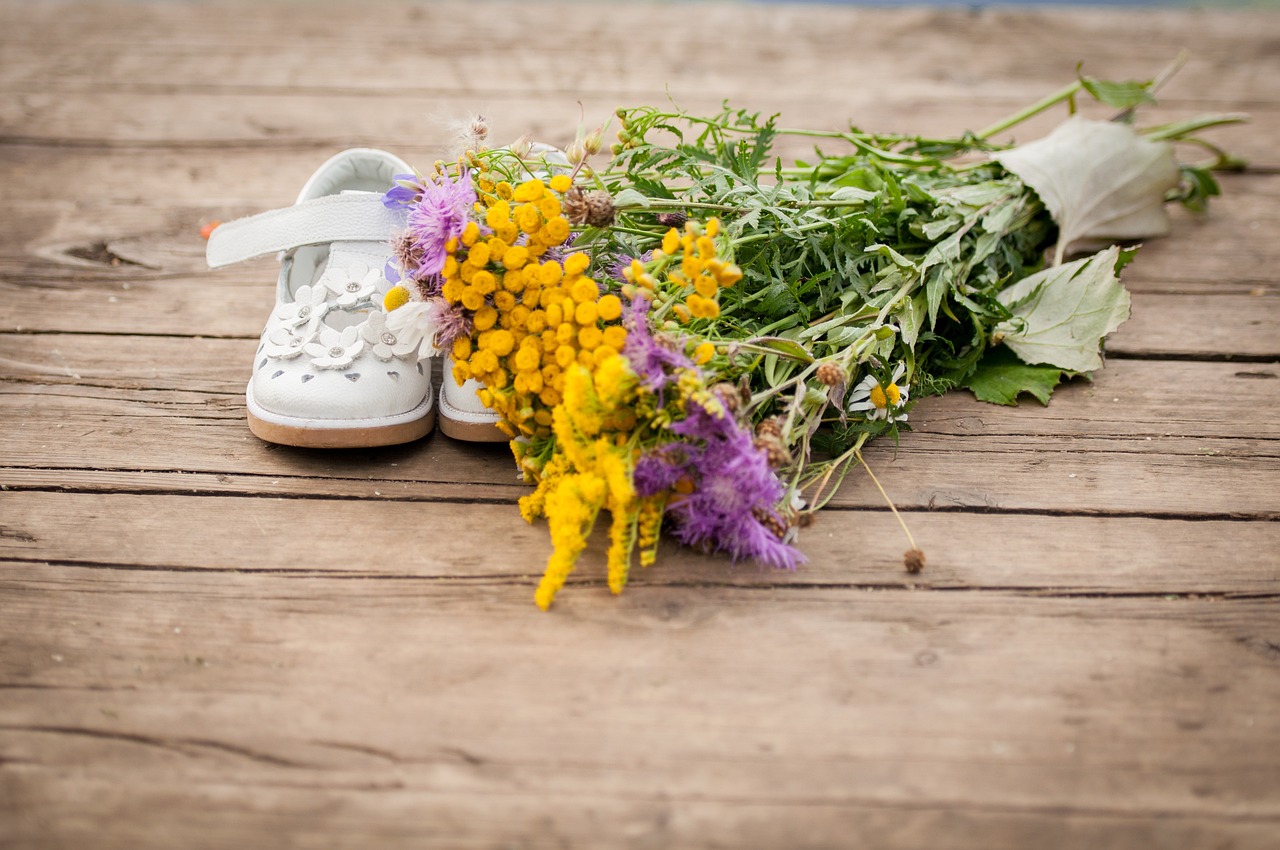
Essential Tools and Supplies
When it comes to crafting a stunning flower bouquet, having the right tools and supplies is absolutely essential. Think of it as preparing for a fun painting project; you wouldn’t start without your brushes, paints, and canvas, right? Similarly, a well-equipped floral workspace will make your arrangement process not only easier but also more enjoyable. So, let’s dive into the must-have items that will help you create that gorgeous bouquet!
First and foremost, you’ll need a good pair of floral scissors or a sharp knife. These are crucial for cutting stems cleanly, which ensures that your flowers can absorb water effectively. Imagine trying to drink through a straw that’s been bent; that’s what happens when you have a jagged cut on your flower stems. Next on the list is a vase. The shape and size of your vase will dictate the style of your arrangement, so choose one that complements the flowers you’ve selected. A tall vase is great for long-stemmed flowers, while a wide, shallow vase works well for more compact arrangements.
Another essential item is floral tape. This is a lifesaver when it comes to securing your stems in place, especially if you’re working with a more complex design. You can also use floral foam if you want to create a structured arrangement. This foam helps hold the flowers in place and retains moisture, giving your blooms a longer life. Don’t forget to stock up on flower food. This little packet of magic is designed to nourish your flowers and keep them fresh for days. It’s like giving your bouquet a refreshing drink!
To make your workspace even more efficient, consider having a bucket filled with water nearby. This will allow you to keep your flowers hydrated while you work. Additionally, having a clean cloth handy is a good idea for wiping down your tools and cleaning up any mess that might occur during the arrangement process. Lastly, let’s not overlook the importance of having a notebook or sketchpad for jotting down ideas or sketching your arrangement before you start. This can help you visualize your bouquet and make adjustments as necessary.
In summary, here’s a quick recap of the essential tools and supplies you’ll need:
- Floral scissors or sharp knife
- Vase
- Floral tape
- Floral foam (optional)
- Flower food
- Bucket of water
- Clean cloth
- Notebook or sketchpad
With these tools at your disposal, you’re well on your way to creating a beautiful flower bouquet that will impress anyone who lays eyes on it. Remember, having the right supplies not only enhances your efficiency but also boosts your confidence as you embark on this floral adventure. So gather your materials, roll up your sleeves, and let your creativity blossom!
Q: Do I really need floral foam?
A: While floral foam is not mandatory, it can provide additional support for your arrangement, especially for complex designs. If you prefer not to use it, just ensure your flowers are secured well in the vase.
Q: Can I use regular scissors instead of floral scissors?
A: It's best to use floral scissors or a sharp knife because they create cleaner cuts, which help the flowers absorb water better. Regular scissors might crush the stems, impacting their longevity.
Q: How long will my bouquet last?
A: With proper care, including using flower food and changing the water regularly, your bouquet can last anywhere from a week to ten days, depending on the flower types.
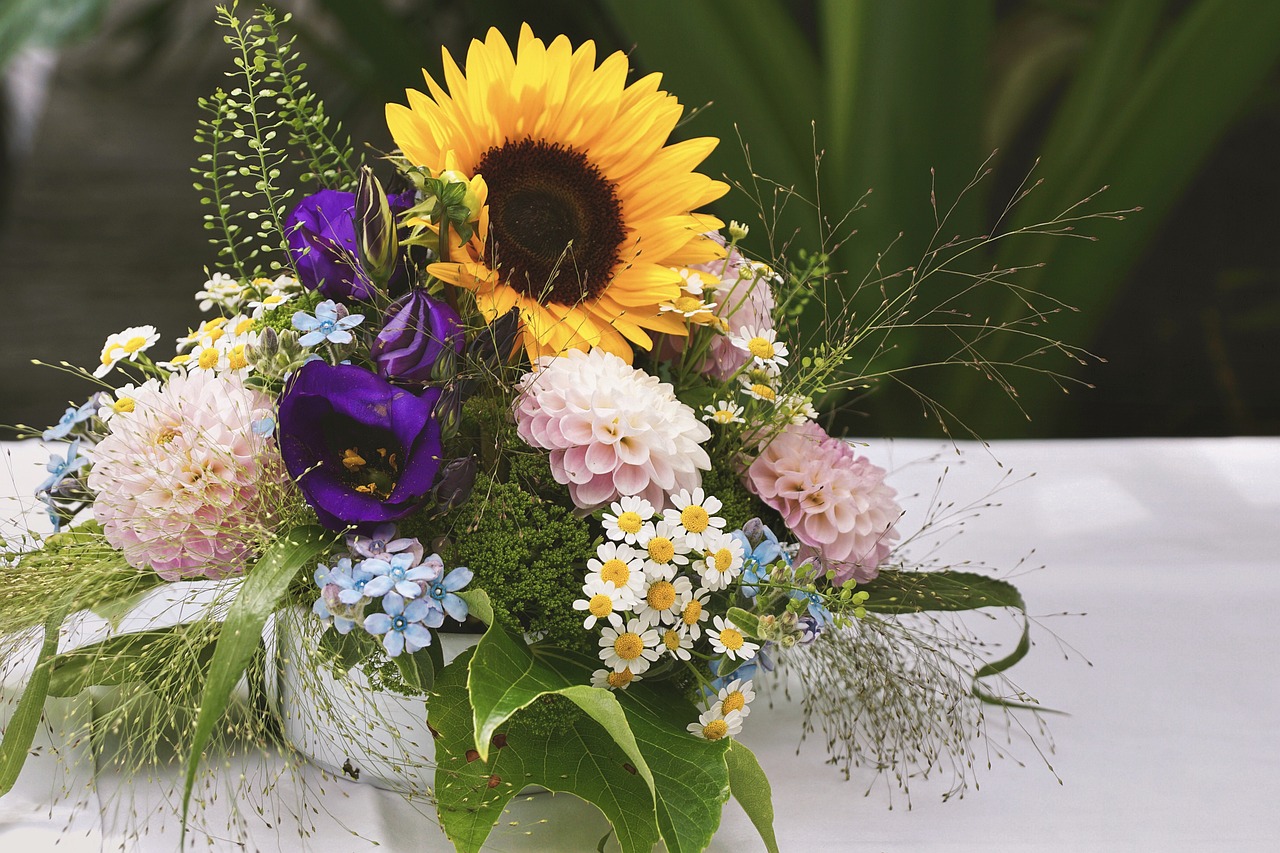
Preparing Your Workspace
Creating a stunning flower bouquet starts long before you even pick up a stem. The first step is to prepare your workspace. Think of your workspace as the canvas for your floral masterpiece; a clean and organized area allows your creativity to flow freely. Begin by choosing a flat, spacious surface where you can spread out your flowers, tools, and supplies. A kitchen table or a large countertop often works best, as they provide ample room to maneuver.
Next, it's essential to gather all your necessary supplies before you dive into the floral fun. This includes not just your flowers but also tools like scissors, a sharp knife, and a vase. You might also want to have a bucket of water nearby to keep your flowers hydrated as you work. To keep everything at your fingertips, consider using a small cart or tray to hold your tools and supplies. This way, you can easily roll it around as needed without cluttering your workspace.
Once you have everything in place, take a moment to clean your workspace. Wipe down the surface with a damp cloth to remove any dust or debris that could interfere with your arrangement. If you're using a vase, make sure it's thoroughly washed to prevent any bacteria that could shorten the lifespan of your flowers. You wouldn’t want your beautiful bouquet to wilt prematurely, right?
Additionally, consider the lighting in your workspace. Natural light can enhance the colors of your flowers, making your arrangement even more vibrant. If possible, set up near a window where you can enjoy the sunlight, but avoid direct sunlight that could cause your blooms to fade quickly. If natural light isn’t an option, a well-lit room with artificial lighting will do just fine. Just remember, the goal is to create an inviting atmosphere that inspires you to create!
Lastly, keep your workspace free from distractions. Turn off your phone notifications or play some soft music in the background to help you focus. Think of this time as your creative retreat, where you can let your imagination run wild. By setting the stage with a well-prepared workspace, you’re already one step closer to crafting a breathtaking bouquet that will impress anyone who lays eyes on it.
So, are you ready to transform your space into a floral haven? With these tips in mind, you’ll be well on your way to creating a stunning arrangement that not only reflects your personal style but also brings a touch of nature's beauty into your home.
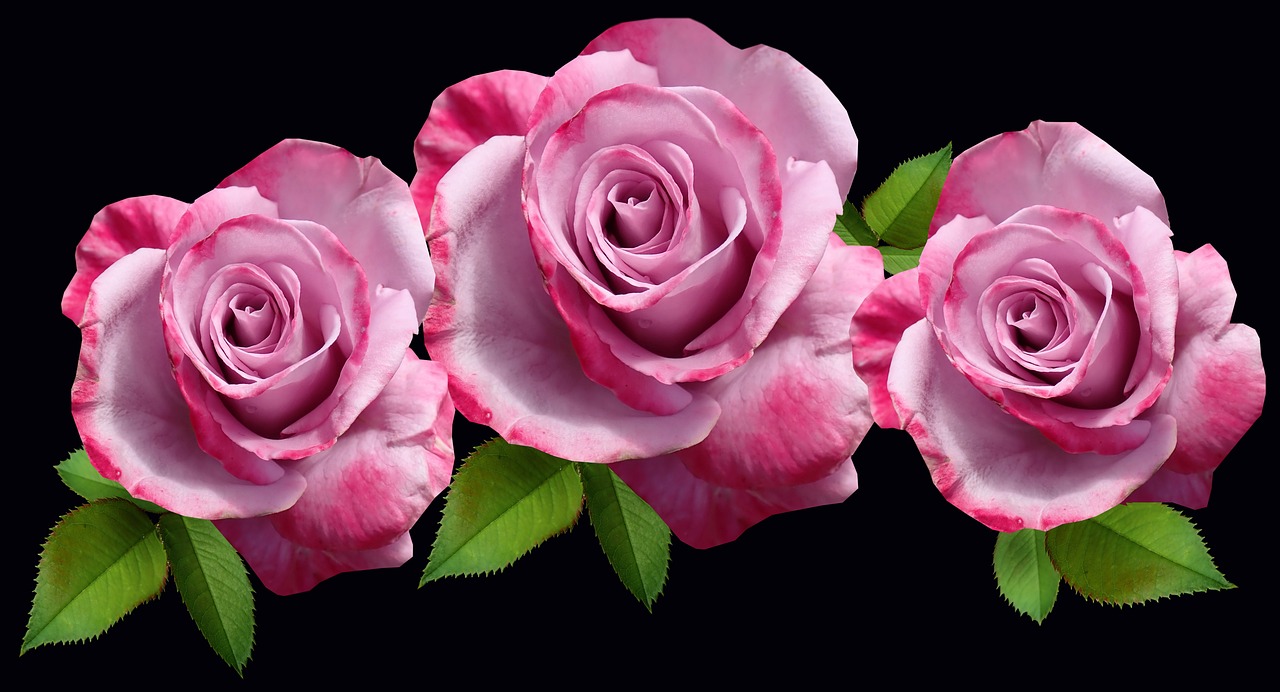
Cleaning and Cutting Flowers
When it comes to creating a stunning flower bouquet, cleaning and cutting your flowers is a crucial step that can significantly enhance their longevity and overall appearance. Think of it as giving your flowers a fresh start, much like how we feel rejuvenated after a good haircut! The first thing you want to do is ensure that your flowers are free from any dirt, pests, or wilting leaves. This not only helps in maintaining their beauty but also prevents any bacteria from forming in the water, which can shorten their lifespan.
Start by filling a clean basin or sink with cool water. As you gently rinse each stem under the water, you’ll want to remove any leaves that will be submerged. This is important because submerged leaves can rot, leading to murky water that your flowers won’t appreciate. You might be surprised at how much better your bouquet will look without those extra leaves weighing it down!
Next, let’s talk about cutting the stems. A good rule of thumb is to cut the stems at a 45-degree angle. This angle increases the surface area for water absorption, which is essential for keeping your flowers hydrated. Use sharp scissors or a floral knife for a clean cut; a jagged edge can impede water uptake. If you can, cut the stems while they are submerged in water to prevent air bubbles from forming in the stems, which can block water flow.
Here’s a quick checklist to follow when cleaning and cutting your flowers:
- Fill a basin with cool water.
- Remove any leaves that will be submerged in water.
- Cut stems at a 45-degree angle using sharp tools.
- Trim about an inch off the ends of the stems for optimal water uptake.
After cutting, place your flowers in a vase filled with fresh water immediately. This will help them absorb as much water as possible before you start arranging them. Remember, the cleaner and fresher your flowers are, the more vibrant your bouquet will be!
In summary, cleaning and cutting your flowers properly is not just a chore; it's an art in itself. By taking the time to do it right, you set the stage for a beautiful arrangement that will wow anyone who sees it. So, roll up your sleeves and give those blooms the care they deserve!

Arranging Your Flowers
Arranging flowers is where the magic truly happens, and it’s your chance to unleash your inner artist! Think of it as painting a canvas, but instead of paint, you’re using vibrant blooms. The first step is to consider the shape and size of your bouquet. A well-balanced arrangement draws the eye and creates a sense of harmony. Start by placing the larger flowers in the center or back of your arrangement; these are your focal points. Then, gradually add in medium-sized blooms and finish off with smaller ones to fill in gaps.
One technique that many floral enthusiasts swear by is the spiral method. This involves holding the flowers at an angle and layering them as you go. It’s like weaving a tapestry! The result is a bouquet that not only looks stunning from the front but is also beautiful from all angles. As you arrange, don’t forget to consider color and texture. Mixing different flower types and shades can create a bouquet that feels alive and dynamic. For example, pairing soft pastels with bold hues can add a delightful contrast.
Another tip is to think about height and depth. A bouquet should have varying heights to create visual interest. Use taller flowers like delphiniums or snapdragons as your vertical elements, and then surround them with shorter blooms like daisies or roses. This layering technique not only adds dimension but also makes your arrangement look more natural and less contrived.
Don’t forget about the greenery! Foliage is not just filler; it’s the frame that enhances your floral masterpiece. Incorporate different types of leaves and branches to add texture and contrast. For instance, using eucalyptus can give your arrangement a lovely fragrance and a soft, flowing look. Be sure to trim the greenery so that it doesn’t overshadow your flowers. A good rule of thumb is to keep the greenery at a similar height to your blooms, ensuring a balanced appearance.
Finally, step back and take a look at your arrangement from different angles. Sometimes, what looks perfect up close might need a little tweaking when viewed from afar. Don’t be afraid to make adjustments; floral arranging is all about experimentation and finding what works best for you. Remember, there are no strict rules—only guidelines to inspire your creativity!
- How long will my bouquet last? - With proper care, most bouquets can last anywhere from 5 to 10 days. Make sure to change the water regularly and trim the stems.
- What flowers are best for beginners? - Some great options for beginners include roses, daisies, and sunflowers as they are hardy and forgiving.
- Can I use wildflowers in my arrangements? - Absolutely! Wildflowers can add a whimsical touch and are perfect for a rustic or natural look.
Adding Filler and Greenery
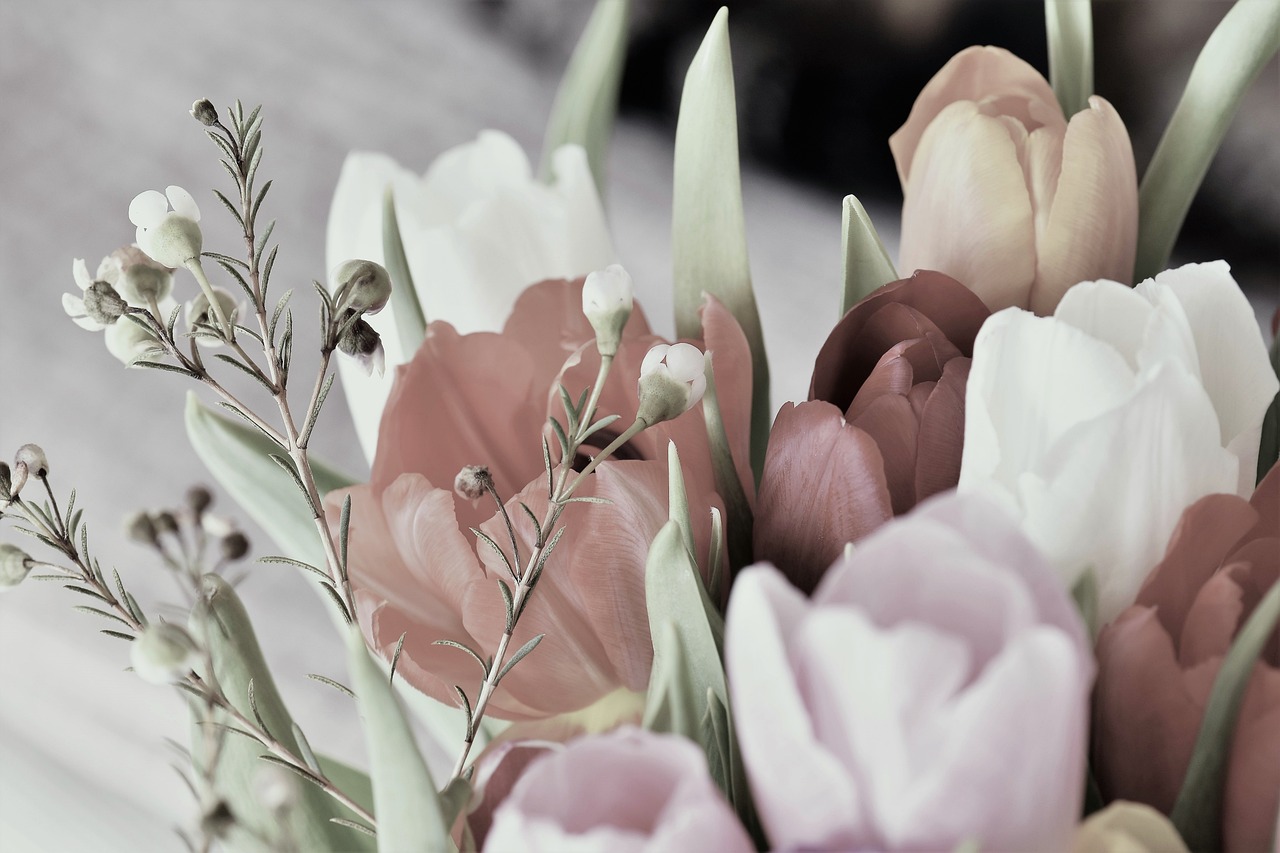
When it comes to creating a stunning flower bouquet, the magic often lies in the details, and that's where filler flowers and greenery come into play. These elements not only enhance the visual appeal of your arrangement but also add depth and texture, making your bouquet look more dynamic and full. Think of your bouquet as a beautiful painting; the flowers are the main subject, while the fillers and greenery are the brush strokes that bring the entire piece to life.
First, let’s dive into what filler flowers are. These are smaller blooms that complement the main flowers, filling in the gaps and providing a soft contrast. Some popular choices include baby's breath, statice, and waxflower. They are perfect for softening the overall look of your bouquet while still adding a touch of color and charm. Imagine placing delicate clouds around a vibrant sunset; that's the kind of effect these fillers create.
Next, we have greenery, which serves as the backbone of your bouquet. Greenery can range from lush leaves to slender stems, and it plays a crucial role in creating a balanced look. Some great options include ferns, eucalyptus, and ruscus. Not only do they provide a beautiful contrast to the colorful blooms, but they also help to frame the flowers, guiding the eye and adding structure. Just like a frame enhances a painting, greenery enhances your floral arrangement.
When adding fillers and greenery to your bouquet, consider the following tips:
- Layering: Start by placing your main flowers in the vase, then layer in the fillers and greenery around them. This will create a natural, flowing look.
- Grouping: Cluster similar filler flowers together to create a cohesive look. This technique can help draw attention to specific areas of the bouquet.
- Balancing: Ensure that your fillers and greenery are evenly distributed throughout the bouquet. This balance is essential for achieving a polished and professional appearance.
As you work with fillers and greenery, remember to keep an eye on the overall color palette. You want to create harmony between the flowers and the fillers, ensuring that they complement rather than compete with each other. For instance, if your main flowers are bright and bold, opt for softer, more muted fillers to create contrast without overwhelming the arrangement.
Lastly, don’t be afraid to experiment! The beauty of floral arrangements is that they can be as unique as you are. Try mixing different types of greenery or combining various filler flowers to see what works best for your style. Just like a chef experimenting with flavors, you might discover a combination that surprises you and elevates your bouquet to new heights!
Q: How do I choose the right filler flowers for my bouquet?
A: Consider the color and size of your main flowers. Choose fillers that complement these elements. For instance, if you have large, bold flowers, opt for smaller, delicate fillers to create balance.
Q: Can I use any type of greenery in my bouquet?
A: While you can use various types of greenery, it's best to choose those that are fresh and have a good structure. Popular choices include eucalyptus, ferns, and ruscus, which add texture and dimension.
Q: How much filler and greenery should I use?
A: There’s no strict rule, but a good guideline is to use about one-third filler and greenery to two-thirds main flowers. This ratio helps maintain balance and visual interest in your bouquet.

Maintaining Your Bouquet
To ensure your bouquet lasts and continues to bring joy to your space, proper care is essential. Think of your flowers as living art; just like any masterpiece, they need a little TLC to keep looking their best. Start with the basics: water is your bouquet's best friend. Make sure to fill your vase with fresh, clean water. It's important to change the water every couple of days—this helps to prevent bacteria from building up and keeps your flowers hydrated. You wouldn’t want to drink stale water, right? Neither do your flowers!
Another key aspect of maintenance is trimming the stems. Every few days, take a pair of sharp scissors or garden shears and cut about an inch off the bottom of each stem at a diagonal angle. This increases the surface area for water absorption, allowing your flowers to drink up more effectively. Plus, it looks neat and tidy! Just imagine how refreshing it feels to drink from a clean glass versus one with a funky residue—your flowers feel the same way.
Temperature also plays a significant role in maintaining your bouquet. Keep your flowers away from direct sunlight, heat sources, and drafts. A cool, shaded spot is ideal. If you think about it, flowers are like us; they prefer a comfortable environment. If you’re feeling hot and bothered, so are they!
Lastly, don't forget to remove any wilted or browning leaves and petals. This not only keeps your bouquet looking fresh but also helps to prevent the spread of decay to the healthy parts of the arrangement. Just like decluttering your home, removing the old helps the new to shine brighter!
- How often should I change the water in my bouquet? Change the water every 2-3 days for optimal freshness.
- Can I use tap water for my flowers? Yes, but make sure it’s clean and free of chemicals. Adding a floral preservative can help!
- What temperature is best for my bouquet? Keep your bouquet in a cool place, away from direct sunlight and heat.
- Should I remove leaves that are submerged in water? Absolutely! This helps prevent bacterial growth.
Common Mistakes to Avoid
Creating a stunning flower bouquet can be a delightful experience, but it’s easy to fall into some common traps that can ruin your hard work. One of the most frequent mistakes is overcrowding the bouquet. While it might be tempting to use every flower you love, less is often more. A bouquet that is too dense can look chaotic rather than harmonious. Aim for balance; allow each flower to shine by giving it space to breathe.
Another common pitfall is neglecting to consider flower compatibility. Not all flowers play well together; some may wilt faster than others or clash in color and texture. Always check which flowers have similar care needs and can complement each other visually. For instance, pairing delicate peonies with sturdy sunflowers may not yield the best results. Instead, consider using flowers that share similar water and light requirements, such as roses and lilies, which can create a more cohesive look.
Moreover, many beginners forget about the importance of greenery. Greenery is not just filler; it adds depth and texture to your arrangement. Skipping this step can make your bouquet appear flat and uninteresting. Incorporate a variety of greens, such as ferns or eucalyptus, to enhance your bouquet’s overall appeal. Remember, the right greenery can act as a frame for your flowers, highlighting their beauty.
Additionally, be cautious with your cutting techniques. A common mistake is cutting stems too short or at the wrong angle. Always cut stems at a 45-degree angle to maximize water absorption and ensure they are long enough to fit comfortably in your vase. This simple tip can significantly impact the longevity of your bouquet. Also, make sure to remove any leaves that will sit below the waterline to prevent bacterial growth, which can shorten the life of your flowers.
Lastly, don’t overlook the water quality. Using tap water can sometimes introduce chemicals that harm your flowers. Instead, consider using filtered or distilled water, and remember to change the water every few days. This small step can keep your bouquet looking fresh and vibrant for a longer time.
Q: How often should I change the water in my bouquet?
A: It’s best to change the water every 2-3 days to keep your flowers fresh and healthy.
Q: Can I use any type of vase for my bouquet?
A: While you can use various vases, ensure they are clean and appropriate for the size of your bouquet. A too-small vase can restrict your arrangement, while a too-large one may cause it to look sparse.
Q: How can I make my bouquet last longer?
A: Besides changing the water regularly, keep your bouquet in a cool place away from direct sunlight and heat sources. Also, consider adding flower food to the water for extra nourishment.
Q: Is it okay to mix different flower types?
A: Yes, mixing different flower types can create a beautiful arrangement, but be mindful of their care needs and compatibility to ensure they all thrive together.
Creative Variations
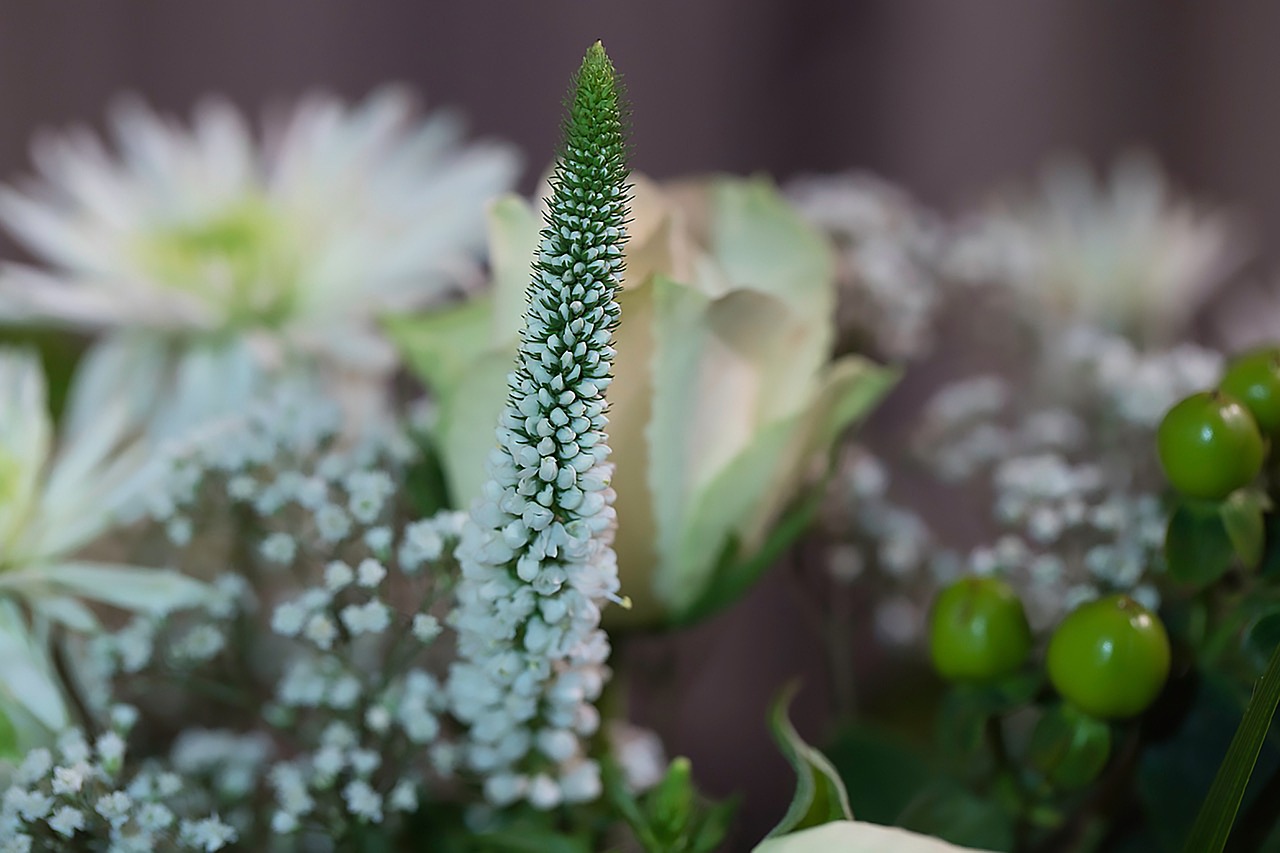
Once you've mastered the basics of flower arranging, it's time to let your creativity blossom! There are countless ways to put your personal touch on a bouquet, transforming a simple arrangement into a stunning centerpiece that reflects your unique style. Think of your bouquet as a blank canvas, and the flowers as your palette. You can mix and match various colors, shapes, and textures to create something truly special. For instance, consider using monochromatic schemes for a sophisticated look, or go for a vibrant mix of contrasting colors to make a bold statement.
Another exciting variation is to explore different themes. You could create a rustic bouquet using wildflowers and twine, giving it a charming, countryside feel. Alternatively, a modern arrangement might feature sleek, geometric lines with a limited color palette for an elegant touch. Don't forget about the seasons! Incorporating seasonal blooms not only enhances the bouquet's freshness but also connects it to the time of year, making it even more special.
Texture plays a significant role in bouquet design as well. Mixing various flower types—like the velvety petals of roses with the delicate fronds of ferns—adds depth and interest. You can also incorporate unique elements like berries, succulents, or even feathers to give your arrangement a distinctive flair. If you're feeling adventurous, try adding unexpected elements such as fruits or vegetables for a fun twist that can serve as a conversation starter!
When it comes to color combinations, consider using a color wheel as your guide. Complementary colors (those opposite each other on the wheel) can create a striking contrast, while analogous colors (those next to each other) offer a more harmonious look. For example:
| Color Scheme | Example Flowers |
|---|---|
| Complementary | Orange Roses & Blue Delphiniums |
| Analogous | Pink Peonies, Coral Tulips & Lavender |
Ultimately, the key to creating stunning variations lies in your willingness to experiment. Don't be afraid to step outside your comfort zone! Play with different arrangements, colors, and textures until you find what resonates with you. Remember, the beauty of floral design is that there are no hard and fast rules—only guidelines to inspire your creativity. So grab your flowers, unleash your imagination, and let your bouquets tell your story!
Q: How do I choose the right flowers for my bouquet?
A: Consider the season, your color palette, and the occasion. Seasonal flowers tend to be fresher and more affordable, while color palettes can help create a cohesive look.
Q: What are some common mistakes to avoid when arranging flowers?
A: Avoid overcrowding your bouquet, which can make it look chaotic. Also, ensure you have a good balance of colors and shapes for a visually appealing arrangement.
Q: How can I make my bouquet last longer?
A: Keep the stems submerged in water, change the water every few days, and trim the stems at an angle to allow for better water absorption.
Q: Can I use non-floral elements in my bouquet?
A: Absolutely! Incorporating elements like greenery, berries, or even decorative items can add texture and uniqueness to your arrangement.
Frequently Asked Questions
- What flowers are best for beginners?
For those just starting out, it's best to choose hardy flowers that are easy to work with. Consider using roses, carnations, or sunflowers. These blooms are not only forgiving but also come in various colors, making them perfect for creating stunning arrangements.
- How do I choose a color palette for my bouquet?
Choosing a color palette can be as simple as picking your favorite colors! A good rule of thumb is to stick with three main colors and use shades or tints of those colors to add depth. You can also look to nature for inspiration—think of a sunset or a vibrant garden!
- What tools do I need for flower arranging?
Essential tools for flower arranging include sharp scissors or a floral knife, a vase, and floral tape or wire for structure. Having a bucket of water nearby is also helpful for keeping your flowers hydrated while you work.
- How can I make my bouquet last longer?
To extend the life of your bouquet, make sure to change the water every few days and trim the stems at an angle. Removing any wilted leaves or flowers will also help keep your arrangement fresh and vibrant!
- What are common mistakes to avoid when arranging flowers?
Common pitfalls include overcrowding your bouquet and not considering the height of your flowers. Make sure to balance the arrangement and leave some space for air circulation. Also, avoid using flowers that wilt quickly with sturdier blooms to maintain a beautiful look.
- Can I use greenery in my bouquet?
Absolutely! Greenery adds texture and depth to your arrangement. Consider using ferns, eucalyptus, or ivy for a lush, full look. Just remember to balance the greenery with your focal flowers to keep everything harmonious.
- What creative variations can I try for my bouquets?
Once you’ve mastered the basics, let your creativity flow! Experiment with themes like rustic, bohemian, or even seasonal styles. Mixing different textures, colors, and flower types can lead to stunning results that reflect your personal style.


