Make It Personal: DIY Memory Box Craft Ideas for Kids
Have you ever thought about how quickly childhood memories can fade away? One moment, your little one is giggling at a birthday party, and the next, they're off to school, leaving those precious moments behind. That's where the magic of a DIY memory box comes in! It’s not just a craft; it’s a treasure chest of memories waiting to be filled. Imagine your child crafting their very own box, a personal sanctuary where they can store everything from birthday cards to tiny trinkets that hold a world of meaning. This project not only sparks creativity but also teaches kids the importance of cherishing their experiences. So, let’s dive into some creative and engaging DIY memory box projects that will inspire your children to preserve their cherished memories while enhancing their crafting skills.
Before the fun decorating begins, selecting the perfect box is crucial for a DIY memory project. Think about it like choosing the right canvas for a masterpiece! You want something that resonates with your child's personality and intended use. Here are some aspects to consider:
- Materials: Whether it's wood, cardboard, or a decorative tin, the material can influence how the box feels and lasts.
- Sizes: A larger box might be great for storing bigger items, while a smaller one could be perfect for tiny keepsakes.
- Designs: Look for boxes that come in fun shapes or colors that your child loves. This adds an extra layer of excitement!
By involving your child in the selection process, you not only enhance their interest in the craft but also ensure that the box becomes a true reflection of their personality.
Once the box is chosen, it’s time to unleash creativity! Decorating techniques can turn a simple box into a stunning work of art. From painting and decoupage to using stickers and embellishments, the possibilities are endless. Here are some ideas:
Painting is a fun way to customize a memory box. Encourage your child to explore different color combinations and techniques. Think about using bright colors for a cheerful vibe or softer pastels for a more serene feel. The best part? Each brushstroke can reflect their unique style, making the box a true representation of who they are!
Stencils and templates can help kids achieve precise designs. They can create patterns or shapes that add a professional touch to their masterpiece. Just imagine a box adorned with stars, hearts, or even their favorite cartoon characters! Discover how to use them effectively by placing the stencil firmly and applying paint with a sponge for a clean finish.
Incorporating mixed media elements adds depth and interest to the memory box. Think of combining various materials like fabric, paper, and natural elements for a textured finish. For instance, adding a piece of soft fabric can make the box feel cozy, while dried flowers can bring a touch of nature inside. This is where the box truly becomes a personal expression!
Adding personal touches makes the memory box more meaningful. Encourage your child to include photographs, notes, and mementos that tell their unique story. You could even create a special section for their favorite drawings or a letter to their future self. This is not just a box; it’s a time capsule of their childhood that they can look back on with joy.
Proper organization within the memory box ensures easy access to cherished items. After all, what’s the point of having a treasure chest if it’s a jumbled mess? Discover tips for categorizing and arranging contents for a tidy and appealing presentation. For example, you could use small envelopes or dividers to separate different types of memories.
Labeling items inside the box helps children remember the significance of each piece. You can use colorful markers or stickers to create fun labels. This not only adds a decorative touch but also makes it easier for kids to find what they’re looking for. Think of it as creating a mini museum of their life!
Themed memory boxes can enhance the crafting experience. Explore ideas for creating boxes centered around special events, hobbies, or milestones that resonate with children. For instance, a “Vacation Memories” box could hold postcards, ticket stubs, and photos from family trips. This makes the crafting process even more exciting as kids get to relive those special moments while they create!
Q: What materials do I need to create a memory box?
A: You can use various materials such as cardboard, wood, or decorative tins. Additionally, gather paints, stickers, fabric, and any personal items you want to include.
Q: How can I help my child organize their memory box?
A: Use small containers or envelopes to categorize items. Label each section to make it easy for them to find specific memories.
Q: What should we include in the memory box?
A: Encourage your child to include photographs, drawings, notes, and small mementos that hold significance to them.
Choosing the Right Box
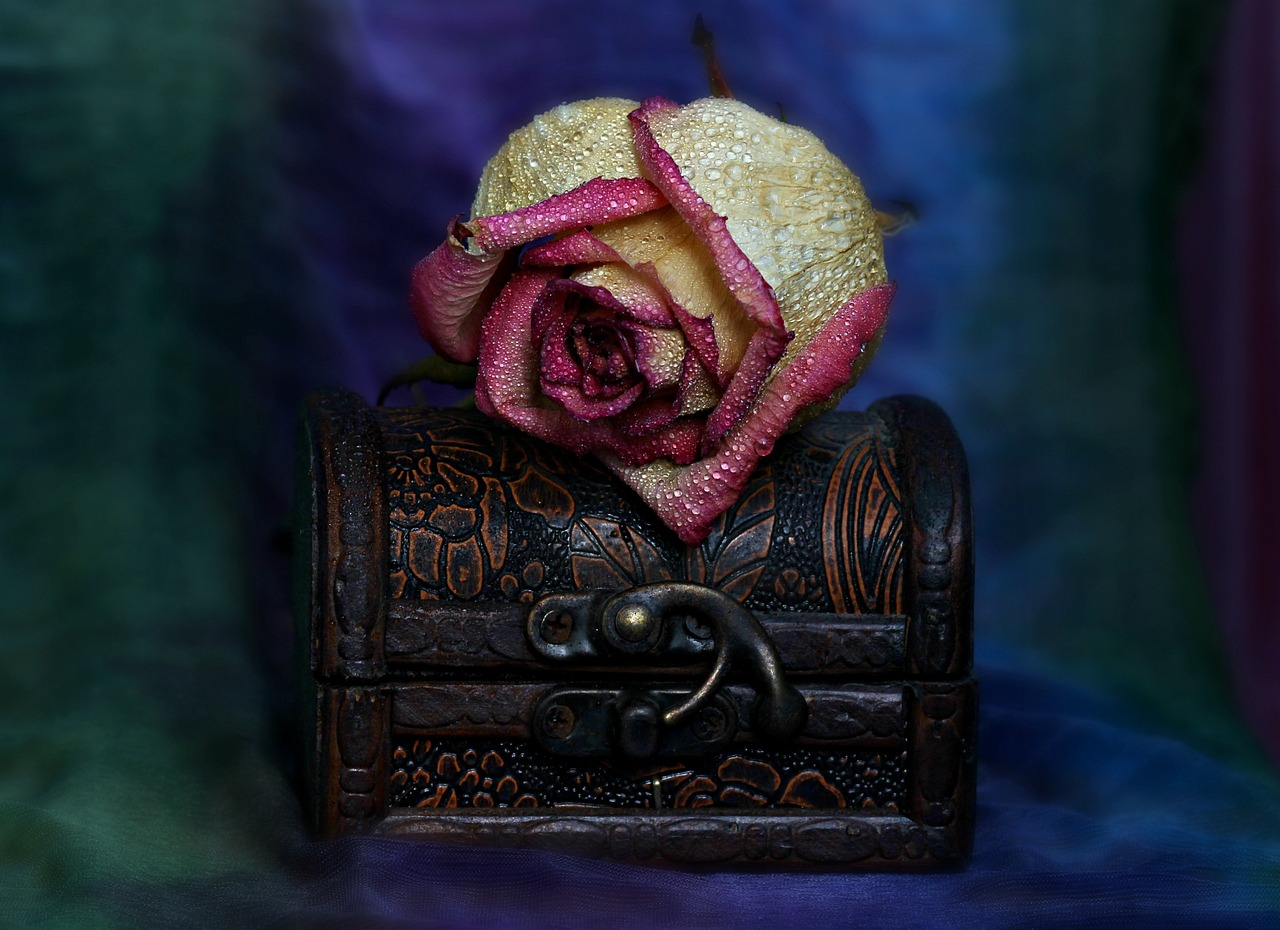
When it comes to creating a DIY memory box, the first step is . This decision is crucial because the box will not only serve as a storage space for precious memories but will also be a canvas for your child's creativity. Think about the materials, sizes, and designs that resonate with your child's personality and the purpose of the box. For instance, if your child loves nature, a wooden box might be the perfect choice, while a colorful, plastic box could be ideal for a child who enjoys vibrant colors and patterns.
Here are some factors to consider when selecting the perfect box:
- Material: Boxes can be made from various materials such as wood, cardboard, plastic, or metal. Each material has its own charm and durability. Wooden boxes offer a rustic feel, while plastic ones are lightweight and colorful.
- Size: Think about how much your child wants to store. A smaller box might be suitable for a few special items, while a larger box can accommodate more mementos, like drawings, photos, and other treasures.
- Design: The design should reflect your child's interests. Whether it's a box with a whimsical pattern or a sleek, modern look, the right design can inspire your child to fill it with their favorite memories.
Additionally, consider involving your child in the selection process. Ask them what they envision for their memory box. This not only makes the project more personal but also boosts their enthusiasm for crafting. You might even discover that they have a specific theme in mind, such as a box dedicated to their favorite hobbies, travels, or family moments. By letting them choose, you’re fostering their creativity and ensuring that the memory box becomes a cherished item.
In summary, the right box sets the foundation for a successful DIY memory project. By thoughtfully selecting the material, size, and design that reflect your child's personality, you’re not just creating a storage solution but also a cherished keepsake that will hold their memories for years to come.
Decorating Techniques
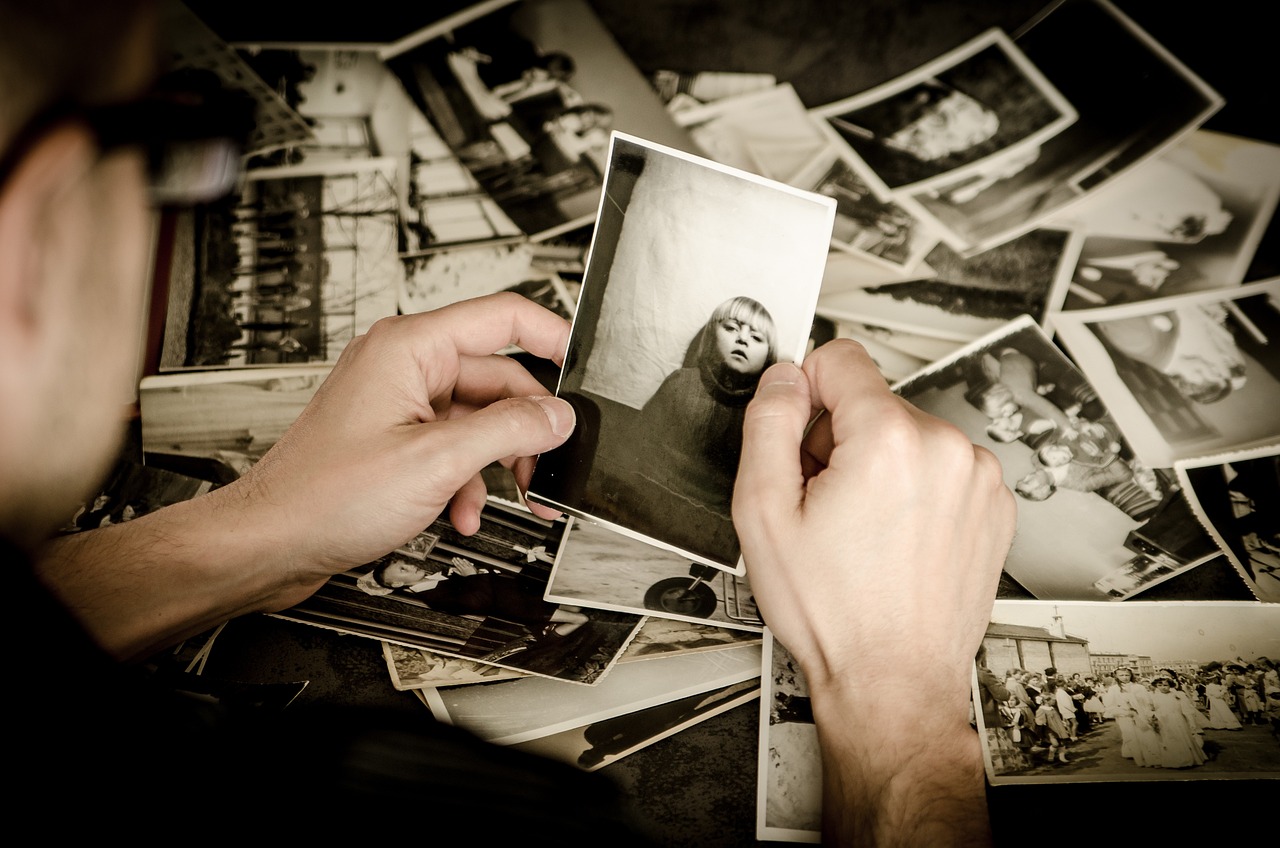
When it comes to decorating a memory box, the sky's the limit! This is where your child's imagination can truly run wild, transforming a simple box into a treasure trove of memories. There are countless techniques that kids can use to personalize their boxes, ensuring each one is as unique as the memories it holds. From painting to collage, the options are endless, and each method offers a different way to express creativity.
One of the most popular methods is painting. This technique allows children to choose their favorite colors and create designs that resonate with their personality. Imagine a box splashed with bright colors, swirling patterns, or even a serene landscape—each stroke tells a story! Kids can experiment with different painting techniques, such as sponging, splattering, or even finger painting, which adds a playful dimension to their creation.
For those who might feel a bit intimidated by freehand painting, using stencils and templates can be a game-changer. These tools help achieve precise designs and can make the decorating process easier and more enjoyable. Kids can choose from a variety of shapes, letters, and patterns, allowing them to create a polished look. For example, they might use stencils to write their name or decorate the box with fun shapes like stars, hearts, or animals.
To take the creativity up a notch, consider incorporating mixed media elements. This technique adds depth and interest to the memory box. Kids can combine various materials such as fabric, paper, and even natural elements like leaves or twigs. The result is a textured finish that is visually stunning and tactile. Imagine a box adorned with a patch of soft fabric, a few pressed flowers, and some colorful paper cutouts—it's a feast for the senses!
In addition to these techniques, kids can also experiment with embellishments. Think of using stickers, ribbons, buttons, or even glitter to add that extra sparkle. These little details can make a big difference, turning an ordinary box into a magical keepsake. The beauty of decorating memory boxes lies in the freedom to mix and match techniques, creating something that truly represents their unique story.
So, whether your child prefers to paint, use stencils, or dive into mixed media, the key is to have fun and let their creativity shine. Each decorated memory box will not only serve as a beautiful storage solution for their treasured items but also as a reflection of their personality and an artistic expression of their memories.
Q: What materials do I need to get started with decorating a memory box?
A: You'll need a plain box (wood, cardboard, or plastic), paints, brushes, stencils, glue, and any embellishments like stickers or fabric scraps. The more materials, the better!
Q: Can I use recycled materials for decorating?
A: Absolutely! Recycled materials like old magazines, fabric scraps, and even buttons can add a unique touch to the memory box while being eco-friendly.
Q: How can I encourage my child to be creative while decorating?
A: Provide them with a variety of materials and techniques, and let them take the lead. Encourage experimentation and remind them that there’s no right or wrong way to create.
Q: What are some good themes for memory boxes?
A: Themes can range from birthdays, vacations, and school memories to hobbies and favorite animals. Let your child's interests guide the theme!
Painting Your Memory Box
When it comes to customizing a memory box, painting is one of the most enjoyable and creative methods available. It’s not just about slapping on a coat of paint; it’s an opportunity for your child to express their individuality and style. Imagine your little artist standing in front of a blank canvas, ready to transform a simple box into a masterpiece that reflects their personality! The beauty of painting is that it allows for endless possibilities. From vibrant, bold colors to soft pastels, the choice is entirely in their hands.
Before diving into the painting process, consider the color combinations that resonate with your child. Are they drawn to bright, energetic colors, or do they prefer soothing, muted tones? A quick brainstorming session can help narrow down the options. For instance, you might explore themes such as:
- Nature-Inspired: Greens, browns, and blues for a calming effect.
- Rainbow Delight: A mix of bright and cheerful colors that pop.
- Monochrome Magic: Shades of a single color for a chic look.
Once the colors are chosen, it’s time to get creative! Encourage your child to think about different painting techniques that can add personality to their memory box. Here are a few fun methods to consider:
- Sponging: Using a sponge to dab paint creates a unique texture.
- Brushing: Traditional brush techniques can yield both smooth and textured finishes.
- Splattering: For a playful touch, splatter paint for an abstract look!
But wait, there’s more! If your child is feeling adventurous, they can also incorporate stencils and templates into their painting project. Stencils allow for precise designs and can be used to create patterns or shapes that might be tricky to freehand. Simply place the stencil on the box and use a brush or sponge to add color within the cut-out areas. This technique can elevate the visual appeal of the memory box significantly, making it a true reflection of your child’s creativity.
Don’t forget about the importance of finishing touches! Once the painting is complete, consider adding a sealant to protect the artwork. A clear acrylic spray can help preserve the paint and keep the box looking fresh and vibrant for years to come. This step is crucial, especially if the box will be handled frequently or stored in a place where it might be exposed to moisture.
Painting a memory box is not just a craft; it’s a journey of self-expression that your child will cherish. The colors, the techniques, and the personal touches all come together to create something truly special. So gather those brushes, unleash the colors, and let your child’s imagination run wild!
Q1: What type of paint is best for memory boxes?
A1: Acrylic paint is a popular choice as it dries quickly, is easy to clean up, and offers vibrant colors. Ensure to use non-toxic options for safety.
Q2: Can I use wood stains instead of paint?
A2: Absolutely! Wood stains can enhance the natural beauty of the box while providing a different aesthetic. Just be sure to choose a stain that is safe for children.
Q3: How can I add designs after painting?
A3: You can use markers, stickers, or even decoupage techniques to add additional designs after the paint has dried.
Q4: Is it necessary to seal the paint?
A4: While not mandatory, sealing the paint helps protect it from wear and tear, especially if the box will be frequently used.
Using Stencils and Templates
When it comes to personalizing a memory box, stencils and templates are like the secret sauce that can take your child's creativity to the next level. Imagine your little one, armed with a paintbrush and a stencil, transforming a plain box into a vibrant masterpiece that reflects their unique personality! Using stencils allows kids to create precise designs without the pressure of freehand painting, making the process not only easier but also a whole lot of fun.
To get started, gather a variety of stencils that resonate with your child's interests. Whether it's animals, stars, flowers, or even their favorite cartoon characters, having a selection on hand can spark their imagination. Templates can also be incredibly useful. They can serve as guides for cutting out shapes from colored paper or fabric, which can then be glued onto the memory box for added flair.
Here's how you can effectively use stencils and templates:
- Choose the Right Materials: Opt for sturdy, reusable stencils. Plastic or thick cardstock stencils are great as they can withstand multiple uses. For templates, consider using cardboard for durability.
- Secure the Stencil: Before applying paint, make sure to secure the stencil to the box using painter's tape. This prevents any slipping, ensuring clean lines and sharp designs.
- Experiment with Techniques: Encourage your child to experiment with different techniques. They can use sponges, brushes, or even spray paint for a unique look. Each method will yield different textures and finishes.
As your child paints, remind them to be patient and allow each layer to dry before adding more details. This is where their creativity can truly shine! They can mix colors, layer designs, or even incorporate glitter for a touch of sparkle. The beauty of using stencils is that it provides a framework for creativity while still allowing for personal expression. It’s like having a coloring book, but instead of paper, they’re creating something they can treasure forever.
Another fun idea is to create a stencil template book where your child can store their favorite designs. This not only keeps things organized but also allows them to revisit their favorite patterns whenever they want. Plus, it encourages them to think ahead about how they want to decorate future memory boxes!
Incorporating stencils and templates into the memory box crafting process is a fantastic way to boost your child's confidence and skills. By the end of the project, they'll have not just a beautifully decorated box, but also a sense of accomplishment and pride in their work. So gather those supplies, unleash the creativity, and let the magic of stencils and templates transform your DIY memory box into a cherished keepsake!

Adding Texture with Mixed Media
When it comes to crafting a memory box that truly stands out, can transform an ordinary project into something extraordinary. Imagine opening a box that not only holds memories but also invites you to touch and explore its surface. This is where mixed media comes into play, allowing your child to experiment with various materials and techniques to create a unique tactile experience.
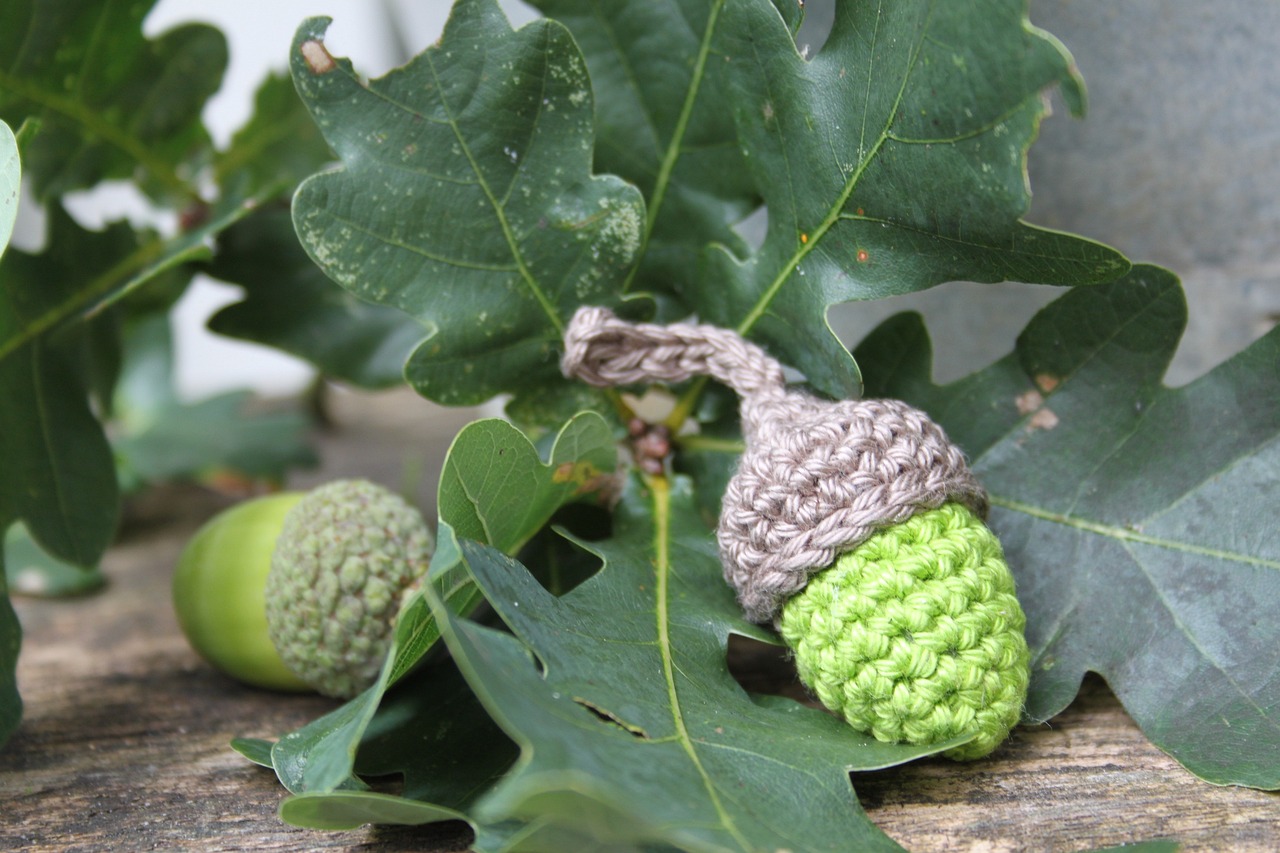
To begin, gather an assortment of materials that can add depth and interest to the memory box. Consider using items like fabric scraps, ribbons, buttons, and even natural elements such as twigs or leaves. Each of these components can contribute to a rich, layered look that tells a story beyond just the items inside. For instance, a piece of fabric from an old shirt can evoke memories of a favorite family event, while a leaf collected from a special park visit can add a touch of nature.
Next, think about how to combine these materials effectively. One popular method is to use collage techniques. This involves layering different items onto the surface of the box, creating a visual feast that draws the eye. Encourage your child to experiment with different arrangements before committing to a final design. They might find that a cluster of buttons looks fantastic next to a swatch of colorful fabric, or that a few pressed flowers can bring a lovely organic feel to their creation.
Another exciting way to add texture is through 3D elements. Consider using small objects like shells, beads, or even miniature toys that hold significance to your child. These can be glued onto the box in a way that not only enhances its appearance but also makes it feel more personal. The beauty of mixed media is that there are no strict rules; it’s all about what resonates with your child and their memories.
Finally, don’t forget about the power of paint! A splash of color can tie all the elements together beautifully. Encourage your child to use paint to create backgrounds or to highlight certain areas of their design. For example, a bright wash of color behind a collage can make the textures pop, while a subtle hue can provide a calming backdrop for more vibrant elements. Mixing paint with other materials, like sand or glitter, can also create interesting textures that will make the memory box truly unique.
In summary, adding texture with mixed media is all about exploration and creativity. It allows children to express themselves in ways that are both fun and meaningful. So, gather those materials, let your imagination run wild, and watch as your child creates a memory box that is not only a treasure chest of memories but also a stunning piece of art!
- What materials are best for mixed media projects?
Common materials include fabric, paper, buttons, natural elements, and various types of paint. The key is to use items that resonate with the memories you want to preserve.
- Can I use recycled materials?
Absolutely! Recycled materials can add character and uniqueness to your memory box. Think about using old magazines, wrapping paper, or even packaging materials.
- How do I ensure the items stick well?
Using a strong adhesive like mod podge or hot glue will help secure your mixed media elements. Make sure to allow adequate drying time for the best results.
Incorporating Personal Touches
When it comes to crafting a memory box, the magic truly happens when you start to incorporate personal touches. This is where the box transforms from a simple container into a treasure trove of memories, reflecting your child's unique personality and experiences. Think about it: a memory box filled with generic items can feel bland, but one adorned with personal mementos tells a story that is rich and vibrant. So, how can you make it special? Let's dive into some creative ideas!
First and foremost, consider adding photographs. These snapshots of moments frozen in time are perfect for capturing memories. Encourage your child to select their favorite pictures—perhaps a family vacation, a birthday party, or a day at the park. They can either glue these photos directly onto the box or place them inside, creating a visual timeline of their cherished experiences. To make it even more engaging, you can create a mini scrapbook inside the box that includes not just photos but also captions or fun facts about each moment.
Next up, think about including handwritten notes. These could be letters to their future selves, little reminders of what they love at the moment, or even doodles that represent their current interests. For instance, if your child is passionate about dinosaurs, a little note that says, "I love dinosaurs because they are huge and cool!" adds a personal flair that can spark joy every time they open the box. You could even make it a tradition to write a new note every year, capturing the evolution of their thoughts and feelings.
Another fantastic way to personalize the memory box is by adding mementos from special events. Did they attend a concert, a school play, or a family reunion? Collect items like ticket stubs, programs, or even small souvenirs that represent those experiences. Not only do these items evoke memories, but they also serve as conversation starters, allowing your child to share stories with friends and family. Combine these items with a little creativity—perhaps a decorative envelope or a small pouch inside the box to keep them safe.
Lastly, let’s not forget about the power of artistic expression. Encourage your child to decorate the inside of the box with drawings or collages that represent their interests and passions. This could be a collage of their favorite superheroes, animals, or even a dream board that showcases their aspirations. These artistic touches not only make the memory box visually appealing but also allow your child to express themselves in a way that is uniquely theirs.
Incorporating personal touches into a memory box is not just about storing items; it's about creating a legacy of memories that your child can look back on with fondness. It becomes a canvas for their life experiences, a reflection of who they are, and a way to celebrate their journey. So grab those photos, notes, and mementos, and let the crafting adventure begin!
Q: What materials do I need to start a memory box?
A: You will need a sturdy box (wooden, cardboard, or plastic), decorative supplies like paints, stickers, and glue, as well as personal items such as photos, notes, and mementos.
Q: How can I help my child choose what to put in the memory box?
A: Encourage them to think about significant events, favorite hobbies, and memorable moments. Discuss the importance of each item and how it reflects their personality.
Q: Can I use digital photos in the memory box?
A: Absolutely! You can print digital photos or create a digital scrapbook that can be stored in the box.
Q: How often should we update the memory box?
A: It’s a great idea to make it a yearly tradition! Every year, sit down together and add new memories, allowing your child to reflect on their growth and changes.
Organizing the Contents
When it comes to creating a DIY memory box, organization is key! Imagine opening a treasure chest filled with your child's most precious memories, only to find chaos inside. To avoid this scenario, it's essential to think about how to best arrange the contents of the box. A well-organized memory box not only looks appealing but also makes it easier for kids to locate their favorite items. Start by encouraging your child to think about the types of items they want to include. This could range from photographs, drawings, and letters to small souvenirs from trips or events. By categorizing these items, you can create a system that works for both you and your child.
One effective way to organize the contents is by using small containers or dividers within the box. These can be made from recycled materials, such as old cardboard boxes or plastic containers, which can be decorated to match the memory box's theme. For instance, you could use small jars for storing tiny trinkets or envelopes for letters and notes. By designating specific areas for different categories, you can help your child develop a sense of order and responsibility towards their memories.
Additionally, consider the emotional significance of each item. Some pieces may hold more value than others, and it’s a great idea to create a special section for those treasures. This could be a small compartment within the box that is reserved for the most cherished items, allowing your child to easily access their favorites without having to sift through everything else. By doing this, you're not just organizing; you're also teaching your child the importance of valuing their memories.
Another tip is to incorporate a labeling system. Labeling can be done in a fun and creative way, using colorful stickers or hand-drawn tags. For example, if your child has a collection of postcards from various places, they can label each postcard with the location and date. This not only adds a personal touch but also helps them remember the story behind each item. A simple labeling system could look something like this:
| Item | Label | Significance |
|---|---|---|
| Postcard from Grandma | Grandma's House - 2022 | Summer vacation memories |
| Birthday Card | 8th Birthday - 2023 | Special wishes from friends |
| Shell from the Beach | Beach Day - 2023 | Family outing |
Finally, it’s important to encourage your child to revisit their memory box regularly. This will not only help them stay connected to their past experiences but also allow them to update and rearrange the contents as they grow. They might want to add new memories or even remove items that no longer hold significance. By fostering this habit, you're helping them develop a lifelong appreciation for their memories while also reinforcing organizational skills.
Q: How can I encourage my child to keep their memory box organized?
A: Make it a fun activity! Set aside time to go through the box together, and turn it into a game where they can showcase their favorite items. Incorporate labeling and categorizing as part of the fun!
Q: What types of items should we include in the memory box?
A: Encourage your child to include anything that holds personal significance, such as photographs, drawings, letters, ticket stubs, and small souvenirs from trips or events.
Q: How often should we organize the memory box?
A: It’s a good idea to revisit the memory box every few months or during special occasions like birthdays or holidays. This keeps the memories fresh and allows for new additions.

Labeling Items
Labeling items inside a memory box is not just about organization; it’s a way to tell a story. Imagine opening a beautifully decorated box and seeing little notes or tags attached to each item, each one whispering a memory. It’s like a treasure map of your child’s life! When children label their cherished items, they not only remember the significance of each piece but also develop their writing and organizational skills. So, how can we make labeling fun and creative?
First, consider using colorful tags or stickers that match the theme of the memory box. For instance, if the box is dedicated to a summer vacation, bright yellow or ocean blue tags can evoke those sunny beach vibes. You can also encourage your kids to use their own handwriting for a personal touch. After all, nothing says “this is mine” quite like their unique penmanship!
Another engaging method is to create a labeling station where kids can gather materials. Here’s a simple list of supplies you might include:
- Colorful paper or cardstock
- Markers or colored pencils
- Stickers and washi tape
- String or ribbon for hanging tags
With these materials, children can make their labels as artistic as they want! They can draw little pictures, use different fonts, or even collage their labels with cut-out images from magazines. This not only makes the labeling process enjoyable but also allows them to express their artistic flair.
For a more structured approach, you might want to introduce a labeling system. For example, categorize items based on themes such as family, friends, hobbies, or special events. Here’s a simple table to illustrate how you can organize the contents of the memory box:
| Category | Item | Label |
|---|---|---|
| Family | Photo of Family Reunion | “Summer 2023 Family Reunion” |
| Friends | Birthday Card from Best Friend | “From Emma - 10th Birthday” |
| Hobbies | First Place Trophy | “Soccer Tournament Champion - 2022” |
This table not only keeps things organized but also serves as a quick reference for your child. They can easily find their favorite treasures without digging through the box. Plus, it adds a layer of excitement when they can visually see the categories and items at a glance!
Lastly, don't forget to encourage your kids to revisit their memory boxes periodically. As they grow and create new memories, they can update their labels or even create new ones for fresh items. This ongoing engagement helps them cherish their past while looking forward to future adventures.
Creating Themed Boxes
Creating themed memory boxes can be an exciting adventure for kids, allowing them to dive deep into their interests and passions while crafting something truly special. Imagine your child designing a box that encapsulates their favorite hobbies, memorable vacations, or even significant milestones in their lives. Themed boxes not only enhance the crafting experience but also serve as a personalized treasure chest filled with memories that they can look back on fondly.
To kick off the theme creation process, start by brainstorming ideas with your child. Ask them questions like, “What is your favorite vacation memory?” or “Do you have a hobby you love?” This dialogue will spark their imagination and help them choose a theme that resonates deeply with them. Here are some popular themes to consider:
- Adventure Box: Perfect for kids who love exploring the outdoors. Include items like maps, photos from hikes, or souvenirs from trips.
- Sports Box: For the little athlete, this could include memorabilia from their favorite teams, trophies, and photos from games.
- Artistic Box: This theme is ideal for budding artists. Kids can store their artwork, favorite art supplies, and inspirations.
- Birthday Box: Celebrate each year with a box dedicated to birthday memories, including cards, gifts, and photos from their special day.
Once a theme is decided, the next step is to think about how to decorate the box to reflect that theme. For example, if your child chooses an adventure theme, they could paint the box in earthy tones, add stickers of mountains or trees, and even attach a small compass as a decorative piece. This not only makes the box visually appealing but also connects the child emotionally to their crafted item.
Additionally, children can personalize the inside of the box by creating dividers or compartments that categorize their items. For instance, in a sports-themed box, they might want separate sections for different sports or events. This organization not only keeps the box tidy but also makes it easier for them to find and reminisce over their cherished items.
Ultimately, themed memory boxes are a fantastic way to encourage children to express themselves creatively. They learn not only the art of crafting but also the importance of preserving memories. Each time they open their box, they will be reminded of the joy and creativity that went into making it, reinforcing their pride in their personal achievements.
1. What materials do I need to create a themed memory box?
You can use a variety of materials, including cardboard or wooden boxes, paints, stickers, fabric, and any decorative items that fit the theme. The possibilities are endless!
2. Can I use recycled materials for the memory box?
Absolutely! Recycled materials can add a unique touch to the project and teach kids about sustainability.
3. How can I help my child organize the contents of their memory box?
Encourage your child to categorize items by theme, date, or type. Using small containers or dividers can also help keep things organized.
4. What if my child has multiple interests?
No problem! They can create several themed boxes, each dedicated to a different interest or hobby. This way, they can enjoy a variety of memories!
5. Are themed memory boxes suitable for all ages?
Yes! Themed memory boxes can be adapted for any age group, from toddlers to teenagers. It’s all about what resonates with the individual child.
Frequently Asked Questions
- What materials do I need to create a DIY memory box?
To get started on your DIY memory box, you’ll need a sturdy box (like a wooden or cardboard one), paints, brushes, glue, decorative items (stickers, ribbons, etc.), and any personal mementos you want to include. It's all about what resonates with your child's personality!
- How can I help my child choose the right box?
Choosing the right box is all about personal preference! Encourage your child to think about what they want to store inside. Is it photos, small toys, or artwork? A larger box might be better for bigger items, while a small, decorative box could be perfect for tiny treasures.
- What are some fun decorating techniques?
There are countless ways to decorate a memory box! Painting is a classic choice, but using decoupage with their favorite images or stickers can be a blast too. Mixing textures with fabric or natural elements can really make the box pop!
- Can you explain how to use stencils effectively?
Absolutely! Stencils are a great way to achieve clean, precise designs. Simply place the stencil on the box, secure it, and use a sponge or brush to apply paint. This technique allows kids to create professional-looking designs without needing advanced skills.
- What personal touches can I add to the memory box?
Adding personal touches is what makes each memory box unique! Consider including photographs, handwritten notes, or small mementos from special events. These items tell a story and make the box a treasure trove of memories!
- How should I organize the contents of the memory box?
Organization is key for easy access! You can categorize items by type, date, or theme. Using small bags or boxes within the memory box can help keep everything tidy. Plus, it makes for a visually appealing presentation!
- What are some creative labeling methods?
Labeling can be both functional and fun! Use colorful tags or stickers to label items, or even create a mini scrapbook page for each category. This way, your child can easily remember the significance of each piece while adding a decorative touch!
- How can themed memory boxes enhance the crafting experience?
Themed memory boxes are fantastic for focusing creativity! You can create boxes based on hobbies, special events, or even holidays. This not only makes the crafting process more engaging but also helps kids connect emotionally with the contents.


