Creating a DIY Makeup Organizer for Your Vanity
Are you tired of rummaging through endless makeup products scattered across your vanity? Do you dream of a beautifully organized space where you can easily find your favorite lipsticks, eyeshadows, and brushes? If so, you’re in the right place! This article explores how to create a stylish and functional DIY makeup organizer for your vanity. Not only will you enhance your makeup storage solutions, but you’ll also add a personal touch to your decor. Let’s dive into the world of creativity and organization!
Selecting the appropriate materials is crucial for durability and aesthetics. The right materials will not only ensure that your organizer lasts but also enhance the overall look of your vanity. Here are some popular options you might consider:
- Wood: Perfect for a rustic or modern touch, wood can be stained or painted to fit your style.
- Acrylic: Clear acrylic offers a sleek, contemporary feel while allowing you to see your products easily.
- Repurposed Items: Get creative with items you already have at home, like old jars or boxes, to create a unique organizer.
Each material brings its own charm and functionality, so choose the one that resonates with your aesthetic preferences and practical needs.
Inspiration is key when designing your makeup organizer. Whether you lean towards a minimalist design or something more ornate, having a clear vision will help you create a piece that complements your vanity and reflects your personal taste. Let’s explore some exciting design ideas!
Minimalist designs focus on simplicity and functionality. They are perfect for those who appreciate clean lines and a clutter-free environment. By creating sleek organizers, you can maximize space while maintaining an uncluttered look. Imagine a chic acrylic organizer with compartments that neatly hold your makeup brushes and palettes. This style is not only practical but also enhances the modern aesthetics of your vanity.
Clear acrylic organizers provide visibility and elegance. They allow you to showcase your beautiful makeup collection while keeping everything in its place. You can easily find what you need at a glance, which is a huge plus during your busy mornings. Consider stacking several acrylic trays of different sizes to create a tiered look, adding depth and interest to your vanity.
On the other hand, wooden organizers offer warmth and character. A rustic wooden organizer can bring a cozy, inviting feel to your space. You can craft designs that range from simple boxes to intricate multi-tiered structures. Think about staining the wood in a rich hue or painting it in a color that complements your overall decor. The natural texture of wood can create a stunning contrast against your makeup products.
If you love a touch of glamour, ornate designs are the way to go! These organizers often feature decorative elements and intricate details that can elevate the look of your vanity. Imagine an organizer adorned with delicate carvings or embellished with metallic accents. Such designs can transform a simple makeup storage solution into a luxurious statement piece.
Now that you have your materials and design ideas, it’s time to roll up your sleeves and get to work! This section provides a comprehensive guide to assembling your makeup organizer. From cutting materials to adding final touches, we’ll break down each step for a successful DIY project.
Accurate measurements are essential for a perfect fit. Before you start cutting, take the time to plan your design and measure each section carefully. Use a ruler and a pencil to mark where you’ll cut, ensuring that all pieces align seamlessly in your organizer. Remember, “measure twice, cut once” is a rule worth following!
Once you’ve assembled your organizer, it’s time to add those finishing touches that can elevate your creation. Consider painting or staining the wood to match your decor, or adding decorative elements such as handles or stencils. Personalizing your DIY project will make it truly unique and reflect your style.
Q: How much will it cost to make my own makeup organizer?
A: The cost can vary greatly depending on the materials you choose. Repurposed items can be very budget-friendly, while high-quality wood or acrylic might be more expensive. On average, you might spend anywhere from $20 to $100.
Q: Can I customize the size of my organizer?
A: Absolutely! One of the best parts of a DIY project is that you can make it fit your specific needs. Just be sure to measure your vanity space before you start designing.
Q: What if I’m not very crafty?
A: Don’t worry! There are plenty of tutorials available online that can guide you through the process step by step. Just take it slow, and you’ll be surprised at what you can create!
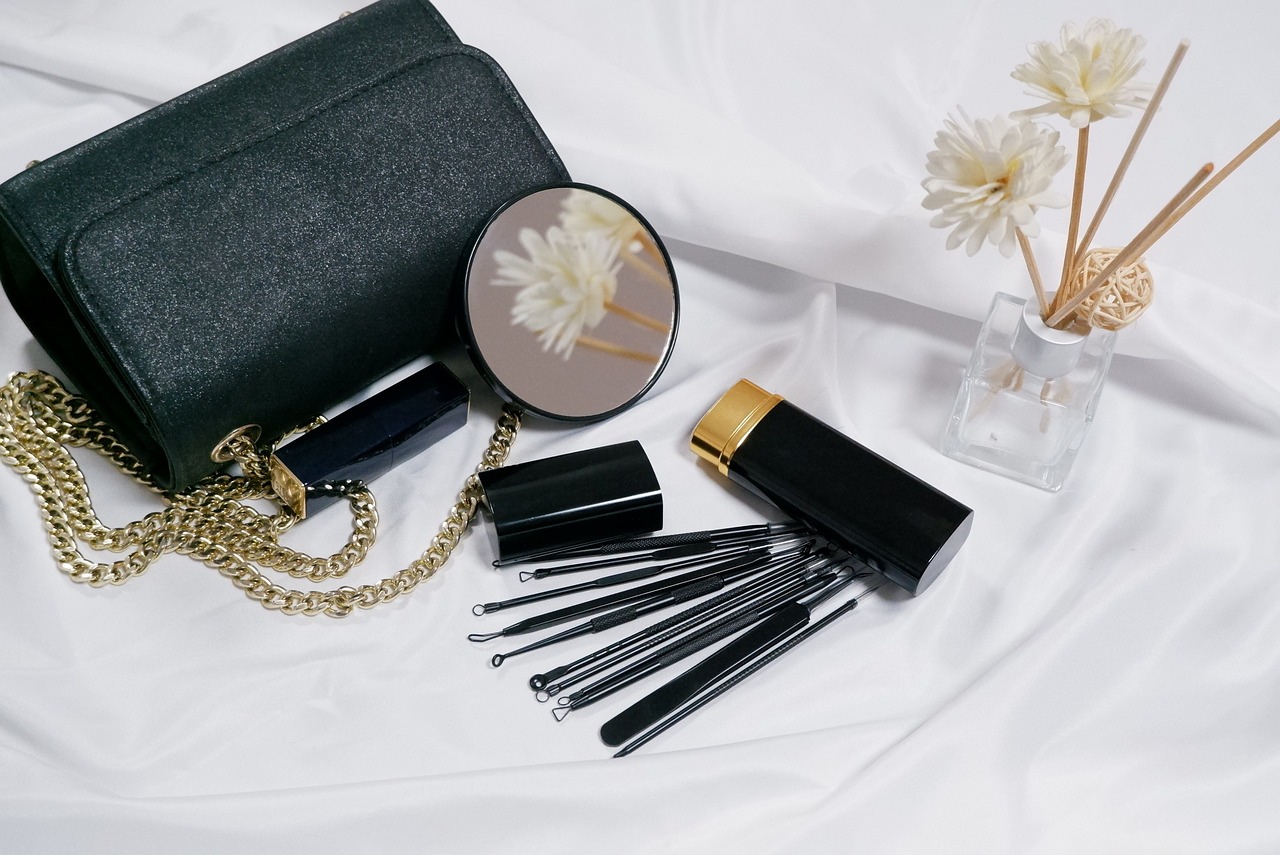
Choosing the Right Materials
When embarking on the journey to create your very own DIY makeup organizer, selecting the right materials is not just a matter of preference; it’s a crucial step that influences both the durability and aesthetics of your finished product. Imagine crafting an organizer that not only looks stunning on your vanity but also stands the test of time. The materials you choose can make all the difference!
Let’s dive into some popular options:
- Wood: This classic material brings warmth and a touch of nature to your space. You can opt for various types of wood, from sturdy pine to luxurious oak. Each type offers a unique grain and finish, allowing you to customize your organizer to fit your style.
- Acrylic: If you’re aiming for a modern, sleek look, acrylic is your best friend. Clear acrylic organizers not only provide visibility but also create an illusion of more space—perfect for those with limited vanity real estate.
- Repurposed Items: Don’t overlook the charm of upcycling! Old wooden crates, tin cans, or even small drawer units can be transformed into stunning organizers with a bit of creativity. This option is not only eco-friendly but also adds a personal touch to your decor.
Each material has its own set of advantages. For instance, wood can be sanded and stained to match your existing furniture, while acrylic can be easily cleaned and is lightweight, making it ideal for movable organizers. However, consider the environmental impact of your choices as well. Opting for sustainably sourced wood or recycled acrylic can enhance the eco-friendliness of your project.
Moreover, think about the functionality of your organizer. Will it hold a plethora of lipsticks, or do you need space for larger palettes? The materials you select should not only be aesthetically pleasing but also serve the practical purpose of keeping your makeup organized and accessible. For example, if you have a large collection of brushes, a wooden organizer with designated slots might be the perfect solution.
In summary, the materials you choose for your DIY makeup organizer will set the tone for your entire project. By carefully considering options like wood, acrylic, and repurposed items, you can create a functional and beautiful storage solution that reflects your personal style. So, gather your materials, unleash your creativity, and let’s move on to the next exciting step in crafting your dream makeup organizer!

Design Ideas for Your Organizer
When it comes to creating a DIY makeup organizer, the design is just as important as the functionality. After all, you want something that not only keeps your makeup in order but also looks fabulous on your vanity. The beauty of designing your own organizer is that you can tailor it to fit your personal style and the space you have available. Whether you lean towards a minimalist aesthetic or prefer something more ornate and glamorous, there are endless possibilities to explore.
Let’s dive into some design ideas that will inspire you to create a stunning makeup organizer. First off, consider the overall theme of your vanity. Are you going for a sleek, modern look, or do you want to evoke a sense of vintage charm? This will guide your choices in materials and shapes.
For those who appreciate the beauty of simplicity, minimalist designs are a fantastic choice. These organizers focus on clean lines and functionality, allowing your makeup to take center stage. Imagine a sleek acrylic organizer that showcases your favorite lipsticks and brushes without the clutter. You can create compartments that fit snugly in your drawers or on your countertop, ensuring everything is easily accessible while maintaining an uncluttered look.
Using clear acrylic not only enhances visibility but also adds a touch of elegance to your space. It’s like having a gallery for your makeup collection! You can easily see what you have, making your morning routine smoother and more enjoyable. Plus, acrylic is durable and easy to clean, making it a practical choice for any beauty enthusiast.
Clear acrylic organizers can be found in various shapes and sizes, allowing you to mix and match to create a custom setup that works for you. You might even consider stacking different pieces to maximize vertical space. For instance, a tall, narrow organizer can hold brushes, while a wider tray can accommodate palettes and compacts. This layering effect not only saves space but also adds visual interest to your vanity.
If you’re drawn to a more rustic or natural aesthetic, wooden organizers are the way to go. They bring warmth and character to your vanity, making your space feel inviting. You can choose from a range of wood types, from light pine to rich walnut, depending on your decor style. Crafting a wooden organizer allows for customization in terms of size and design.
Think about incorporating unique features like drawers or sliding compartments to hide away less attractive items. You could even stain or paint the wood to match your existing furniture, creating a cohesive look. Wooden organizers can be both functional and beautiful, serving as a statement piece on your vanity.
For those who love a bit of flair, ornate designs can transform your makeup organizer into a luxurious accessory. Think intricate carvings, decorative handles, and elegant finishes. These elements can add a touch of glamour to your space, making your makeup routine feel like a pampering experience.
Consider using materials like mirrored surfaces or metallic accents to elevate your organizer’s design. A mirrored organizer can reflect light and create an illusion of space, while gold or silver detailing can add a hint of opulence. The key is to balance these ornate features with practicality, ensuring that your organizer remains functional while looking stunning.
Ultimately, the design of your DIY makeup organizer should reflect your personality and style. Don’t be afraid to experiment with different materials and shapes. Whether you opt for a minimalist acrylic design or an ornate wooden piece, the goal is to create something that not only organizes your makeup but also enhances the overall beauty of your vanity.
- What materials are best for a DIY makeup organizer? It depends on your style! Acrylic is great for a modern look, while wood offers warmth and character.
- How can I ensure my organizer fits my space? Measure your vanity area before starting your project to ensure a perfect fit.
- Can I customize the size of my organizer? Absolutely! One of the benefits of DIY is that you can create custom sizes to fit your needs.

Minimalist Designs
When it comes to creating a DIY makeup organizer, are all about embracing simplicity and functionality. Imagine walking into your vanity space and being greeted by a clean, uncluttered surface that not only looks beautiful but also allows you to find your favorite lipsticks or brushes in a snap. The essence of minimalism is to strip away the excess, focusing on what truly matters—your makeup collection.
To achieve a minimalist look, consider using materials that are sleek and unobtrusive. For example, clear acrylic is a fantastic choice, as it allows you to see your products without the distraction of ornate designs. You can create simple boxes or trays that hold your makeup items neatly, giving your vanity an airy feel. Pairing these acrylic organizers with a white or neutral-toned vanity can enhance the overall aesthetic, creating a harmonious and inviting space.
Another option is to use natural wood for a warm touch. A simple wooden tray with clean lines can hold your essential products while adding a rustic charm to your setup. The beauty of wood is that it can easily blend with various decor styles, from modern to bohemian. You might even consider leaving the wood in its natural state for an organic look or painting it a soft color to match your vanity.
Here are a few key elements to incorporate into your minimalist makeup organizer:
- Functional compartments: Design your organizer with specific sections for different makeup categories, such as lip products, eye shadows, and brushes. This will help keep everything in its place.
- Neutral color palette: Stick to whites, grays, or soft pastels to maintain a calm and soothing atmosphere.
- Clean lines: Avoid intricate patterns or excessive embellishments. Opt for straight edges and simple shapes to keep the focus on your makeup.
Ultimately, the goal of a minimalist design is to create a space that feels both organized and serene. By selecting the right materials and focusing on functionality, you can craft a makeup organizer that not only serves its purpose but also enhances the beauty of your vanity. So, why not embrace the minimalist trend? Your makeup deserves a chic and tidy home!

Using Clear Acrylic
When it comes to creating a makeup organizer that combines style and functionality, clear acrylic is a game-changer. Imagine a sleek, transparent structure that not only showcases your beautiful makeup collection but also keeps everything organized and easily accessible. Clear acrylic organizers are perfect for those who want to maintain a clean and modern aesthetic on their vanity.
One of the best aspects of using clear acrylic is its versatility. You can find acrylic in various shapes and sizes, making it easy to customize your organizer to fit your specific needs. Whether you have a vast array of lipsticks, eyeshadows, or skincare products, acrylic can be molded into compartments that suit your collection perfectly. Plus, the transparency allows you to see everything at a glance, eliminating the frustration of rummaging through drawers to find that one lipstick you love.
To get started with your clear acrylic makeup organizer, consider the following ideas:
- Drawer Inserts: Create custom inserts for your drawers to keep everything neatly separated. This way, you can maximize space while ensuring that each product has its own designated spot.
- Stackable Units: Opt for stackable acrylic containers that can grow with your collection. As your makeup stash expands, you can easily add more layers without taking up too much space on your vanity.
- Display Cases: Use larger acrylic cases to display your favorite products. This not only keeps them organized but also turns your makeup into a beautiful display that enhances your room's decor.
When assembling your acrylic organizer, you’ll want to ensure that all the edges are smooth and the pieces fit together seamlessly. You can use acrylic glue for a strong bond, but make sure to follow the manufacturer's instructions for the best results. Additionally, since acrylic can scratch easily, consider using a soft cloth for cleaning to maintain that crystal-clear finish.
Incorporating clear acrylic into your DIY makeup organizer not only adds a touch of modern elegance but also helps you maintain a tidy space. It’s like having a window into your makeup world, allowing you to admire your collection while keeping everything organized. So, why not elevate your vanity experience with the chic and practical choice of clear acrylic?
Q: Is clear acrylic durable enough for everyday use?
A: Absolutely! Clear acrylic is lightweight yet sturdy, making it an ideal material for daily use. Just be mindful of scratching, and it will serve you well for years to come.
Q: Can I customize the size of my acrylic organizer?
A: Yes! One of the great things about acrylic is that it can be cut and shaped to fit your specific needs. You can purchase sheets of acrylic and create your own designs.
Q: How do I clean my acrylic organizer?
A: Use a soft, lint-free cloth and a gentle cleaner to wipe down your acrylic. Avoid using harsh chemicals or abrasive materials that could scratch the surface.
Q: Where can I find clear acrylic materials?
A: Clear acrylic sheets are available at most craft stores, home improvement stores, and online retailers. You can also find pre-made acrylic organizers in various sizes and styles.
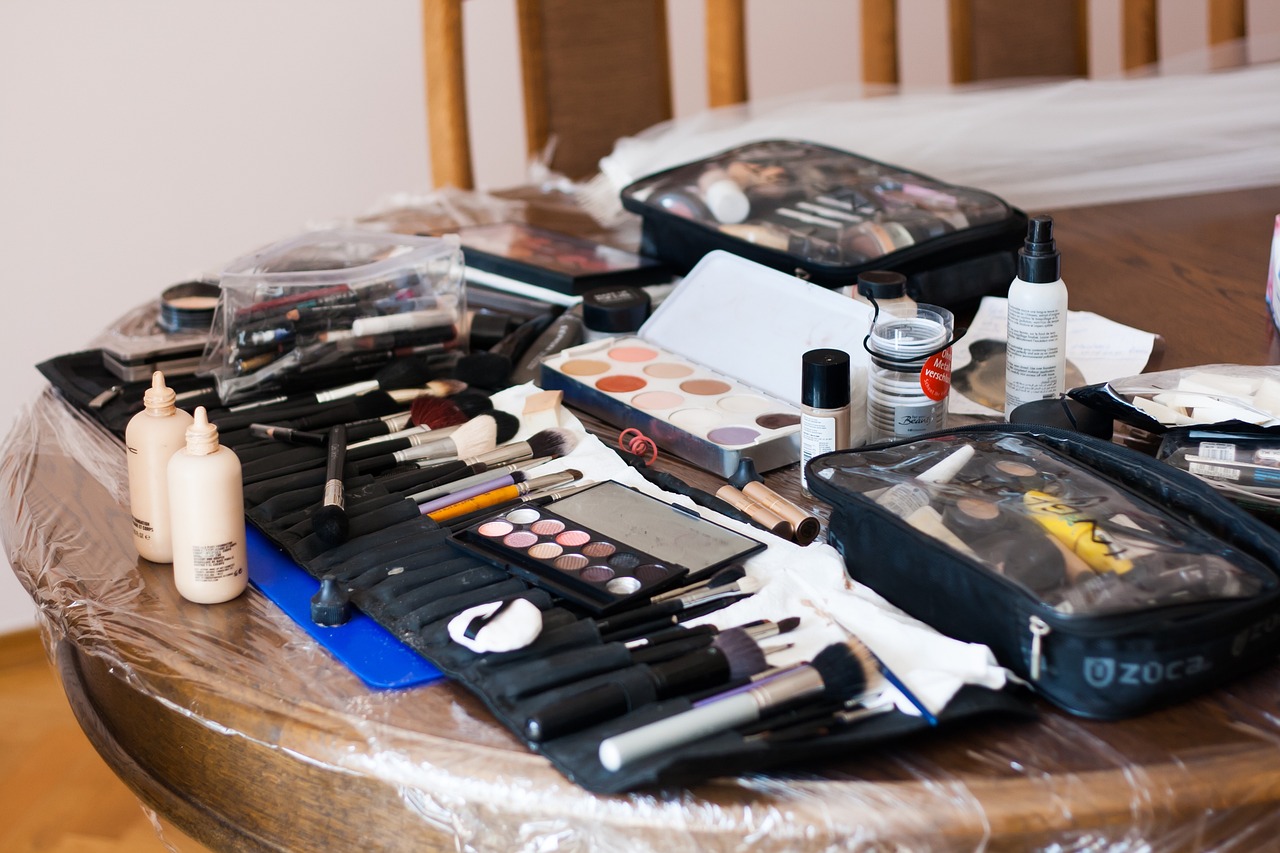
Wooden Organizers
When it comes to creating a makeup organizer that exudes warmth and character, are an excellent choice. Not only do they bring a rustic charm to your vanity, but they also provide a sturdy and durable solution for storing your beauty essentials. Imagine the rich textures and natural grains of wood, which can transform your makeup storage into a stunning display piece. In this section, we will explore how to craft both rustic and contemporary wooden designs that can enhance the overall decor of your vanity.
One of the most appealing aspects of wooden organizers is their versatility. You can choose from various types of wood, such as pine, oak, or even reclaimed wood, each offering a unique aesthetic. For instance, if you're aiming for a rustic look, reclaimed wood with its weathered finish can add a touch of nostalgia and authenticity. On the other hand, if you prefer a more modern vibe, sleek oak or maple can provide a clean, polished appearance.
To create your wooden organizer, you’ll need some basic tools and materials. Here’s a quick overview of what you might need:
- Wood (choose your preferred type)
- Saw (hand saw or power saw)
- Screws and wood glue
- Sandpaper (for smoothing edges)
- Paint or wood stain (optional, for finishing touches)
Once you have your materials ready, the assembly process begins. Start by measuring the space you have available on your vanity. This will help you determine the dimensions of your organizer. Remember, the goal is to create something that not only looks good but also fits perfectly in your designated area. After measuring, cut your wood pieces accordingly. Sand down the edges to avoid any splinters, ensuring a smooth finish that feels good to the touch.
Next, it’s time to assemble your organizer. Use wood glue to secure the pieces together, and reinforce with screws for added strength. This is where you can get creative! Consider adding compartments of different sizes to accommodate various makeup products, from lipsticks to brushes. You might even want to include a dedicated space for larger items like palettes or skincare products.
Finally, don’t forget the finishing touches. A coat of paint or wood stain can elevate your organizer from functional to fabulous. Choose a color that complements your vanity's overall theme. If you’re feeling particularly crafty, you could even add decorative elements like stenciling or wood burning to personalize your piece further.
Wooden organizers not only serve a practical purpose but also act as a beautiful addition to your space. They can be a conversation starter, a testament to your DIY skills, and a reflection of your personal style. So, roll up your sleeves, get creative, and enjoy the process of crafting a stunning wooden makeup organizer that you can proudly display on your vanity!
Q: What type of wood is best for a makeup organizer?
A: The best type of wood depends on your aesthetic preference. Pine is affordable and easy to work with, while oak and maple offer durability and a more polished look. Reclaimed wood can add a unique charm.
Q: How can I ensure my wooden organizer lasts?
A: To enhance durability, make sure to use quality wood glue and screws during assembly. Additionally, applying a protective finish like varnish can help resist moisture and wear.
Q: Can I customize my wooden organizer?
A: Absolutely! You can customize the size, shape, and compartments to fit your specific needs. Adding paint, stains, or decorative elements can also personalize your organizer.
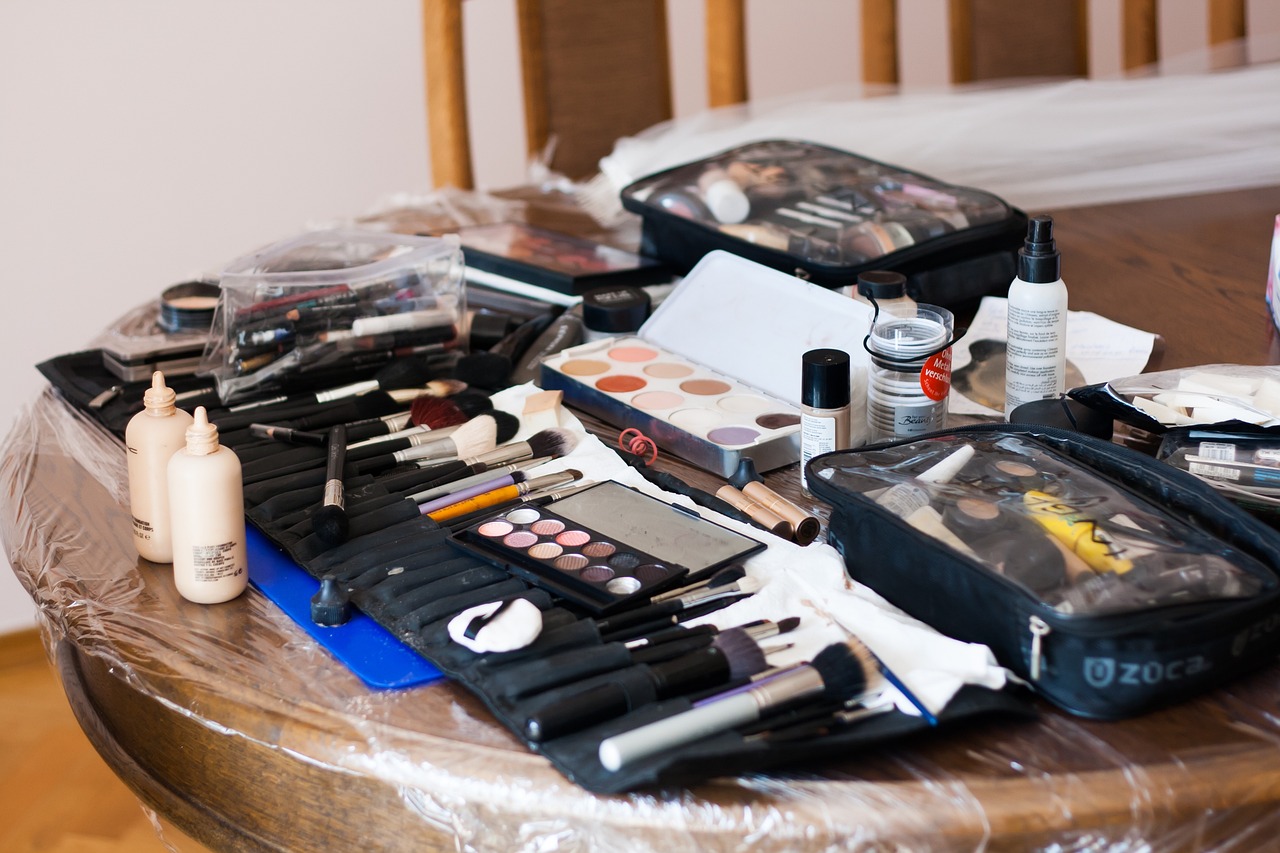
Ornate Designs
When it comes to enhancing the aesthetic appeal of your vanity, can truly make a statement. These designs are not just about functionality; they are about expressing your personality and style. Imagine your makeup organizer as a piece of art that not only holds your beauty products but also adds a touch of elegance to your space. With intricate details, rich textures, and bold colors, ornate organizers can transform an ordinary vanity into a luxurious beauty retreat.
To create an ornate makeup organizer, consider incorporating decorative elements such as carvings, embellishments, and unique shapes. These features can elevate your DIY project from basic to breathtaking. For instance, you might choose to add decorative knobs or handles that reflect your personal style—think vintage brass for a classic look or sleek chrome for a modern twist. The key is to select elements that resonate with your aesthetic while ensuring they complement the overall design of your vanity.
Additionally, consider the use of color and finish to enhance the ornate feel. A rich, dark stain on wood can evoke a sense of luxury, while a glossy finish on acrylic can create a chic, contemporary vibe. Don't shy away from using bold colors or patterns; after all, your makeup organizer should be a reflection of your unique taste. You can even use decorative paper or fabric to line the inside of your organizer, adding a surprise element that delights every time you reach for your favorite lipstick.
Here are some popular decorative techniques you might explore:
- Decoupage: This involves gluing decorative paper onto the surface of your organizer, allowing you to customize it with patterns or images that inspire you.
- Stenciling: Use stencils to add intricate designs, such as florals or geometric patterns, for a personalized touch.
- Gold Leafing: For a touch of glamour, consider applying gold leaf to certain areas of your organizer for a shimmering effect.
By combining these decorative techniques with thoughtful design, you can create an ornate makeup organizer that not only serves a practical purpose but also acts as a stunning centerpiece on your vanity. Remember, the goal is to create a space where you feel inspired and beautiful every day. So, let your creativity flow, and don’t hesitate to experiment with different styles and materials until you find the perfect combination that speaks to you!
Q: What materials are best for creating ornate designs?
A: Wood, acrylic, and even metal can be excellent choices. Wood allows for intricate carvings, while acrylic offers a sleek, modern look. Metal can add a touch of elegance, especially when combined with decorative finishes.
Q: Can I incorporate lighting into my makeup organizer?
A: Absolutely! Adding LED strip lights or small decorative lamps can enhance the visual appeal and make it easier to see your products while applying makeup.
Q: How do I ensure my ornate designs are practical?
A: While focusing on aesthetics, make sure to design compartments that are functional. Consider the size of your makeup products and ensure there’s enough space for easy access without clutter.
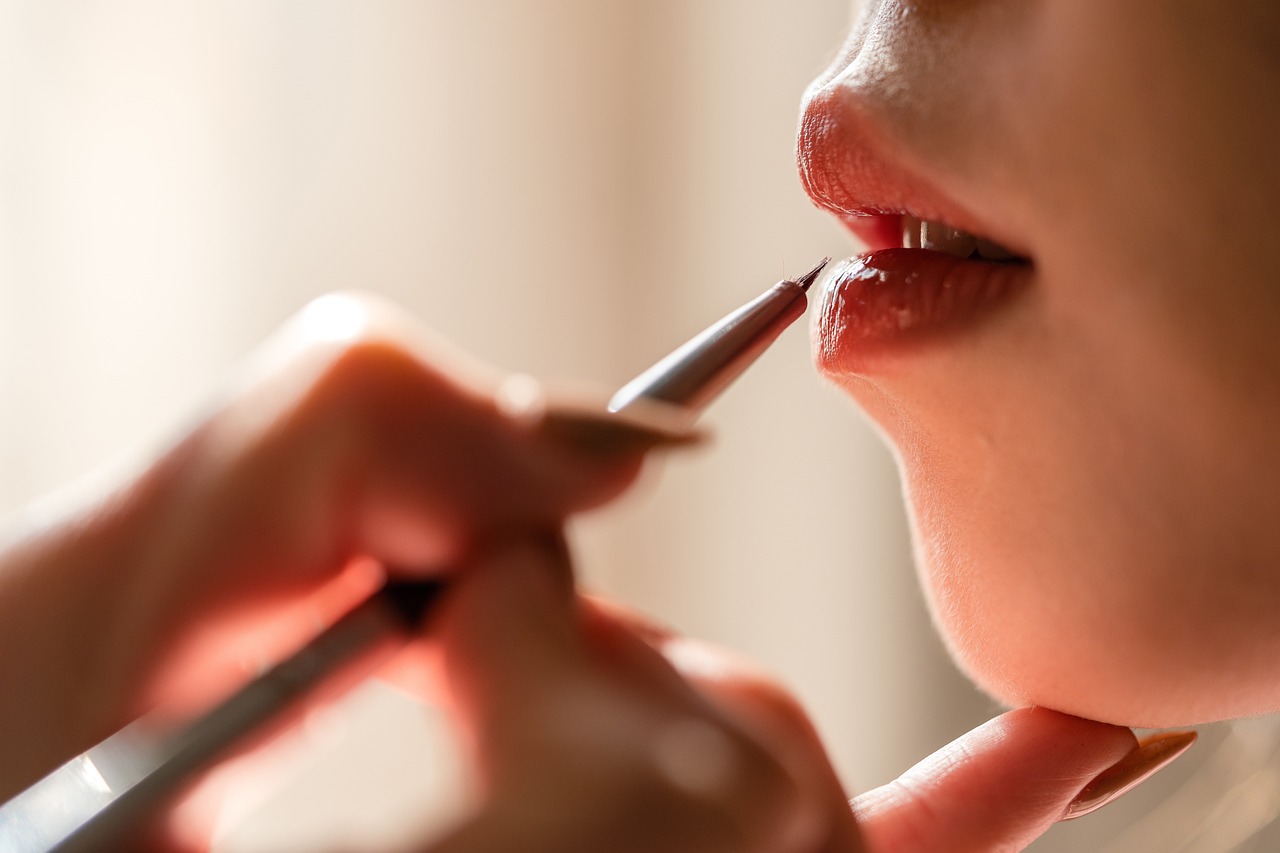
Step-by-Step Assembly Process
Creating your own DIY makeup organizer can be a rewarding and fun project. The assembly process is where your vision comes to life, and it’s essential to approach it methodically to ensure a polished final product. Here’s a comprehensive guide to help you through each step, from gathering materials to the final touches that will make your organizer uniquely yours.
First things first, you’ll want to gather all the necessary materials. Depending on your design, you might need items like wood boards, acrylic sheets, screws, glue, and paint or stain. Having everything at your fingertips will streamline the process and keep you from running back and forth. Here’s a quick table to summarize the materials you might need:
| Material | Purpose |
|---|---|
| Wood | For creating a sturdy frame |
| Acrylic | For clear sections to showcase makeup |
| Glue | To hold pieces together securely |
| Paint/Stain | For finishing touches and aesthetics |
Now, let’s dive into the actual assembly! The first step is to measure and cut your materials accurately. Use a measuring tape to determine the dimensions of your organizer based on the space available on your vanity. Remember, precision is key here! You wouldn’t want a piece that’s too big or too small, right? A good rule of thumb is to measure twice and cut once. Make sure to use a saw that’s appropriate for the material you’re working with, whether it’s wood or acrylic.
Once you have all your pieces cut, it’s time to start assembling. Begin by laying out your pieces on a flat surface to visualize how everything will fit together. This is where you can play around with the layout and make adjustments if needed. After you’re satisfied with the arrangement, start by attaching the base of your organizer. If you’re using wood, screws or wood glue work best. For acrylic, a strong adhesive designed for plastic will do the trick. Be sure to allow adequate drying time between steps.
As you move up to the sides and dividers, keep in mind the functionality of your organizer. Consider how you’ll store your makeup—do you want sections for lipsticks, brushes, or palettes? Incorporating dividers at this stage can help keep everything organized and easily accessible. You can create these dividers from leftover materials or buy pre-cut ones that fit your design.
Once your structure is complete, it’s time to add those finishing touches. This is where your personality really shines through! You might want to paint your organizer in a color that matches your room or stain the wood for a more rustic look. Don’t be afraid to get creative—add decorative elements like stencils, decals, or even small mirrors to elevate your design. Remember, this is your space, and it should reflect your style!
Finally, once everything is assembled and decorated, give it a once-over to ensure everything is secure. Check for any rough edges and sand them down if necessary. This will not only enhance the look of your organizer but also ensure it’s safe to handle. After all, the last thing you want is to snag your favorite lipstick on a splinter!
Now that your DIY makeup organizer is complete, take a moment to admire your work. You’ve just transformed your vanity into a stylish and functional space that’s tailored to your needs. And remember, the beauty of DIY projects is that they can always be updated or changed as your collection grows. Happy organizing!
- How long does it take to build a DIY makeup organizer? The time can vary depending on your design and materials but generally, it can take anywhere from a few hours to a full day.
- Can I use recycled materials for my organizer? Absolutely! Repurposing items like old boxes or furniture can add character and save money.
- What tools do I need for this project? Basic tools like a saw, measuring tape, screwdriver, and glue are typically sufficient.

Measuring and Cutting Materials
When it comes to crafting your own DIY makeup organizer, accurately is crucial for achieving that perfect fit. Think of this process as laying the foundation for a beautiful house; if the base isn’t solid, everything else may crumble. Start by gathering your materials and tools. You’ll typically need a measuring tape, a straight edge, a pencil for marking, and a cutting tool that suits your chosen materials, whether it’s a saw for wood or a utility knife for acrylic.
First, determine the dimensions of your organizer. Consider the space available on your vanity and how much makeup you want to store. Are you a minimalist with just a few essentials, or do you have a vast collection that needs ample space? Once you have a vision, make a sketch of your organizer. This will help you visualize the layout and ensure that each compartment is both functional and aesthetically pleasing.
Next, it’s time to measure. Use your measuring tape to get the exact width, height, and depth of each section you plan to create. Write down these measurements, as they will guide you during the cutting process. For example, if you want to create a section for lipsticks, measure the average size of your lipsticks and add a little extra room to ensure they fit comfortably. Here’s a quick reference table for common makeup items:
| Makeup Item | Average Width (inches) | Average Height (inches) |
|---|---|---|
| Lipstick | 0.6 | 3.0 |
| Foundation Bottle | 2.0 | 6.0 |
| Eyeshadow Palette | 4.0 | 0.5 |
Once you have all your measurements, it’s time to mark them on your materials. Use a straight edge to draw lines where you’ll cut. This step is essential; a steady hand will ensure clean cuts and a polished look. After marking, carefully cut your materials according to the lines you’ve drawn. If you're working with wood, a miter saw is ideal for straight cuts, while a jigsaw can help with more intricate shapes. For acrylic, a utility knife will do the trick, but be sure to score the material several times for a clean break.
After cutting, take a moment to sand down any rough edges. This not only prevents splinters or sharp edges but also enhances the overall appearance of your organizer. Remember, the goal is to create a piece that is both functional and visually appealing. Once you’ve sanded everything smooth, you can start the assembly process, knowing that your materials are cut to perfection.
- What materials are best for a DIY makeup organizer? - It depends on your style! Wood offers warmth, while acrylic provides a modern, sleek look.
- How do I ensure my measurements are accurate? - Always double-check your measurements and mark them clearly before cutting.
- Can I use repurposed items for my organizer? - Absolutely! Items like old drawers or boxes can be creatively transformed into stylish organizers.
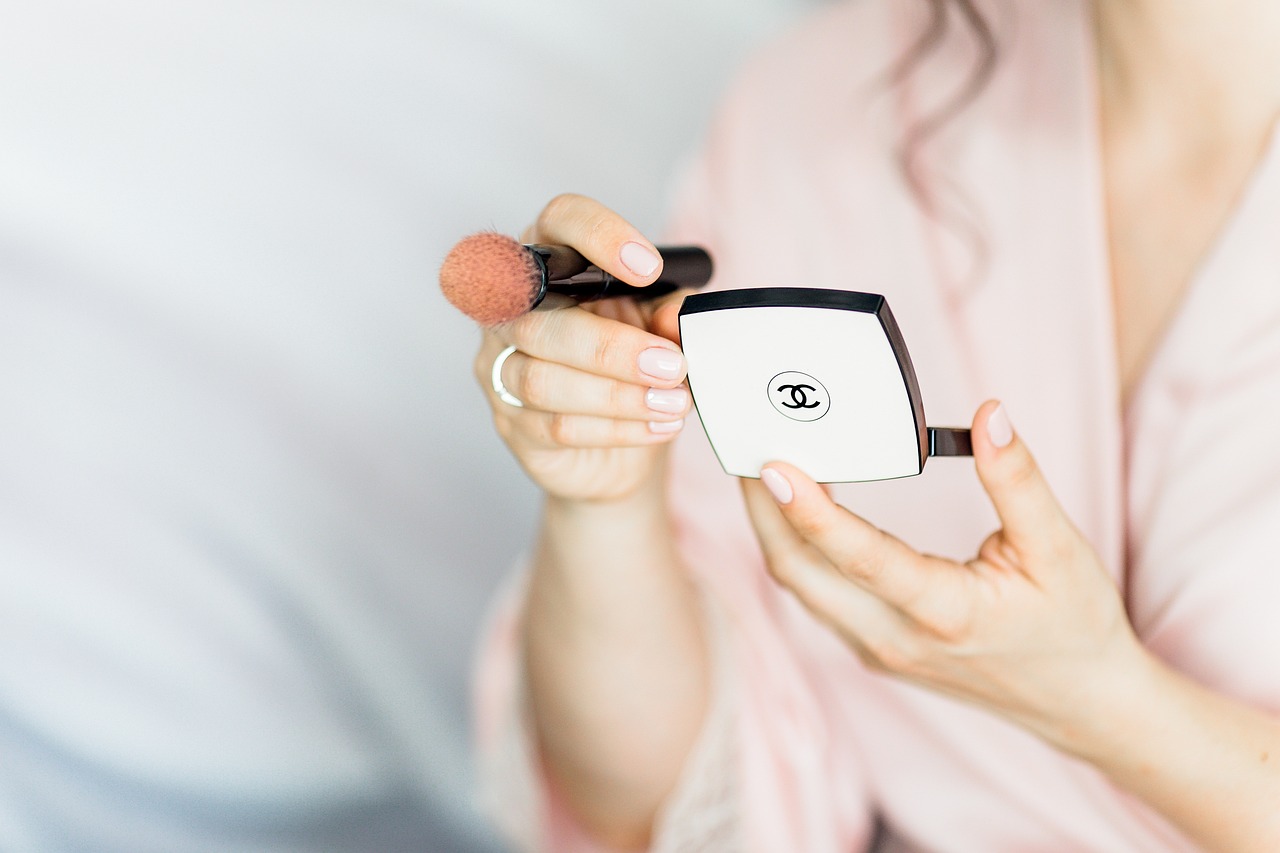
Finishing Touches
When it comes to creating your DIY makeup organizer, the can truly make a world of difference. It's like the icing on a cake; without it, your project may feel incomplete. So, how can you elevate your organizer from functional to fabulous? Let’s dive into some exciting options that will personalize your creation and add that extra flair!
One of the first things you might consider is painting or staining your organizer. This is a fantastic way to match your new piece with your existing décor. If you prefer a modern look, opt for a sleek white or a bold color that pops against your vanity. On the other hand, if you’re going for a rustic vibe, a warm wood stain can bring out the natural beauty of your materials. Remember, the choice of color can set the entire tone of your space!
Additionally, adding decorative elements can truly enhance the aesthetic appeal of your organizer. Think about incorporating embellishments such as:
- Gold or silver leaf for a touch of glamour.
- Stickers or decals that reflect your personality.
- Fabric liners for a soft, chic touch inside your drawers.
These small details can transform a simple organizer into a stunning focal point on your vanity.
Don't forget the importance of functional accessories as well. Consider adding dividers or small containers inside your organizer to keep your makeup items neatly separated. This not only improves accessibility but also maintains an organized appearance. You can easily create dividers from leftover materials or purchase inexpensive options at craft stores.
Finally, take a moment to step back and evaluate your creation. Sometimes, all it takes is a little rearranging or the addition of a small decorative item, like a potted plant or a framed photo, to complete the look. Your DIY makeup organizer should not only serve a purpose but also reflect your unique style and personality.
As you embark on your DIY journey, you might have some questions. Here are a few common ones to help guide you:
- What materials are best for beginners? If you’re just starting out, consider using wood or acrylic, as they are relatively easy to work with.
- Can I customize the size of my organizer? Absolutely! Measure your vanity space and adjust the dimensions of your organizer accordingly.
- How do I ensure durability? Use quality materials and consider sealing your paint or stain with a protective finish.
Creating a DIY makeup organizer is not just a project; it’s an opportunity to express your creativity and bring order to your beauty routine. So gather your materials, unleash your inner designer, and enjoy the process of crafting something uniquely yours!
Frequently Asked Questions
- What materials are best for a DIY makeup organizer?
Choosing the right materials is crucial for both durability and aesthetics. Popular options include wood, acrylic, and even repurposed items. Each material offers its own unique benefits, so consider what fits your style and needs best!
- Can I customize the design of my makeup organizer?
Absolutely! The beauty of a DIY project is that you can tailor it to your personal taste. Whether you prefer a minimalist look or something more ornate, there are endless design possibilities to explore.
- How do I ensure accurate measurements when building my organizer?
Accurate measurements are key to a successful DIY project. Use a reliable measuring tape and double-check your dimensions before cutting. This will help ensure that all pieces fit together perfectly!
- What finishing touches can I add to my makeup organizer?
Finishing touches can really elevate your organizer's look! Consider painting, staining, or adding decorative elements like stencils or stickers to personalize your creation and make it truly yours.
- Is it possible to create a makeup organizer on a budget?
Definitely! You can find affordable materials at craft stores or even use items you already have at home. A little creativity goes a long way, and you can create something beautiful without breaking the bank!
- How can I maintain the cleanliness of my DIY makeup organizer?
Keeping your organizer clean is simple! Regularly wipe down surfaces with a damp cloth and organize your makeup products to prevent clutter. This will help maintain that chic look you worked so hard to achieve!


