How to Grow Lavender from Cuttings
Growing lavender from cuttings is not just a gardening task; it’s a delightful journey that brings the beauty of this aromatic plant right into your home or garden. Imagine stepping outside and being greeted by the sweet scent of lavender wafting through the air, or perhaps using its fragrant blooms in your cooking or crafting. The good news is that propagating lavender is quite simple and can be done even by those who may not consider themselves green thumbs. In this comprehensive guide, we will walk you through the entire process—from selecting the right variety to transplanting your new plants—ensuring you have all the tools and knowledge you need for success. So, let’s dive in and explore how to make your lavender dreams a reality!
Selecting the appropriate lavender variety is crucial for successful propagation. Different types of lavender, such as English, French, and Spanish, possess unique characteristics and growth requirements. For instance, English lavender (Lavandula angustifolia) is known for its hardiness and fragrant flowers, making it a favorite for many gardeners. On the other hand, French lavender (Lavandula dentata) features distinctive serrated leaves and a more tropical feel, which might be ideal for warmer climates. When choosing a variety, consider your local climate, soil type, and the specific use you have in mind for your lavender. Will it be used for culinary purposes, essential oils, or simply as a decorative plant? Understanding these factors can greatly influence the success of your lavender garden.
Proper preparation of cuttings is essential for successful rooting. The first step is to gather your materials: a sharp, clean pair of scissors or pruning shears, a small pot or tray, and a well-draining potting mix. The ideal time to take cuttings is during the late spring or early summer when the plant is actively growing. This ensures that the cuttings are healthy and vigorous. When taking cuttings, aim for a length of about 4 to 6 inches, ensuring that each cutting has at least two sets of leaves. Remove the lower leaves while leaving the top leaves intact, as they will help the cutting photosynthesize while it develops roots. Remember, healthy cuttings are the key to thriving lavender plants!
Understanding the best time to take cuttings can significantly impact their success rate. Late spring to early summer is generally the best time, as the plants are in their growth phase. During this period, the parent plant is full of energy and nutrients, which can be transferred to your cuttings. Additionally, ensure that the parent plant is healthy and free from pests or diseases, as this directly affects the quality of your cuttings.
The length of the cuttings plays a vital role in their ability to root. Aim for cuttings that are about 4 to 6 inches long, as this length provides enough stem for rooting while still being manageable. Too short, and they may not have enough energy to develop roots; too long, and they might struggle to establish themselves. It’s all about finding that sweet spot!
Selecting a healthy parent plant is crucial for successful propagation. Look for plants that are robust, with vibrant green leaves and no signs of wilting or disease. Avoid taking cuttings from plants that are stressed or have recently been pruned, as they may not provide the best material for propagation. A healthy parent plant ensures that your cuttings have the best chance of thriving.
Rooting hormones can enhance the success of lavender cuttings. These hormones stimulate root growth, making it easier for your cuttings to establish themselves. You can find rooting hormones in powdered, gel, or liquid forms at most garden centers. To use them, simply dip the cut end of your cutting into the hormone before placing it in the soil. This simple step can significantly increase your chances of success!
Creating an optimal environment for lavender cuttings is essential for root development. Lavender thrives in bright, indirect sunlight, so place your cuttings in a location where they can get plenty of light without being scorched by direct sun. The ideal temperature for rooting is between 65°F to 75°F (18°C to 24°C). Additionally, maintaining humidity is crucial. You can achieve this by covering the cuttings with a plastic bag or a clear plastic dome to create a mini greenhouse effect. Just be sure to ventilate occasionally to prevent mold growth!
Choosing the right soil and potting options can significantly affect the growth of lavender cuttings. A well-draining potting mix is essential, as lavender does not like to sit in water. Consider using a mix of potting soil, perlite, and sand to create a light, airy environment that promotes drainage. When potting your cuttings, ensure that the pots have drainage holes to prevent waterlogging.
Proper watering and maintenance are crucial for the health of lavender cuttings. After potting, water the cuttings lightly, allowing the soil to become moist but not soggy. Overwatering is a common mistake that can lead to root rot. As a general rule, water your cuttings when the top inch of the soil feels dry. Additionally, keep an eye on the humidity levels and adjust as needed to keep your cuttings thriving.
Once the cuttings have rooted, it's time to transplant them. This usually takes about 4 to 6 weeks. When you see new growth, it’s a good sign that your cuttings are ready to move to larger pots or into the garden. Be gentle during the transplanting process to avoid damaging the delicate roots. After transplanting, continue to provide care by ensuring they receive adequate sunlight and water. With a little patience and care, you’ll soon be rewarded with beautiful lavender plants that will flourish in your garden!
- How long does it take for lavender cuttings to root? Typically, lavender cuttings take about 4 to 6 weeks to develop roots.
- Can I grow lavender indoors? Yes, lavender can be grown indoors, provided it receives enough sunlight and is planted in well-draining soil.
- What is the best way to care for lavender plants? Lavender prefers full sun, well-draining soil, and minimal watering once established.
Choosing the Right Lavender Variety
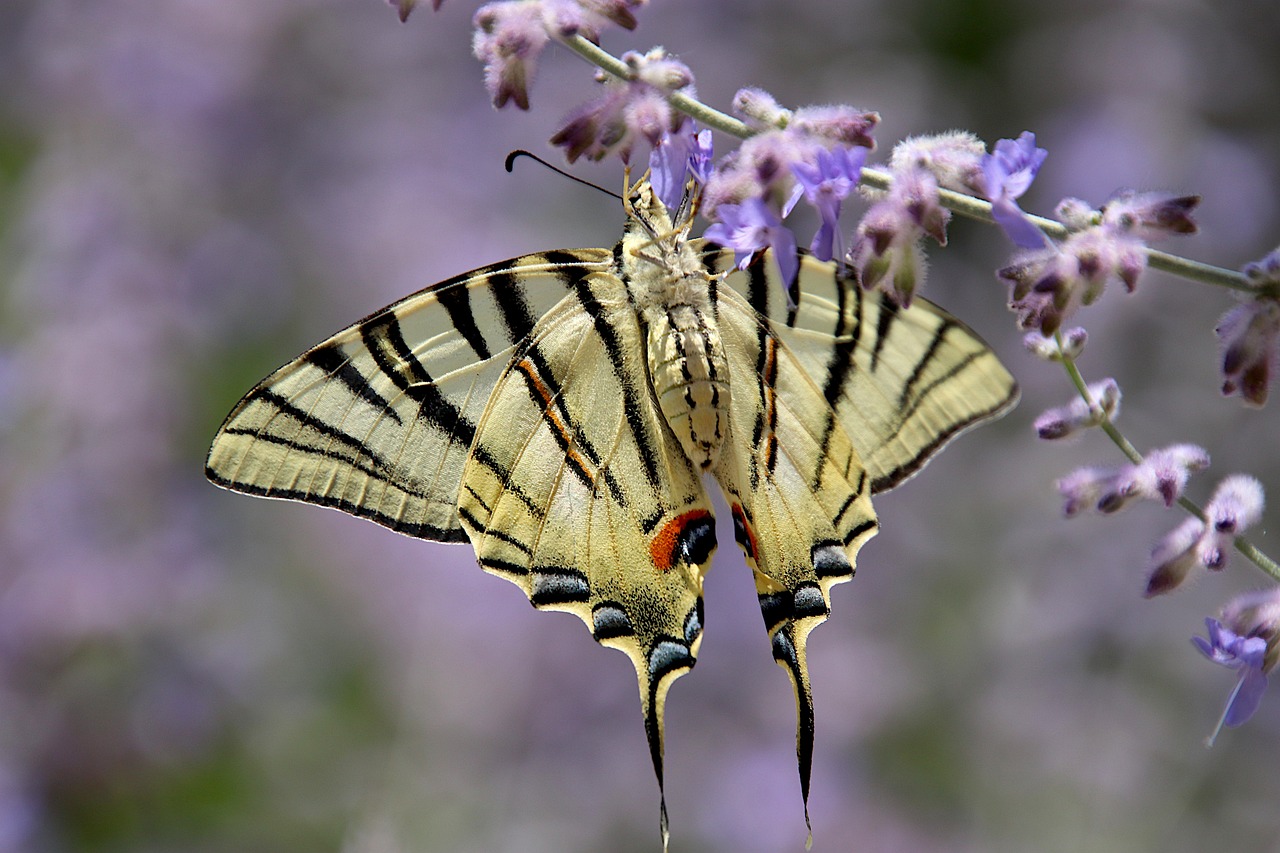
When it comes to growing lavender, one of the most crucial steps is choosing the right variety. With so many options available, it can feel overwhelming, but don’t fret! Each lavender type comes with its own unique characteristics, growth requirements, and even fragrance profiles, making some varieties better suited for your garden or climate than others. For instance, if you're in a cooler region, you might want to lean towards English Lavender (Lavandula angustifolia), known for its hardiness and delightful scent. On the other hand, if you live in a warmer area, consider French Lavender (Lavandula dentata), which thrives in heat and has a more unique, bushy appearance.
It's essential to consider your garden's environment when selecting a lavender variety. Different types can handle varying levels of sunlight and soil conditions. For example, Spanish Lavender (Lavandula stoechas) is not only beautiful but also attracts pollinators, making it a fantastic choice for those looking to enhance their garden's biodiversity. Additionally, if you're interested in using lavender for culinary purposes, English Lavender is your best bet, as it has a more subtle flavor compared to its counterparts.
Here’s a quick comparison of some popular lavender varieties to help you make an informed choice:
| Lavender Variety | Hardiness Zone | Height | Fragrance | Use |
|---|---|---|---|---|
| English Lavender | 5-9 | 12-36 inches | Strong | Culinary, Aromatherapy |
| French Lavender | 8-10 | 24-36 inches | Sweet | Aesthetic, Aromatherapy |
| Spanish Lavender | 8-11 | 24-30 inches | Unique | Aesthetic, Pollinator Friendly |
Ultimately, the right lavender variety will depend on your specific needs and the conditions in your garden. Take the time to research and consider factors such as climate, soil type, and intended use. You’ll find that investing a bit of thought into this decision will lead to a thriving lavender garden that brings joy and beauty to your space.
In summary, when choosing the right lavender variety, think about your climate, the specific characteristics of each type, and how you plan to use your lavender. This thoughtful approach will not only enhance your gardening experience but also ensure that your lavender plants flourish beautifully.
Preparing the Cuttings
When it comes to propagating lavender, the process of preparing the cuttings is like setting the stage for a beautiful performance. If you want your lavender to thrive, it’s essential to follow specific steps to ensure that your cuttings are primed for success. Think of it as getting the right ingredients ready for a delicious recipe—each element plays a crucial role in the final outcome. So, let’s dive into the nitty-gritty of how to prepare those cuttings!
First off, timing is everything. The best time to take lavender cuttings is during the early summer months when the plant is in full growth mode. This is when the stems are most vigorous, and the chances of rooting are significantly higher. You want to ensure that the parent plant is healthy and well-watered before you start snipping away. A stressed plant will not give you the best cuttings, so make sure to give it some TLC in the weeks leading up to your propagation attempt.
Now, let’s talk about timing in a bit more detail. The ideal window for taking cuttings usually falls between late spring and early summer. During this period, the plant is bustling with energy, and the new growth is flexible enough to root effectively. If you wait too long into the summer, the stems can become woody and less responsive to rooting. Think of this as catching a wave; you want to ride it at just the right moment!
When you’re ready to take your cuttings, aim for a length of about 4 to 6 inches. This is the sweet spot that allows the cutting to have enough stem to support itself while still being manageable for rooting. Use clean, sharp scissors or pruning shears to make a clean cut just below a node (the little bump on the stem where leaves emerge). This is important because nodes are where the roots will eventually sprout. If you’re unsure, think of it like trimming your hair; you want to make sure the cut is precise to avoid any split ends!
Now, let’s not forget about the parent plant. Selecting a robust, healthy lavender plant is like choosing the best fruit from a tree; it sets the foundation for your propagation success. Look for plants that have vibrant green leaves, no signs of pests, and a strong structure. If you notice any wilting or discoloration, it’s best to steer clear of that plant. Just like in life, you want to surround yourself with positivity and strength, and the same goes for your lavender cuttings!
If you want to give your cuttings an extra boost, consider using rooting hormones. These magical powders or gels can significantly enhance the rooting process, helping your lavender cuttings establish themselves more quickly. Simply dip the cut end of your cutting into the hormone before planting it in the soil. Think of rooting hormones as the secret sauce in your gardening recipe—just a little sprinkle can make a world of difference!
In summary, preparing your lavender cuttings is an exciting step in the propagation journey. By paying attention to timing, cutting length, and the health of your parent plants, you set yourself up for success. And don’t forget about rooting hormones—they can be the cherry on top of your lavender-growing adventure!
- What is the best time to take lavender cuttings?
The ideal time is in early summer when the plant is actively growing. - How long should the cuttings be?
A length of 4 to 6 inches is recommended for optimal rooting. - Do I need rooting hormone for lavender cuttings?
While not necessary, rooting hormones can enhance the success rate of your cuttings. - How do I know if my parent plant is healthy?
Look for vibrant leaves, strong stems, and no signs of pests or disease.
Timing for Taking Cuttings
When it comes to propagating lavender through cuttings, timing is everything! Imagine trying to bake a cake without knowing the right temperature or cooking time; the same principle applies to gardening. The best time to take lavender cuttings is during the late spring to early summer, specifically when the plant is actively growing. This period offers the ideal conditions for rooting, as the plant is filled with vigor and energy, making it more likely to produce healthy roots.
But why is this timing so crucial? Well, during the late spring and early summer, the weather is typically warm, and the days are long. This creates a perfect environment for lavender cuttings to thrive. The parent plant is bursting with nutrients and moisture, which it can pass on to the cuttings. If you take cuttings in the fall or winter, the plant may not have enough energy to support new growth, resulting in a lower success rate. So, if you want your lavender cuttings to have the best chance of survival, mark your calendar for that sweet spot in late spring!
Another important factor to consider is the health of the parent plant. Always choose a plant that appears vibrant and robust. Look for signs of good health such as rich green foliage, no visible pests, and an overall lively appearance. If the parent plant is struggling or showing signs of disease, the cuttings are likely to inherit those issues, making them less likely to root successfully.
Additionally, pay attention to the weather conditions when you plan to take your cuttings. Ideally, you want to choose a day that is dry and overcast. This helps prevent the cuttings from wilting due to direct sunlight. If you must take cuttings on a sunny day, do it early in the morning or later in the evening when the sun is less intense. This way, you can ensure that your cuttings start off on the right foot!
To recap, here are the key points to remember about timing for taking lavender cuttings:
- Best time: Late spring to early summer
- Choose a healthy parent plant
- Avoid taking cuttings in unfavorable weather conditions
- Opt for dry and overcast days for cutting
By keeping these tips in mind, you can set your lavender cuttings up for success right from the start. Timing may seem like a small detail, but it can make all the difference in your gardening adventure. Happy propagating!

Best Practices for Cutting Length
When it comes to propagating lavender from cuttings, the length of the cuttings plays a vital role in determining their ability to root successfully. Ideally, you want to aim for cuttings that are about 4 to 6 inches long. This length strikes a balance between being long enough to provide sufficient material for rooting, yet not so long that it becomes difficult to manage. Think of it like a Goldilocks scenario—too short, and there’s not enough energy for growth; too long, and they may struggle to establish roots.
In addition to the length, the cutting technique is equally important. Make sure to cut just below a node, which is the point on the stem where leaves emerge. This is where roots will develop, so having a node in your cutting is crucial. If you’re wondering how to ensure you're making the right cut, consider using a sharp, clean pair of scissors or pruning shears. A clean cut reduces the risk of disease and helps the plant focus its energy on root development rather than healing.
Another factor to consider is the age of the wood from which you're taking cuttings. It’s best to select semi-hardwood cuttings, which are taken from this year’s growth but have begun to mature. These cuttings are typically more robust and have a higher success rate when it comes to rooting. If you’re unsure about the age of the wood, you can gently bend it; if it flexes but doesn’t break, it’s likely in the right stage for cutting.
Moreover, it’s essential to avoid taking cuttings from plants that are stressed or unhealthy. A healthy parent plant will yield healthier cuttings, which in turn will improve your chances of success. Look for vibrant green stems and healthy foliage when selecting your parent plant.
To summarize, here are some :
- Cuttings should be 4 to 6 inches long.
- Make cuts just below a node.
- Use semi-hardwood cuttings for better success.
- Choose cuttings from healthy, vigorous plants.
By following these guidelines, you’ll set yourself up for success in your lavender propagation journey. Remember, the right cut can make all the difference, so take your time and choose wisely!
As you embark on this exciting adventure of growing lavender from cuttings, keep in mind that patience is key. It may take a few weeks for roots to develop, but with the right techniques and care, you’ll soon enjoy the delightful fragrance and beauty of your lavender plants.
- How long does it take for lavender cuttings to root? Typically, lavender cuttings take about 2 to 4 weeks to develop roots, depending on environmental conditions.
- Can I use regular potting soil for lavender cuttings? It's best to use a well-draining soil mix, such as a blend of potting soil and sand or perlite, to prevent waterlogging.
- What should I do if my cuttings aren’t rooting? Ensure that you are providing adequate light, humidity, and temperature. Additionally, check if the cuttings are healthy and if the soil is suitable.

Choosing Healthy Parent Plants
When it comes to propagating lavender from cuttings, the health of your parent plant is paramount. Think of the parent plant as the foundation of a house; if the foundation isn’t solid, the entire structure is at risk. To ensure that your cuttings will thrive, you need to choose a parent plant that is not only healthy but also robust. Look for plants that exhibit vibrant green foliage, a strong, upright growth habit, and no signs of disease or pest infestations. A healthy plant is like a well-tuned engine; it’s ready to produce the best results.
One of the first things to examine is the overall vigor of the plant. A vigorous lavender plant will have a full canopy of leaves, which indicates that it is getting the right nutrients and care. Avoid plants that appear leggy, have yellowing leaves, or show signs of wilting. These are often indicators of stress or poor health, and cuttings taken from such plants may struggle to take root. Instead, focus on plants that are well-established, ideally at least a year old, as they are more likely to produce strong cuttings.
Another critical factor to consider is the variety of lavender you’re propagating. Some varieties are more resilient than others, and understanding their specific needs can greatly influence your success. For instance, English lavender (Lavandula angustifolia) is generally more forgiving and easier to propagate than some of the more exotic varieties like Spanish lavender (Lavandula stoechas). Therefore, if you’re new to propagation, it might be wise to start with a variety known for its hardiness.
Additionally, it’s essential to take cuttings from the right part of the plant. The best cuttings generally come from the softwood stems, which are neither too young nor too woody. Softwood stems are typically found at the tips of the plant, where new growth is occurring. These stems are more likely to root successfully compared to older, woody sections. When selecting your cuttings, aim for stems that are about 4 to 6 inches long, as this length provides enough material for rooting while still being manageable.
Lastly, don’t underestimate the importance of environmental factors. The conditions in which the parent plant is growing can significantly affect the quality of your cuttings. Ensure that your parent plant is growing in well-draining soil, receives adequate sunlight, and is watered appropriately. A stressed plant will produce cuttings that are less likely to thrive. By taking the time to choose a healthy parent plant, you’re setting yourself up for success in your lavender propagation journey.
Rooting Hormones and Their Use
When it comes to propagating lavender from cuttings, rooting hormones can be your secret weapon. These magical substances encourage root development, helping your cuttings transition from mere snippets to thriving plants. But what exactly are rooting hormones, and how do you use them effectively? Let's dive in!
Rooting hormones typically come in three forms: powders, gels, and liquids. Each type has its own advantages, but they all serve the same purpose: to stimulate root growth. If you’re a visual learner, think of rooting hormones as a booster shot for your cuttings. They provide the necessary nutrients and growth factors that encourage roots to sprout faster and stronger. Here’s a quick overview of the different types:
| Type | Description | Best Use |
|---|---|---|
| Powder | Fine powder that you dip the cutting into. | Great for most cuttings, easy to apply. |
| Gel | Thicker consistency that clings to the cutting. | Ideal for larger cuttings, less mess. |
| Liquid | Liquid solution that you soak the cutting in. | Good for bulk applications, but requires careful measurement. |
Using rooting hormones is quite simple. First, take your lavender cuttings and trim them to about 4-6 inches in length. After that, remove any leaves from the lower half to prevent them from rotting in the soil. Now, here comes the fun part: dip the cut end of the cutting into the rooting hormone. Make sure to coat it well, but don’t overdo it—less is often more!
Once your cuttings are treated, plant them in a well-draining soil mix. This is where the magic happens! The rooting hormone will help your cuttings establish roots in their new environment. But remember, while rooting hormones can significantly increase your success rate, they are not a miracle cure. The overall health of your cuttings and the conditions they are in are equally important.
Additionally, it’s crucial to follow the instructions on the rooting hormone packaging. Different brands may have different concentrations, and using too much can actually harm your cuttings rather than help them. Think of it like cooking: just a pinch of salt can enhance a dish, but too much can ruin it!
In summary, rooting hormones are a fantastic tool in your gardening arsenal. They can greatly improve the chances of your lavender cuttings taking root and thriving. Just remember to use them wisely, follow the guidelines, and pay attention to the needs of your plants. With a little patience and care, you’ll soon be rewarded with beautiful, fragrant lavender plants that will elevate your garden to new heights!
- Can I use rooting hormones on any type of plant? Yes, rooting hormones can be used on many plants, but always check specific recommendations for best results.
- How long does it take for lavender cuttings to root? Typically, lavender cuttings can take anywhere from 2 to 6 weeks to root, depending on conditions and care.
- Do I need to use rooting hormones for lavender cuttings? While not strictly necessary, using rooting hormones can significantly increase your success rate.
- What should I do if my cuttings don’t root? If your cuttings fail to root, check for environmental factors like moisture, light, and temperature, and consider trying again with fresh cuttings.

Setting Up the Growing Environment
Creating the perfect environment for your lavender cuttings is crucial for their successful growth. Think of it as setting the stage for a grand performance; every detail counts! Lavender, a sun-loving plant, thrives in conditions that mimic its native Mediterranean habitat. To achieve this, you need to focus on three main factors: light, temperature, and humidity.
First off, let's talk about light. Lavender loves bright, direct sunlight. Ideally, your cuttings should receive at least 6 to 8 hours of sunlight each day. If you're starting them indoors, placing them near a south-facing window is a great idea. However, if natural light is limited, consider using grow lights. These can provide the necessary light spectrum that lavender craves, especially during the darker months. Just remember to keep the lights on for about 12-16 hours a day to mimic those long summer days.
Next up is temperature. Lavender prefers a warm environment, ideally between 65°F and 75°F (18°C to 24°C). If the temperature drops too low, your cuttings may struggle to root, and if it gets too hot, they can dry out quickly. A consistent temperature is key. To maintain this, you might want to use a heat mat, especially if you’re propagating in a cooler climate. Just make sure to monitor the conditions closely, as lavender is not a fan of extreme fluctuations!
Now, let’s not forget about humidity. While lavender does enjoy a bit of moisture, it doesn’t like to be soggy. The ideal humidity level for rooting lavender cuttings is around 40% to 60%. If your environment is too humid, it can lead to mold and rot, which are the last things you want for your precious plants. To maintain the right humidity, you can use a humidity dome or a plastic bag over the cuttings to create a mini-greenhouse effect. Just make sure to ventilate occasionally to prevent any fungal issues.
In summary, when setting up the growing environment for your lavender cuttings, keep the following points in mind:
- Light: 6-8 hours of direct sunlight daily.
- Temperature: Maintain between 65°F and 75°F.
- Humidity: Aim for 40% to 60% humidity.
By paying attention to these environmental factors, you’ll be well on your way to nurturing healthy lavender cuttings that will flourish into beautiful plants. Remember, just like a gardener tends to their plants, you too must tend to the conditions that will allow your lavender to thrive!
Q: Can I use regular potting soil for lavender cuttings?
A: While you can use regular potting soil, it's best to opt for a well-draining mix. Lavender prefers sandy or gritty soil that allows excess water to escape, preventing root rot.
Q: How often should I water my lavender cuttings?
A: Water your cuttings when the top inch of soil feels dry. Be careful not to overwater, as lavender prefers drier conditions.
Q: Should I fertilize my lavender cuttings?
A: It's best to wait until your cuttings are established before adding fertilizer. Once they have rooted, a diluted, balanced fertilizer can be applied every few weeks during the growing season.
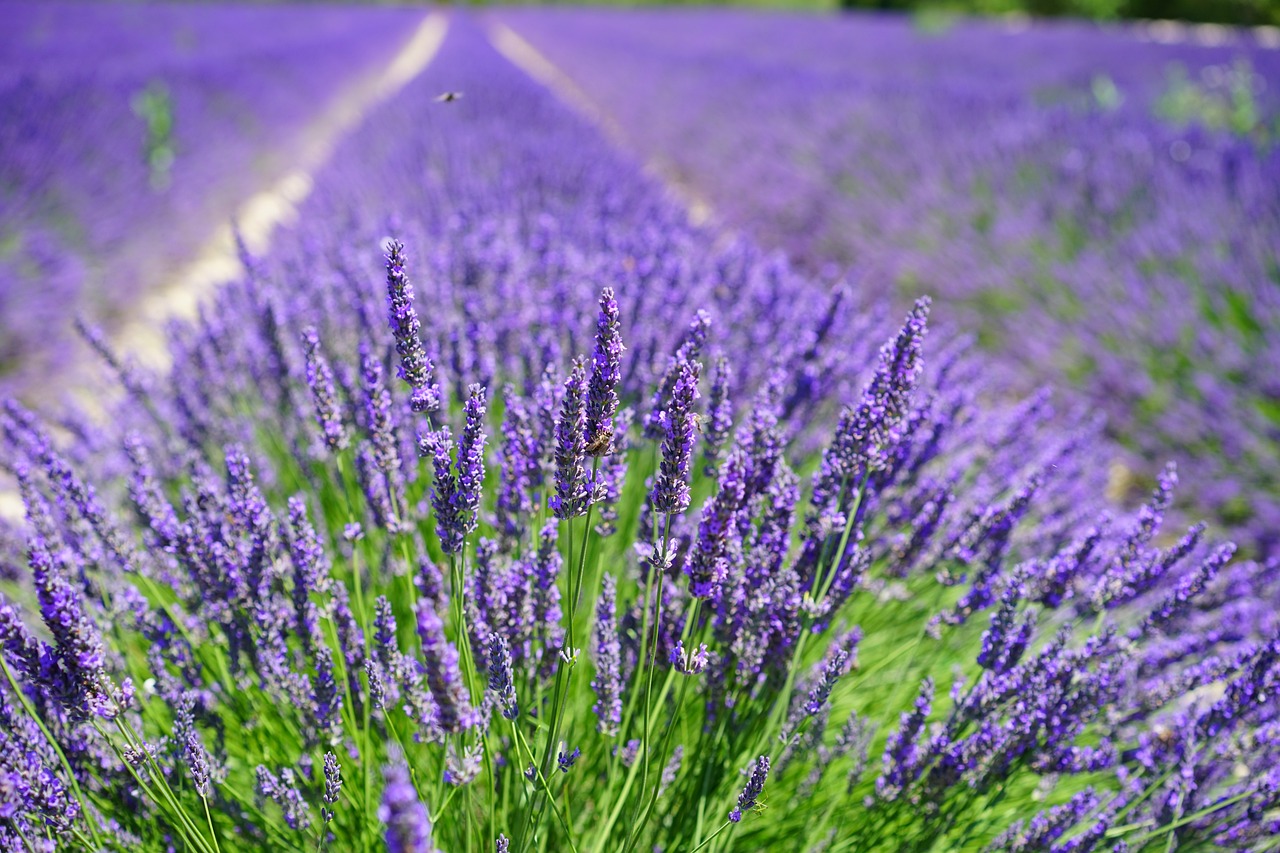
Soil and Potting Options
Choosing the right soil and potting options is absolutely crucial for the successful growth of lavender cuttings. Lavender thrives best in well-draining soil that mimics its natural habitat, which is typically rocky and arid. A good mix will not only provide the necessary nutrients but also ensure that excess moisture drains away quickly, preventing root rot. To achieve this, consider using a combination of potting soil, sand, and perlite. This blend creates an ideal environment for your lavender cuttings, allowing them to establish strong roots.
Here’s a simple recipe for creating your own lavender potting mix:
- 1 part potting soil
- 1 part coarse sand
- 1 part perlite or pumice
When it comes to potting, selecting the right container is equally important. You want to choose pots that have good drainage holes at the bottom. This will help prevent water from pooling, which can be detrimental to the delicate roots of your lavender. Terracotta pots are an excellent choice because they are porous and allow for airflow while also helping to wick away excess moisture.
Another important factor to consider is the size of the pot. While it might be tempting to start with a large pot to give your cuttings plenty of room to grow, it’s actually better to use smaller pots initially. This helps to keep the moisture levels more consistent, making it easier for the cuttings to establish themselves. Once they’ve rooted and are growing well, you can then transplant them into larger pots or directly into your garden.
Additionally, make sure to keep your potting area clean and free from pests. Before planting your cuttings, it’s a good idea to sterilize your pots and tools to prevent any potential diseases from affecting your new plants. A quick soak in a solution of water and bleach (one part bleach to nine parts water) can do wonders in ensuring a healthy start for your lavender.
In summary, the right soil and potting options are fundamental for the success of lavender cuttings. By using a well-draining mix, selecting appropriate containers, and maintaining a clean environment, you set the stage for healthy, thriving lavender plants.
Q: Can I use regular garden soil for lavender cuttings?
A: It’s best to avoid regular garden soil, as it often retains too much moisture. Instead, opt for a well-draining mix as described above.
Q: How often should I repot my lavender plants?
A: Repot your lavender when you notice that the roots are becoming crowded in their current pot, typically once every couple of years.
Q: What are the signs that my lavender cuttings are ready to be transplanted?
A: Once you see new growth and the roots are visibly coming out of the drainage holes, it’s time to transplant your lavender cuttings.
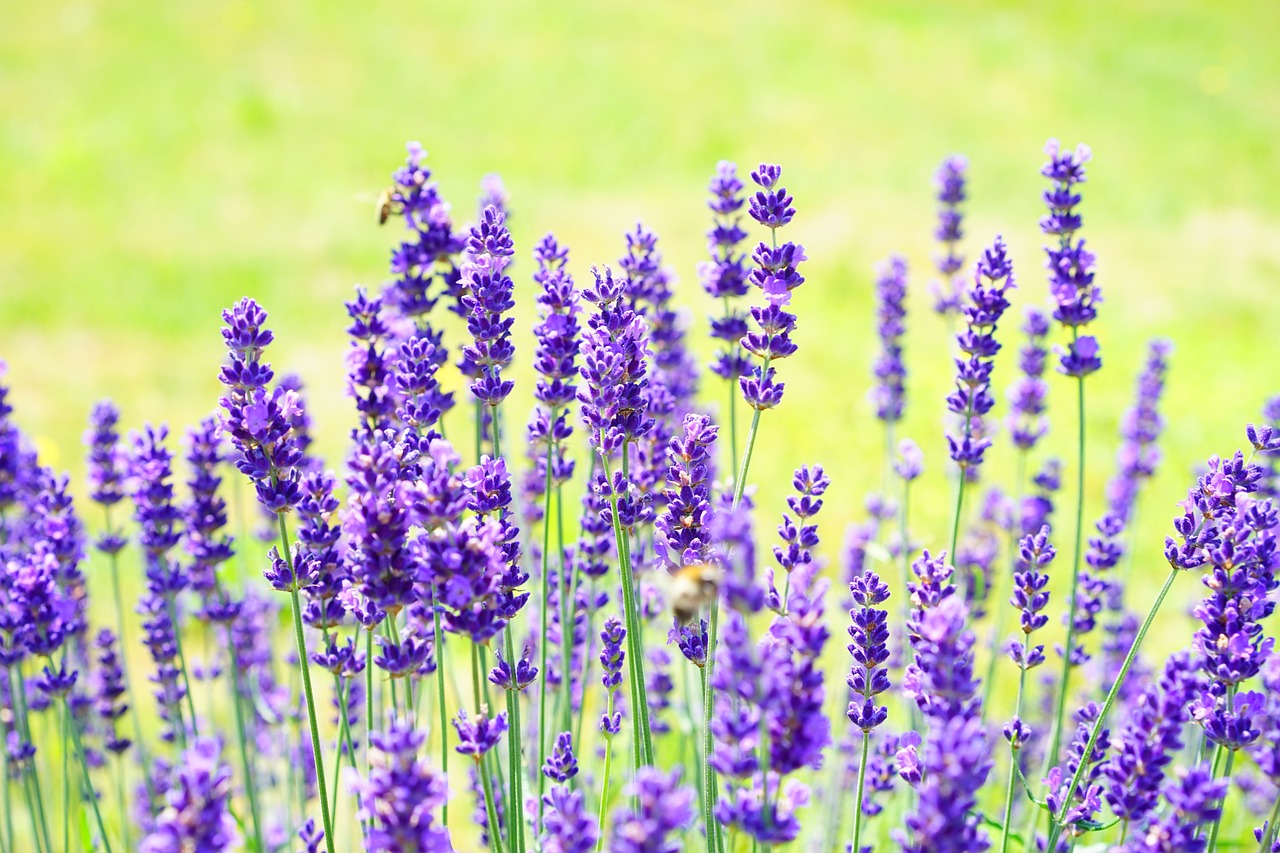
Watering and Maintenance Tips
When it comes to nurturing your lavender cuttings, watering is an art form that requires a delicate balance. Overwatering can drown your cuttings, while underwatering can leave them parched and struggling to survive. The key is to keep the soil consistently moist but not soggy. A good rule of thumb is to check the soil every few days; if the top inch feels dry, it’s time to give your cuttings a drink. Remember, lavender loves well-draining soil, so ensure that your pots have adequate drainage holes to prevent water from pooling at the bottom.
In addition to watering, maintenance plays a vital role in the health of your lavender plants. Regularly check for any signs of pests or diseases. Common culprits include aphids and whiteflies, which can wreak havoc if left unchecked. If you spot any, treat them promptly with an insecticidal soap or a gentle spray of water to dislodge them. Furthermore, keep an eye on the overall health of your plants. If the leaves start to yellow, it may be a sign of overwatering, while browning tips could indicate underwatering or nutrient deficiencies.
Another important aspect of maintenance is providing the right amount of light. Lavender thrives in full sun, so make sure your cuttings are placed in a spot where they can soak up at least 6 to 8 hours of sunlight each day. If you’re growing them indoors, consider rotating the pots periodically to ensure even light exposure. Additionally, be mindful of temperature fluctuations; lavender prefers a warm environment, ideally between 65°F to 75°F (18°C to 24°C).
As your cuttings begin to grow, you might want to consider fertilizing them lightly. A diluted liquid fertilizer can be beneficial, but it’s crucial to avoid over-fertilization, as lavender is naturally adapted to poor soils. A good practice is to fertilize once every 4-6 weeks during the growing season. This will give your lavender the boost it needs without overwhelming it with nutrients.
Lastly, don’t forget about pruning. Once your lavender plants are established, regular pruning will encourage bushier growth and more blooms. Aim to prune in late summer after the flowering season has ended. By cutting back about one-third of the plant, you’ll help maintain its shape and promote healthy growth for the following year.
- How often should I water my lavender cuttings?
Water when the top inch of soil feels dry, typically every few days. - What pests should I look out for?
Aphids and whiteflies are common pests that may affect your lavender. - When is the best time to prune lavender?
Prune in late summer after the flowering season to promote healthy growth. - Do lavender cuttings need fertilizer?
Yes, a light application of diluted liquid fertilizer every 4-6 weeks can be beneficial.
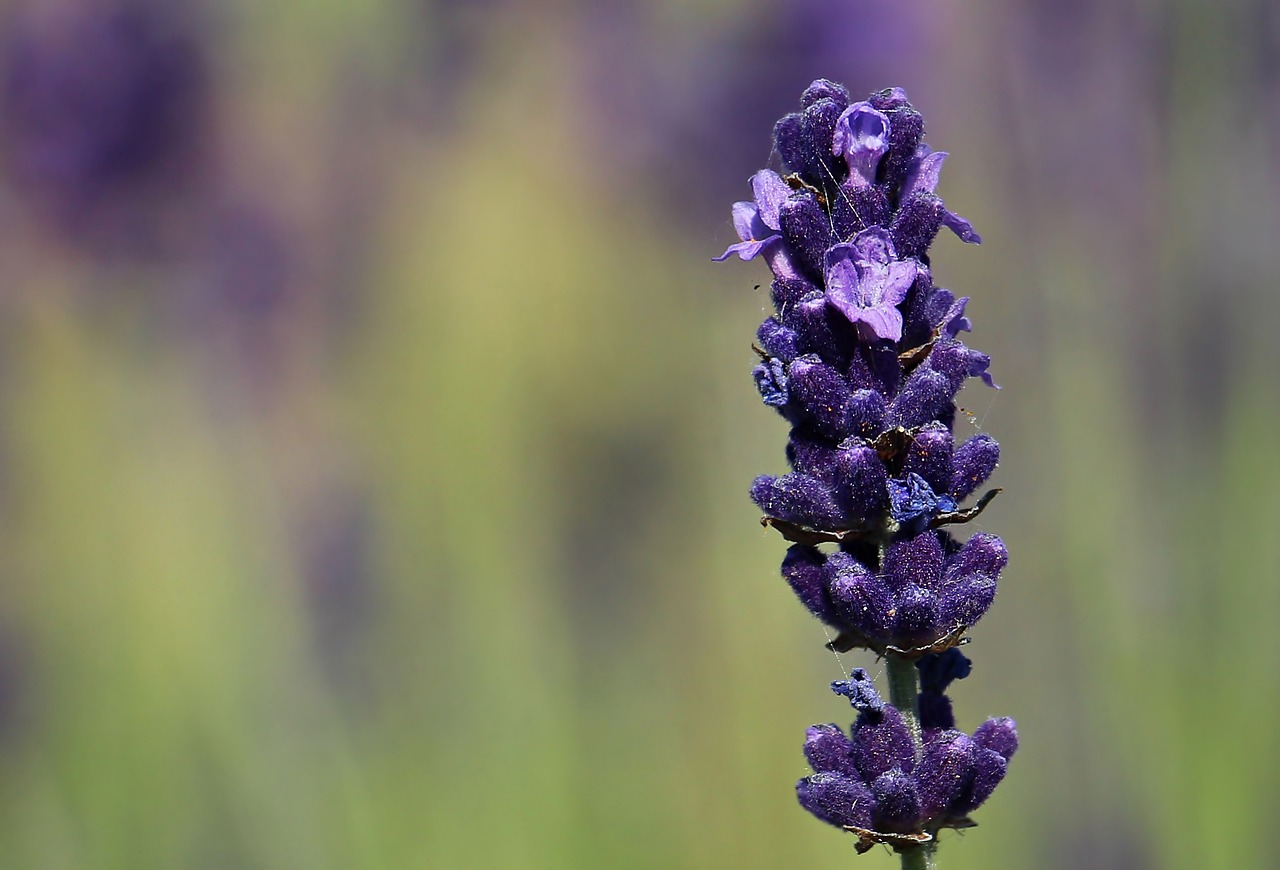
Transplanting and Care for New Plants
Transplanting your lavender cuttings is an exciting step in the gardening process, signaling that your hard work is paying off. Once your cuttings have developed healthy roots—typically taking about 4 to 6 weeks—it's time to move them to their permanent home. But wait! Before you dive in, there are a few essential considerations to ensure your lavender thrives in its new environment.
First, choose the right time for transplanting. Early spring or early fall are generally the best seasons for this task. During these periods, the weather is milder, allowing your new plants to acclimate without the stress of extreme temperatures. If you wait until summer, the heat can be a significant hurdle for your young plants as they establish themselves.
When selecting a location for transplanting, opt for a spot that receives plenty of sunlight. Lavender loves the sun and thrives in bright, well-drained areas. The ideal location should have at least 6 to 8 hours of direct sunlight each day. If you're planting in a garden bed, ensure the soil is sandy and well-draining, as lavender does not do well in soggy conditions. If you're using pots, choose containers with drainage holes to prevent water from accumulating.
Before transplanting, prepare the soil by loosening it and mixing in some compost or well-rotted manure to enhance its nutrient content. This will provide your lavender with the necessary nutrients to grow strong and healthy. Once the soil is ready, make a hole large enough to accommodate the roots of your lavender cutting without bending them. Gently place the cutting in the hole and cover the roots with soil, ensuring that the base of the plant is level with the surrounding soil.
After transplanting, it’s crucial to give your new plants a good drink of water. This initial watering helps settle the soil around the roots and provides moisture as the plant begins to adjust. However, be cautious not to overwater; lavender prefers dry conditions once established. A good rule of thumb is to water deeply but infrequently, allowing the soil to dry out between watering sessions.
As your lavender plants grow, regular maintenance will be key to their success. Monitor them for signs of stress or disease, such as yellowing leaves or wilting. If you notice these issues, it may be a sign of overwatering or poor drainage. Additionally, pruning is essential! Regularly trim back the plants to encourage bushier growth and prevent them from becoming leggy. Aim to prune your lavender plants in the spring, just before new growth begins, removing about one-third of the plant.
Lastly, be patient! It may take some time for your lavender to establish itself fully. With the right care and conditions, your lavender plants will reward you with beautiful blooms and a delightful fragrance that can enhance any garden space.
- How long does it take for lavender cuttings to root? Typically, lavender cuttings take about 4 to 6 weeks to develop roots.
- Can I transplant lavender in the summer? While it's possible, it's best to transplant in early spring or fall to avoid heat stress.
- How often should I water newly transplanted lavender? Water deeply but infrequently, allowing the soil to dry out between waterings.
- Do lavender plants need fertilization? Lavender generally doesn’t require heavy fertilization; a little compost mixed into the soil at planting time is usually sufficient.
Frequently Asked Questions
- What is the best time to take lavender cuttings?
The ideal time to take lavender cuttings is during the late spring or early summer when the plant is actively growing. This timing allows the cuttings to root more effectively, as the parent plant is full of energy and vigor.
- How long should lavender cuttings be?
For optimal growth, lavender cuttings should be around 4 to 6 inches long. This length strikes the perfect balance, providing enough stem for rooting while minimizing stress on the cutting.
- Do I need to use rooting hormone?
While it's not mandatory, using rooting hormone can significantly increase the chances of your lavender cuttings successfully rooting. It helps stimulate root growth and can be especially beneficial for tougher varieties.
- What type of soil is best for lavender cuttings?
Lavender prefers well-draining soil that is slightly sandy or gritty. A mix of potting soil and perlite or sand works wonders, ensuring that excess moisture drains away and prevents root rot.
- How often should I water my lavender cuttings?
Water your lavender cuttings when the top inch of soil feels dry. It's crucial not to overwater, as lavender is drought-tolerant and prefers drier conditions. Keeping the soil moist but not soggy is key!
- When can I transplant my lavender cuttings?
Once your lavender cuttings have developed a healthy root system—typically within 4 to 6 weeks—you can transplant them into larger pots or directly into your garden. Look for roots that are at least a couple of inches long.
- How do I care for my lavender plants after transplanting?
After transplanting, ensure your lavender plants receive plenty of sunlight and water them sparingly. Once established, they thrive on minimal care, so avoid overwatering and provide good air circulation.
- Can I propagate lavender from store-bought plants?
Yes, you can propagate lavender from store-bought plants! Just ensure that the plant is healthy and take cuttings following the same guidelines for timing and length as you would from your own garden.


