Recycling Everyday Items into Garden Tools
In a world where sustainability is becoming increasingly important, the idea of recycling everyday items into garden tools is not just innovative; it's essential! Imagine turning your trash into treasure, all while nurturing your green thumb. This article explores how you can transform common household items into functional garden tools, promoting sustainability and creativity in your gardening practices. Not only does this approach reduce waste, but it also adds a unique charm to your garden, making it a true reflection of your personality and values.
Have you ever looked at an empty plastic bottle and thought, "What can I do with this?" Well, you're in for a treat! From watering cans to plant pots, plastic bottles can be easily repurposed to enhance your gardening experience. And let's not forget about those old kitchen utensils gathering dust in your drawers. With a little creativity, forks and spoons can become delightful garden markers or even sturdy plant supports. It's like giving these items a second chance at life, and trust me, your garden will thank you for it!
As we dive deeper into this journey of upcycling, you'll discover that the possibilities are endless. Whether you're a seasoned gardener or just starting out, transforming everyday items into useful tools can be both fun and rewarding. So, roll up your sleeves and get ready to unleash your creativity. Who knows? You might just find that your best gardening tools are already lying around your home, waiting to be transformed!
- What are some benefits of recycling household items into garden tools?
Recycling household items not only helps reduce waste but also encourages creativity and saves money. By using what you already have, you can create unique tools that reflect your personal style while benefiting the environment.
- Can I use any type of plastic bottle for gardening?
Yes, most plastic bottles can be used for various gardening purposes. Just make sure to clean them thoroughly and remove any labels before repurposing.
- How can I ensure my upcycled tools are safe to use?
Before using any upcycled item in your garden, check for sharp edges, harmful materials, or any signs of wear that could pose a risk. Always prioritize safety, especially when it comes to tools that will be in contact with soil and plants.
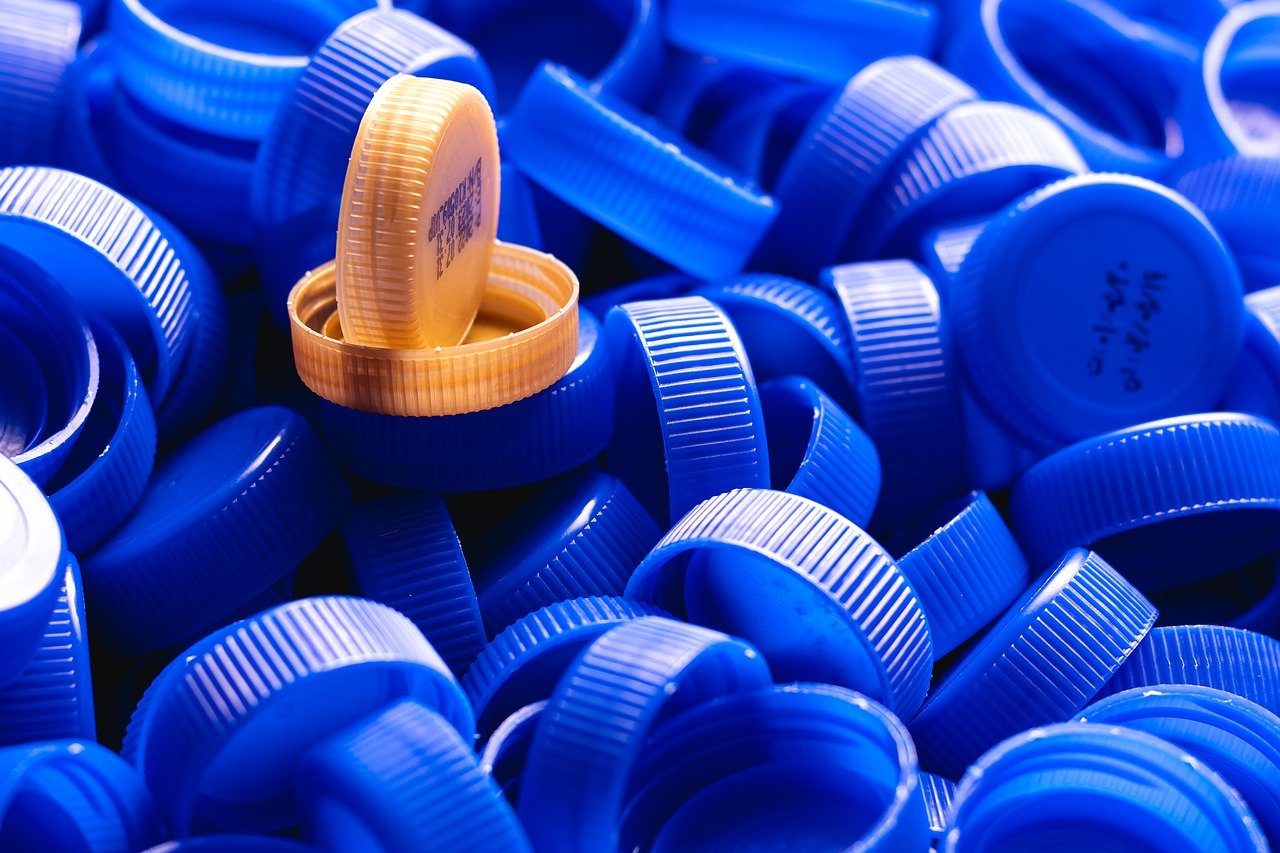
Upcycling Plastic Bottles
Plastic bottles are everywhere, and instead of tossing them into the recycling bin, why not transform them into something useful for your garden? Upcycling these common household items not only reduces waste but also adds a personal touch to your gardening experience. Imagine walking through your garden and seeing vibrant flowers watered from a colorful, repurposed bottle or seedlings thriving in uniquely designed pots. Sounds interesting, right? Let's dive into some creative ways to repurpose plastic bottles!
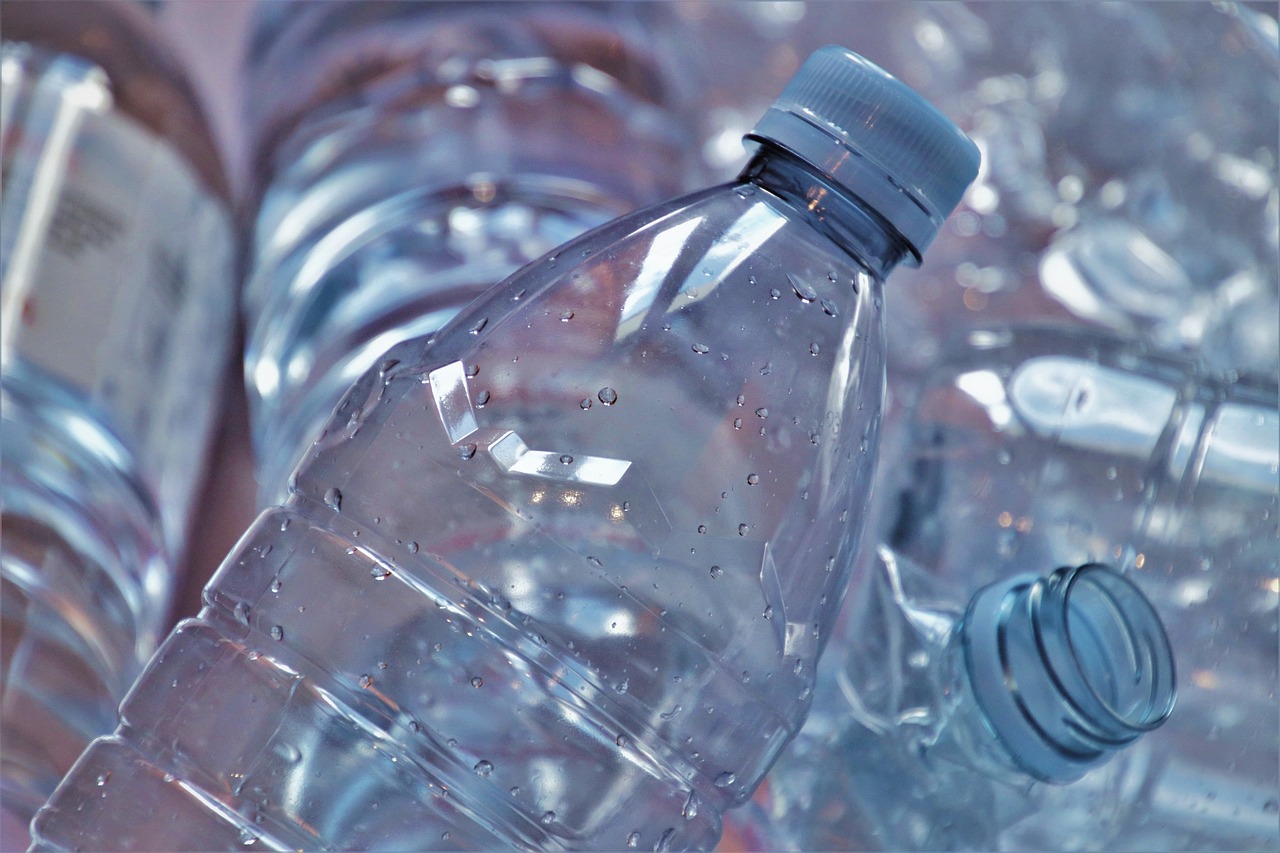
One of the most popular ways to upcycle plastic bottles is by turning them into watering cans. With just a few simple modifications, you can create a lightweight watering can that’s perfect for your plants. Start by cutting the top off a large bottle, leaving enough room to pour water easily. Puncture small holes in the cap to create a gentle pour spout, and voilà! You have a functional watering can that not only serves its purpose but also helps keep plastic out of landfills.
Another fantastic use for plastic bottles is creating plant pots. By cutting a bottle in half and using the bottom half, you can create a stylish and eco-friendly pot for your plants. This is especially useful for starting seedlings. Just remember to provide drainage holes at the bottom to prevent water from pooling. You can even decorate the outside of the bottle with paint or twine to give your pots a personal flair.
Here’s a quick rundown of additional ideas for upcycling plastic bottles:
- Garden cloches: Cut the bottom off a bottle and place it over young plants to protect them from frost.
- Self-watering planters: Use a two-liter bottle, insert it upside down in the soil, and fill it with water for a steady moisture supply.
- Bird feeders: Create a simple bird feeder by cutting holes in the sides of a bottle and filling it with seeds.
By upcycling plastic bottles, you not only contribute to a more sustainable world but also unleash your creativity in the garden. It’s a win-win situation! So, the next time you finish a drink, think twice before tossing that bottle away. Instead, consider how it could be transformed into a useful tool that enhances your gardening experience.
Q: How do I ensure the plastic bottle is safe for my plants?
A: Always wash the bottles thoroughly to remove any residues from the original contents. Avoid using bottles that previously contained harmful chemicals.
Q: Can I use any type of plastic bottle?
A: Most plastic bottles can be used, but try to avoid those with #3 (polyvinyl chloride) and #6 (polystyrene) recycling codes, as they may leach harmful substances.
Q: How can I decorate my upcycled bottles?
A: You can use outdoor paint, twine, or even fabric to personalize your bottles. Just ensure that any materials used are weather-resistant if they will be outdoors.

Transforming Old Utensils
Have you ever looked at your old kitchen utensils and thought, "These could be doing so much more than just collecting dust!"? Well, it's time to unleash your creativity and give them a new lease on life in your garden! Transforming old utensils into garden tools not only helps reduce waste but also adds a unique charm to your gardening space. Imagine the satisfaction of using a fork as a cultivator or a spoon as a plant label. It's like giving your kitchen tools a second chance at being useful!
One of the most delightful ways to repurpose old utensils is by turning them into garden markers. You can use spoons to label your plants effectively, ensuring you never forget what you’ve planted where. Just think about it: instead of those boring plastic labels, you can have a charming spoon sticking out of the soil, giving your garden a rustic feel. Plus, it’s a fantastic conversation starter when guests come over!
Using spoons as plant labels is incredibly simple and effective. All you need to do is grab some old spoons, preferably metal ones, and a permanent marker. Write the name of the plant on the spoon’s handle and stick it into the soil next to the plant. Voila! You now have an attractive and functional label that won’t fade away with the sun or rain. Not only does this method keep your garden organized, but it also adds a personal touch to your gardening space.
Now, let’s make those spoon labels even more exciting! You can decorate them using various techniques. For instance, you could paint the spoons with weather-resistant paint or use washi tape to add patterns and colors. This way, your garden not only serves as a place for growing plants but also as a canvas for your artistic expression. Imagine walking through your garden and seeing a vibrant array of labeled plants, each with its unique style!
When it comes to choosing between metal and plastic utensils for your garden labels, there are a few things to consider. Metal spoons are generally more durable and can withstand the elements much better than plastic. They won’t fade or break as easily, making them a long-lasting option. However, if you have some plastic utensils lying around, they can work too, especially for short-term labeling. Just keep in mind that they may need to be replaced more frequently.
But wait, there’s more! Old forks can also be transformed into practical garden tools. With a little creativity, you can bend and reshape forks to create unique garden tools like cultivators or weeders. This is particularly perfect for small gardening tasks, where precision is key. So, the next time you’re about to toss those rusty forks into the trash, think twice! They could be the perfect addition to your gardening toolkit.
In conclusion, transforming old kitchen utensils into garden tools is not just an eco-friendly practice; it’s a fun and rewarding project that allows you to express your creativity. So, gather those forgotten spoons and forks, and let your imagination run wild in the garden!
Q1: Can I use any type of utensil for gardening?
A1: Absolutely! Most metal and some sturdy plastic utensils can be repurposed into garden tools. Just ensure they are clean and safe to use.
Q2: How do I ensure my spoon labels last longer in the garden?
A2: To enhance durability, use weather-resistant paint for decoration and consider sealing the labels with a clear coat to protect them from the elements.
Q3: What other household items can I use in my garden?
A3: There are countless items! Consider using old shoes as planters, wine bottles as garden borders, or even tin cans as decorative pots.
Using Spoons as Plant Labels
Have you ever looked at a cluttered garden and thought, "I wish I could remember what I planted where?" Well, here's a fun and creative solution that not only helps you keep track of your plants but also adds a touch of personality to your garden: using old spoons as plant labels! This innovative idea transforms mundane kitchen items into practical gardening tools, allowing you to embrace sustainability while showcasing your creativity.
First off, let's talk about the simplicity of this project. All you need are some old spoons (metal or plastic), a permanent marker, and a little bit of your imagination. Grab those spoons that have been sitting in the back of your drawer, waiting for their moment to shine. With just a few strokes of a marker, you can turn them into charming labels that not only identify your plants but also tell a story of their own.
To get started, simply write the name of each plant on the spoon's handle. You can even include the planting date or a little note about the plant's care requirements. For example, if you have a basil plant, you might write "Basil - Water weekly" on the spoon. This not only helps you remember what you planted but also serves as a quick reference for care instructions, making your gardening experience even more enjoyable.
But why stop there? You can take your spoon labels to the next level by decorating them! Use paint, washi tape, or even decorative stickers to personalize each label. This not only makes your garden look more vibrant but also adds a unique flair that reflects your personality. Imagine walking through your garden and seeing a colorful array of labeled plants, each with its own unique spoon. It's like having a mini art gallery right in your backyard!
Now, you might be wondering about the durability of your spoon labels. Here’s where the choice between metal and plastic comes into play. Metal spoons tend to be more resilient against the elements, making them ideal for long-term use. They won’t fade or break down as quickly as plastic, which can be a significant advantage if you live in an area with harsh weather conditions. On the other hand, plastic spoons are lightweight and easy to handle but may not withstand the test of time as well as their metal counterparts. The decision ultimately comes down to your gardening needs and personal preference.
In conclusion, using spoons as plant labels is a fun, eco-friendly, and practical way to organize your garden. Not only does it help you keep track of your plants, but it also allows you to express your creativity. So next time you’re about to toss those old spoons, remember that they could have a new life in your garden, helping you cultivate both your plants and your artistic spirit!
- Can I use any type of spoon for labeling? Yes! Both metal and plastic spoons work well, but consider the durability you need based on your climate.
- How do I ensure the writing stays on the spoon? Use a permanent marker for best results, and consider sealing it with clear nail polish or a spray sealant for added protection.
- Can I reuse the spoons for other plants? Absolutely! Just wash them off and use rubbing alcohol to remove any old ink before labeling them again.

Decorating Your Labels
When it comes to labeling your plants, why settle for boring and bland? Decorating your labels can be a fun and creative way to add a personal touch to your garden while keeping things organized. Imagine walking through your garden, not just seeing the plants but also enjoying the vibrant colors and unique designs that reflect your personality. So, how can you jazz up those simple spoon labels?
First off, consider using paint. Acrylic paints work wonders on metal and can be easily applied with a small brush. You can create a beautiful background color and then write the plant name over it in a contrasting shade. This not only makes the label stand out but also protects the paint from the elements. If you're feeling particularly artistic, why not try your hand at some simple designs or patterns? Think of it as a mini canvas that can add a splash of color to your garden.
Another fantastic option is to use decoupage. This technique involves gluing decorative paper or fabric onto your spoons. You can find old magazines, wrapping paper, or even fabric scraps that speak to you. Cut them into shapes or strips, and apply them to the spoon using a decoupage medium. This creates a unique, textured look that can be both rustic and chic. Plus, it’s a great way to recycle materials that might otherwise go to waste!
For those who love a bit of sparkle, consider adding some glitter or stickers. A sprinkle of glitter can transform a plain label into something magical, especially when it catches the sunlight. Stickers can also be an easy way to personalize your labels quickly. Just make sure they are weather-resistant to withstand rain and sun exposure. You can find stickers that match your garden theme or even seasonal stickers that can be changed throughout the year.
Lastly, don’t forget about natural elements. You can tie small twigs or dried flowers around the handle of the spoon for an earthy vibe. This not only enhances the aesthetic but also connects your labels back to nature, which is what gardening is all about. The combination of creativity and nature can truly elevate your garden space.
In summary, decorating your labels is not just about functionality; it’s an opportunity to express yourself and make your gardening experience more enjoyable. So grab those old spoons, let your imagination run wild, and watch as your garden transforms into a colorful oasis of creativity!
- How long do the painted labels last in the garden? With proper sealing, painted labels can last a full growing season or longer, depending on weather conditions.
- Can I use any type of paint for decorating? It's best to use outdoor acrylic paint or paint specifically designed for metal surfaces to ensure durability.
- What if my labels get wet? If you use waterproof materials and seal them properly, they should withstand rain and moisture quite well.
- Are there any eco-friendly options for decorating? Yes! You can use natural dyes, recycled paper, and biodegradable glues to create eco-friendly labels.
Durability of Metal vs. Plastic
When it comes to choosing between metal and plastic for your garden tools, durability is a key factor to consider. Both materials have their strengths and weaknesses, and understanding these can help you make an informed decision. Metal utensils, such as forks and spoons, are often seen as the champions of durability. They can withstand harsh weather conditions, resist bending, and last for years with proper care. Imagine a trusty old fork, bent and shaped into a cultivator, still standing strong after several seasons of gardening!
On the other hand, plastic utensils are lighter and often more flexible, making them easier to handle for tasks that require precision. However, their longevity can be a concern. While they may not rust like metal, plastic can become brittle over time, especially when exposed to sunlight and extreme temperatures. Think of plastic as a summer fling—fun and easy to use, but not necessarily built for the long haul.
Here’s a quick comparison table to illustrate the differences:
| Feature | Metal | Plastic |
|---|---|---|
| Durability | High | Moderate |
| Weight | Heavier | Lighter |
| Resistance to Weather | Excellent | Fair |
| Cost | Higher | Lower |
In summary, if you’re looking for tools that can endure the test of time, metal utensils are your best bet. They may require a bit more investment upfront, but their longevity and reliability will pay off in the long run. Conversely, if you're just starting out or need something lightweight for quick tasks, plastic might fit the bill. Just remember that you might need to replace them more frequently. Ultimately, the choice between metal and plastic will depend on your gardening style, budget, and how much wear and tear you expect your tools to experience.
- Can I use plastic utensils for heavy-duty gardening tasks?
While plastic utensils can handle light tasks, they are not recommended for heavy-duty gardening as they may bend or break.
- How can I prolong the life of my metal garden tools?
Keep them clean, dry, and store them in a dry place to prevent rusting.
- Are there eco-friendly options for garden tools?
Yes! Look for tools made from recycled materials or sustainably sourced wood.
Creating Garden Tools from Forks
Have you ever thought about the potential of your old forks? Instead of tossing them into the drawer or the trash, why not transform them into unique garden tools? It's a fun and creative way to breathe new life into items that might otherwise go unused. Just picture this: a fork that once helped you enjoy a delicious meal now becomes a handy cultivator, helping you aerate your soil and prepare your garden for planting. Isn’t that a fascinating idea?
To start your journey of upcycling forks into garden tools, gather a few old forks that you no longer use. You can choose forks of different sizes, as each will serve a different purpose in your garden. For instance, a larger fork can be used for cultivating the soil, while a smaller one can be perfect for weeding or planting delicate seedlings. The beauty of this transformation is that it not only helps you save money but also contributes to a more sustainable lifestyle.
Here's a simple process to create your own garden tools from forks:
- Gather Your Materials: You’ll need old forks, pliers, and a hammer. Optionally, you can have a pair of gloves handy to protect your hands.
- Bending the Forks: Use the pliers to bend the tines of the fork into the desired shape. For instance, you can bend them outward to create a cultivator or bend them at an angle to form a weeder.
- Shaping the Handle: If you want a longer handle, you can attach the fork to a wooden dowel or a sturdy stick. Simply drill a hole in the end of the dowel and secure the fork with screws or strong adhesive.
Once you've shaped your forks into tools, you can use them for various gardening tasks. The tines of the fork can break up compacted soil, while the handle allows you to reach deeper into your garden beds without straining your back. Plus, these tools are not only functional but also add a touch of rustic charm to your gardening kit. Imagine showing off your handmade tools to friends and family—what a conversation starter!
It’s worth noting that while forks make excellent tools, they also have their limitations. For instance, they may not be as durable as commercially made tools, especially if you’re using them for heavy-duty tasks. However, they are perfect for light gardening work, and their unique designs can make them quite effective. And let’s not forget the environmental impact; by repurposing forks, you’re reducing waste and contributing to a greener planet.
In conclusion, creating garden tools from forks is not just a fun DIY project; it’s a step toward a more sustainable and creative gardening practice. So, the next time you find an old fork in your kitchen, think twice before you discard it. Instead, let it help you cultivate your garden and bring your plants to life!
Q: Can I use any type of fork for this project?
A: Yes, you can use any old fork, but keep in mind that some forks may be more durable than others. Stainless steel forks tend to hold up better in the garden than plastic forks.
Q: How do I ensure my fork tools last longer?
A: To extend the lifespan of your fork tools, avoid using them on hard surfaces and clean them after each use to prevent rusting.
Q: What other kitchen items can I repurpose for gardening?
A: Many kitchen items can be repurposed, including spoons, knives, and even old colanders for drainage in plant pots. Get creative!
Repurposing Cardboard Boxes
Cardboard boxes are often seen as mere packaging material, destined for the recycling bin after their initial use. However, these unassuming items can be transformed into versatile gardening solutions that not only save you money but also contribute to a more sustainable lifestyle. By repurposing cardboard boxes, you can create a variety of useful tools that enhance your gardening experience while minimizing waste.
One of the most popular ways to repurpose cardboard is by creating seedling trays. Instead of purchasing plastic trays that may end up in a landfill, consider using old egg cartons. These cartons provide the perfect size for starting seeds, and they can easily be cut apart and filled with soil. Not only does this method reduce waste, but it also allows you to start your plants in a familiar and eco-friendly container. Just imagine the satisfaction of watching your seedlings thrive in something that would have otherwise been discarded!
Another innovative use for cardboard boxes is constructing compost bins. You can create a simple yet effective compost bin by stacking cardboard boxes in your backyard. This method promotes eco-friendly waste management by allowing you to recycle kitchen scraps and yard waste, which can then decompose into nutrient-rich compost for your garden. To make your cardboard compost bin, follow these easy steps:
- Gather several cardboard boxes and remove any tape or labels.
- Stack the boxes in a well-drained area of your garden.
- Layer your kitchen scraps and yard waste inside the boxes.
- Occasionally turn the contents to aerate and speed up the composting process.
Additionally, cardboard can serve as an effective weed barrier. By laying down flattened cardboard boxes in your garden beds, you can suppress weeds while retaining moisture in the soil. This technique not only reduces the need for chemical herbicides but also enriches the soil as the cardboard breaks down over time. Just think of it as giving your plants a cozy blanket that keeps the weeds at bay!
Overall, repurposing cardboard boxes is not just about being resourceful; it's about embracing a lifestyle that values sustainability and creativity. By integrating these simple cardboard solutions into your gardening routine, you can cultivate a more eco-friendly environment while enjoying the fruits of your labor.
- Can I use any type of cardboard for gardening? Yes, but it's best to avoid cardboard with a shiny finish or heavy ink, as these can contain harmful chemicals.
- How long does it take for cardboard to decompose in the garden? Cardboard typically takes several months to break down, depending on moisture and soil conditions.
- Is it safe to use cardboard for seedling trays? Absolutely! Just ensure that the cardboard is clean and free from any contaminants.
Seedling Trays from Egg Cartons
Have you ever thought about how many egg cartons end up in the trash every week? Instead of tossing them away, why not give them a second life as seedling trays? This simple upcycling project not only reduces waste but also provides an eco-friendly way to start your garden. Egg cartons are made from biodegradable materials, making them perfect for nurturing your seedlings until they’re ready for transplanting.
To create your own seedling trays, all you need are some empty egg cartons, potting soil, and your favorite seeds. Start by cutting the egg carton in half, giving you two sections to work with. Fill each compartment with potting soil, leaving a little space at the top to prevent spills when watering. Once filled, place one or two seeds in each compartment, depending on the size of the seeds. After that, gently cover them with a thin layer of soil.
One of the fantastic aspects of using egg cartons is their ability to retain moisture, which is crucial for seed germination. You can also place the filled cartons in a sunny spot or under grow lights to provide the warmth and light that seeds need to sprout. As the seedlings grow, you can monitor their progress and ensure they receive adequate water. You’ll find that the compartments make it easy to manage individual plants without the hassle of larger trays.
When the time comes to transplant your seedlings, you can simply cut the individual compartments apart and plant them directly into the ground or larger pots. The cardboard will decompose over time, enriching the soil with organic matter. This method not only saves you money on expensive seed trays but also supports a sustainable gardening practice.
Incorporating egg cartons into your gardening routine is just one way to embrace creativity and sustainability. Plus, it’s a fun project that can involve the whole family! So, the next time you crack open a dozen eggs, remember that those cartons can help you grow a thriving garden.
- Can I use any type of egg carton? Yes, both cardboard and plastic egg cartons can be used, but cardboard is more environmentally friendly.
- How many seedlings can I grow in one egg carton? Typically, you can grow 12 to 18 seedlings, depending on the size of the carton and the seeds.
- Do I need to poke holes in the bottom of the compartments? It’s not necessary for cardboard cartons, as they will naturally absorb moisture, but you can poke holes in plastic ones for drainage.
Compost Bins from Cardboard
Creating a compost bin from cardboard is not only a fantastic way to recycle materials that would otherwise end up in a landfill, but it also contributes to a healthier garden ecosystem. Cardboard is an excellent carbon source, which is essential for a balanced compost pile. When you combine it with nitrogen-rich materials like kitchen scraps, you’re on your way to creating nutrient-dense compost that your plants will love. So, how do you get started? Let’s dive into the process!
First, gather your materials. You’ll need:
- Cardboard boxes (remove any tape or labels)
- Scissors or a box cutter
- Garden soil or compost starter (optional)
- Kitchen scraps and yard waste
Begin by breaking down your cardboard boxes into flat pieces. This is crucial because it allows for better airflow, which is necessary for the composting process. Once you have your cardboard ready, stack it in a designated area of your yard. You can create a simple bin by placing the cardboard in a rectangular shape, or you can use wooden stakes to hold the sides together, forming a more structured bin.
Next, layer your cardboard with green materials like vegetable peels, grass clippings, and leaves. A good rule of thumb is to maintain a ratio of about 3 parts carbon (cardboard) to 1 part nitrogen (green materials). This balance is vital for speeding up decomposition and preventing unpleasant odors.
As you add materials, consider mixing in some garden soil or a compost starter to introduce beneficial microorganisms that will kickstart the composting process. This is like giving your compost bin a little boost, helping it to break down faster. Remember to turn your compost every few weeks to aerate it and speed up the decomposition process.
After a few months of careful layering, turning, and monitoring moisture levels, you’ll be rewarded with rich, dark compost that’s perfect for enriching your garden soil. Not only does this method save you money on composting supplies, but it also allows you to contribute positively to the environment by reducing waste.
In summary, building a compost bin from cardboard is a simple and effective way to practice sustainability in your gardening routine. By repurposing materials you already have, you not only help the planet but also create a rich soil amendment that will enhance the growth of your plants. It’s a win-win situation!
Q: Can I use any type of cardboard for my compost bin?
A: Yes, you can use most types of cardboard, but be sure to remove any tape, glossy finishes, or labels that may contain harmful chemicals.
Q: How long does it take for cardboard to decompose in a compost bin?
A: Cardboard can take several months to decompose, depending on moisture levels and the materials added to the compost. Regular turning and aeration will speed up the process.
Q: What should I do if my compost bin smells bad?
A: A foul odor usually indicates that there is an imbalance in your compost. Add more carbon-rich materials like cardboard or dry leaves, and ensure adequate aeration by turning the pile more frequently.
Q: Can I compost pizza boxes?
A: Pizza boxes are generally acceptable, but make sure they are not too greasy. If they are heavily soiled, it’s best to tear off the clean parts and compost those instead.
Frequently Asked Questions
- What can I make from plastic bottles for my garden?
You can transform plastic bottles into various useful items! For instance, cut them to create watering cans, or use them as plant pots. Just remember to poke some holes for drainage, and you've got yourself a sustainable gardening tool!
- How do I use old kitchen utensils in my garden?
Old utensils like forks and spoons can be incredibly handy! You can bend forks into unique shapes to create cultivators or weeders. Spoons can be used as plant labels, helping you keep track of your plants while adding a touch of charm to your garden.
- Can I really make seedling trays from egg cartons?
Absolutely! Egg cartons are perfect for starting seedlings. Just fill each compartment with soil, plant your seeds, and watch them grow. It’s a great way to reduce waste while giving your plants a cozy start!
- What are the benefits of using cardboard for compost bins?
Cardboard is an excellent material for compost bins because it’s biodegradable and helps aerate the compost. Plus, it’s a fantastic way to recycle! Just ensure that the cardboard is free from any plastic coatings for the best results.
- How can I decorate my garden labels?
You can get creative with your garden labels! Use paint, washi tape, or even natural elements like twine and leaves to personalize your spoon labels. Make them visually appealing while still being functional!
- Should I use metal or plastic utensils for garden labeling?
It depends on your needs! Metal utensils tend to be more durable and can withstand the elements better than plastic. However, plastic utensils are lighter and can be easier to work with. Consider your garden’s environment when making your choice!
- Are there any tips for bending forks into garden tools?
Yes! To bend forks into tools, you can use pliers for better grip and leverage. Heat the metal slightly if it’s too tough to bend. Just be careful, as sharp edges can form during the bending process!


